When I first started working on getting the cylinder head off, I was stopped several times by stuck screws or tools I had to go buy. That led to me disassembling and reassembling the thing several times. The first time I'd get five steps in and then have to stop. The next time I'd get eight steps in and then have to stop. Each time I'd reassemble everything and just start over the next time I worked on it.
I'm realizing now that the repetition was very helpful since you don't pick up on everything the first time around. With that in mind, I decided to go ahead and get the cylinder head reattached even though I haven't yet cleaned it or gotten the valves or rocker arms out.
Followed Clymer's and everything went back together without a snag. Though the first time I tried getting the head back on, I found that the cam sprocket wouldn't come out far enough to line up correctly. I thought the chain was pulled taut, but it had gotten a bit kinked inside the cylinder, so watch out for that.
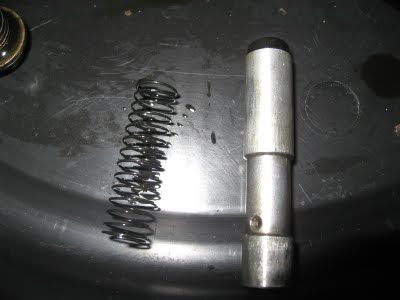
Also, as part of reassembly, you need to remove the cam chain tensioner sealing bolt, followed by the spring and the pushrod (to give the chain the max amount of slack). Well, I got the bolt off with no problem (and make sure you have something to catch the residual oil) and the spring fell right out behind it. Then... nothing. Checked around with my finger and couldn't feel anything inside the hole. So I just carried on with the other work. Five minutes later, the pushrod plopped out. I'm sure there's a trick to get it out a little faster instead of waiting for gravity to do it, so I'll have to ask around on that.
After everything went together, I spun the alternator a few times, and to my surprise and amazement, everything worked! Found TDC a few times and checked the marks and everything was lining up swimmingly.
Here's a shot of the spring and the pushrod that live under the sealing bolt.


No comments:
Post a Comment