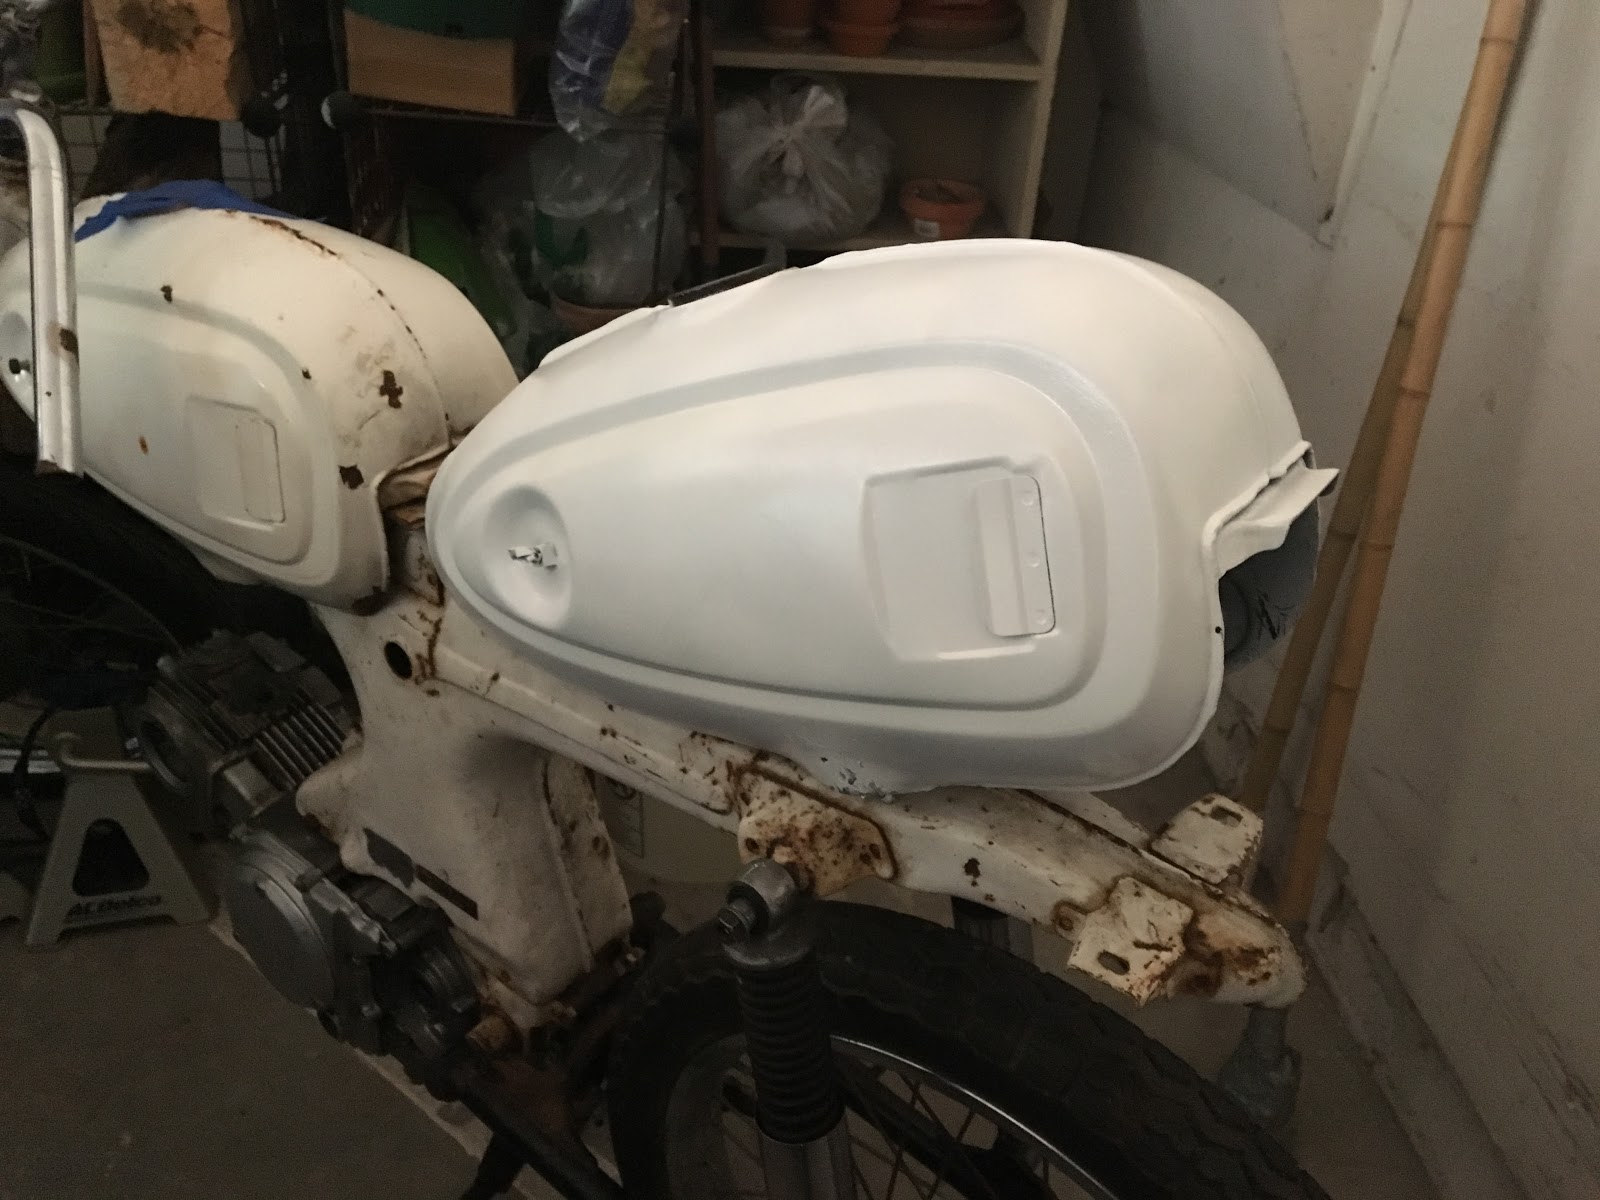
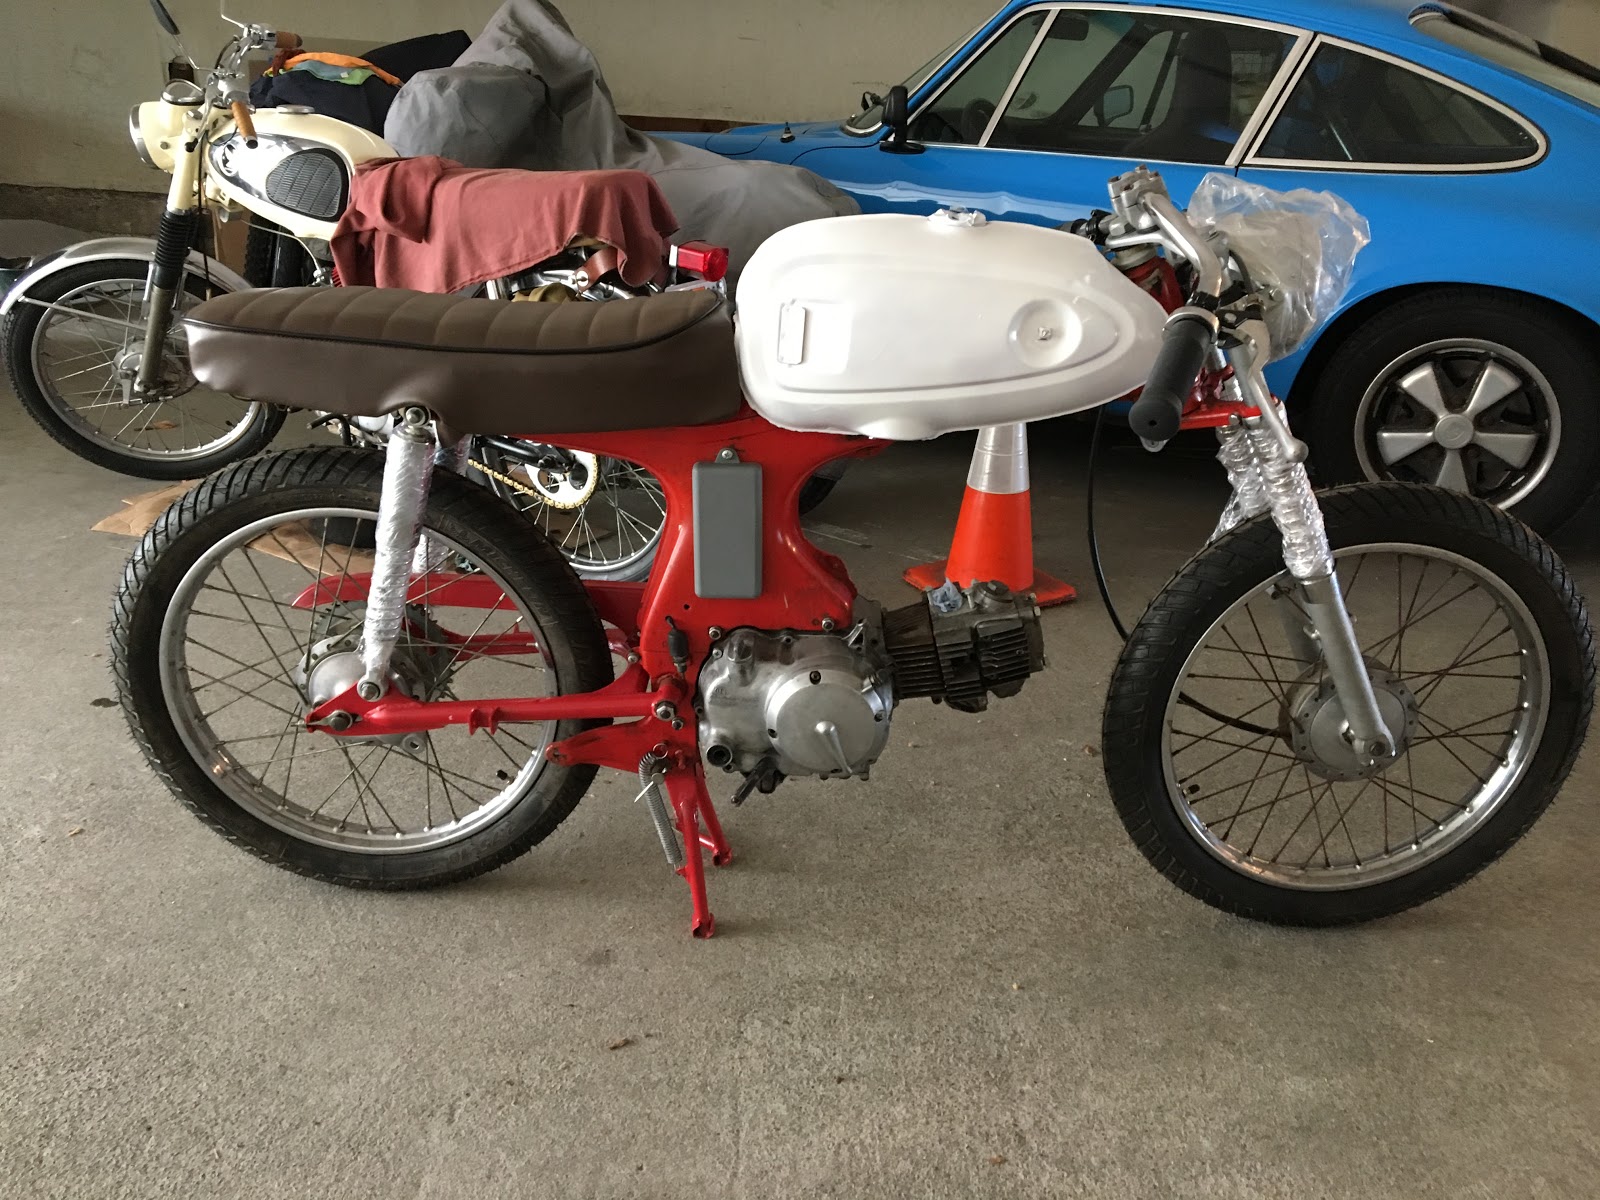
Testing new rubber for Evie's tank. Realized it's pretty fiddly to get the tank tab into the rubber. Must be a trick to it... Checked Ivy and actually just ended up skipping the rubber altogether.
Showing posts with label gas tank. Show all posts
Sunday, July 5, 2020
Sunday, May 12, 2019
Red: Epic Tank Fail
Today was more about recognizing when you're about to step over that line from bad to worse.
Session started out okay. The tank had dried nicely but I could still see some black coming through the white coats so I added a few more layers before doing the top coat.
Between coats, I changed Ivy's oil (but not the filters).
Then back to Red... went ahead and added 125 mL of fork oil on each side. In doing that, I haphazardly went about torquing both the fork bolts and the main steering bolt. No issues there but realized immediately after that something was wrong and that the forks were not moving at all. They literally seemed frozen in place.
Tried to reset at that point. Drained the oil from both sides (the left side drained in a solid stream, but the right only dripped, not sure why yet). That changed nothing.
Added in the jack stands and started unbolting the forks themselves. Got the left side undone from the fender and axle and found it moved fine. Undid the right side and realized that was the one that was causing the problem. I could get it to move but only with a lot of effort and it would keep getting "stuck" in place.
Undid the lower fork bolt but it was only when I undid the top bolt that everything came loose and started working again. I must have torqued it all out of order and caused some kind of bind.
Redid everything in the right order and problem solved. Added back about 100 mL on each side (forgetting that the right side probably still had a bunch stuck in there).
And I thought that was gonna be the hard part of the day...
Then a kind of summit fever hit. Realizing I was so close to being done, I decided to push for getting the tank installed and petcock hooked up. There was still more than enough daylight to get everything done and take her out for a maiden run around the block.
Chain of events went something like this...
- The tank dropped into place nicely.
- Installed the dual-inlet petcock, no problem.
- Ran a 3/16" line from the vertical inlet to a gas catch. Thought maybe I should do the secondary inlet, too (and lucky I did)
- Poured a cup of gas into the tank (petcock still closed) to test whether I had any leaks out of the base of the petcock itself. So far so good...
- Turned the petcock on and here's where all the trouble started. With the petcock on, I got flow coming from both lines, which I was not expecting.
- I thought, no problem, I'll just run the secondary inlet to the actual plugged side of the tank and essentially render it closed, but when I did that, I stopped getting flow from the main inlet. I think it must create a vacuum lock or something.
- This is exactly the point I should have stopped, packed up, and thought through the problem carefully, slept on it and come back the next day. Instead, I got stubborn and all kinds of impatient.
- I tried a couple more combinations hoping to find a way to get flow from just a single inlet, but nothing doing. Should have been a little more thorough with testing because now I can't even remember exactly what I tried. Plus, I only tried it on Reserve. Maybe on plain "On" it would have worked??? I just didn't have enough gas in the tank to try it.
- So instead of stopping, I thought I'd try to hook up the old single inlet petcock. But made a gigantic toxic mess as I tried to somehow detach the dual petcock without spilling the remaining gas all over the place.
- I succeeded in getting the single inlet one on... only to realize that it was that it was so wide that you couldn't mount the tank with it already installed.
- That's the point I called it a night. Made even more of a mess trying to slosh out the remainder of the gas into a bowl. Screwed the single back in and left the tank open.
- Ended up smearing some paint on the bottom left of the tank and all the gas dripping out basically melted away everything on the right side near the petcock.
Lesson(s) learned.
First lesson: I should have done ALL of this petcock testing before painting the tank. That was just plain hubris.
I should have been more patient when first testing the dual-inlet. I would have realized I could have tried the "On" because obviously that would NOT have required gas flow from secondary inlet!!
I did end up ordering a single inlet as soon as I got back up, which is probably the right way to go anyway.
Do I fix the paint while I wait for it to arrive, or not even bother till I test everything completely?
Labels:
epic,
forks,
gas tank,
oil change,
painting,
petcock,
Run Red Run,
stymied
Tuesday, May 7, 2019
Red: Tank #3
Quickly swapped the left bottom handlebar mount.
Then started sanding down the new black tank (third one so far).
The paint is hiding a lot of rust underneath it, but no way I'm stopping to do a bare metal prep job. Let's get this painted and mounted first and get the bike on sea trials, then we can worry about a super clean tank...
Labels:
gas tank,
Run Red Run
Saturday, June 30, 2018
Ivy: Tank Vacuum, or Obvious in Retrospect
Went down for another session to revisit the engine issue. When I twisted the gas cap off, I heard the distinct hissing sound of air rushing in.
So it was a vacuum issue in the tank. Now all the symptoms added up - the engine dying after a short period, but then running after resting a bit.
I had removed the extra DIY gaskets from the cap because they looked ragged. Could some debris have found their way into the vent hole. Where is the vent hole anyway?
I tried loosening the cap a bit and went for another ride around the block, but same thing happened.
Finally, just switched the cap with Roxy's to test - and she ran perfectly. So it's definitely the cap. Just need to figure out where that vent is and then clear it.
Also checked the odo against a phone app and found it was dead on!! Seemed accurate down to 0.01 mile.
So it was a vacuum issue in the tank. Now all the symptoms added up - the engine dying after a short period, but then running after resting a bit.
I had removed the extra DIY gaskets from the cap because they looked ragged. Could some debris have found their way into the vent hole. Where is the vent hole anyway?
I tried loosening the cap a bit and went for another ride around the block, but same thing happened.
Finally, just switched the cap with Roxy's to test - and she ran perfectly. So it's definitely the cap. Just need to figure out where that vent is and then clear it.
Also checked the odo against a phone app and found it was dead on!! Seemed accurate down to 0.01 mile.
Saturday, March 31, 2018
Red: White Paint Test
Didn't get the warm weather I was hoping for, but it was just barely 60 degrees so decided to paint the tank to test the new Dupli-Color Engine White.
Setup the paint shop in front of the old trash door along with the two lamps.
The paint went on smoothly despite the cool weather. It's a nice bright white. Though after putting the tank back on the bike, there's something about the red/white contrast that could work. Just need to play with what should be white and what should stay red. Or do we still go with an all white bike?
Between coats, was examining the clutch parts in stock. Realized that the drive gear and the plates from the automatic clutch are actually different than stock S90. But in the old "X1" junk box, I actually found a good S90 drive gear and a few other knick-knacks.
Did steal the good friction plates, clutch cover, big springs, and small springs from the auto clutch.
Also unboxed the new eBay crankcase that I only bought because I thought I wouldn't be able to get the other case to work with the trochoid because of that knock pin problem.
Setup the paint shop in front of the old trash door along with the two lamps.
The paint went on smoothly despite the cool weather. It's a nice bright white. Though after putting the tank back on the bike, there's something about the red/white contrast that could work. Just need to play with what should be white and what should stay red. Or do we still go with an all white bike?
Between coats, was examining the clutch parts in stock. Realized that the drive gear and the plates from the automatic clutch are actually different than stock S90. But in the old "X1" junk box, I actually found a good S90 drive gear and a few other knick-knacks.
Did steal the good friction plates, clutch cover, big springs, and small springs from the auto clutch.
Also unboxed the new eBay crankcase that I only bought because I thought I wouldn't be able to get the other case to work with the trochoid because of that knock pin problem.
Sunday, February 4, 2018
Ivy: Tank Touch Up
Nice warm dry day so decided to try touching up the tank onframe.
Taped everything off and just went for it. Turned out a lot easier to do and came out a lot nicer than I thought it would.
Monday, January 22, 2018
Ivy: Gas Cap Leak
On a Jan 13th ride, stopped at Blue Danube to find gas still leaking from the cap. Had rubbed it with my gloved hand and actually chipped paint off.
After a lot of trial and error, ended up flipping the gaskets around so that the stock rubber gasket was nearer to the top of the cap and the DIY ones were toward the bottom (closest to the gas).
Seems a lot better, but I can still force gas out slightly if I rock the bike hard enough.
After a lot of trial and error, ended up flipping the gaskets around so that the stock rubber gasket was nearer to the top of the cap and the DIY ones were toward the bottom (closest to the gas).
Seems a lot better, but I can still force gas out slightly if I rock the bike hard enough.
Labels:
gas tank
Wednesday, June 10, 2015
Viola: Fork Seal Tool
Went to Ace and picked up some 1-1/4 steel plumbing which ended up making the perfect fork seal installation tool. The tapered thread at the bottom fits just perfectly onto the seal. The other pieces (2 6" tubes connected with a coupler) are just for pounding it in. A few light taps on the seal was all it took. I also used it to gently seat the circlip.
Also cleaned off that "road cement" gunk from the forks using a file (not the serrations, just the tip and edge). Planning on painting these.
Tested the bike with the seat in place. Also tried adding the two front tank rubber mounts, but just like in the past, with the mounts installed, I couldn't push the tank forward enough to fit the seat. Weird.
Also cleaned off that "road cement" gunk from the forks using a file (not the serrations, just the tip and edge). Planning on painting these.
Tested the bike with the seat in place. Also tried adding the two front tank rubber mounts, but just like in the past, with the mounts installed, I couldn't push the tank forward enough to fit the seat. Weird.
Friday, May 15, 2015
Viola: Triumph of Fire
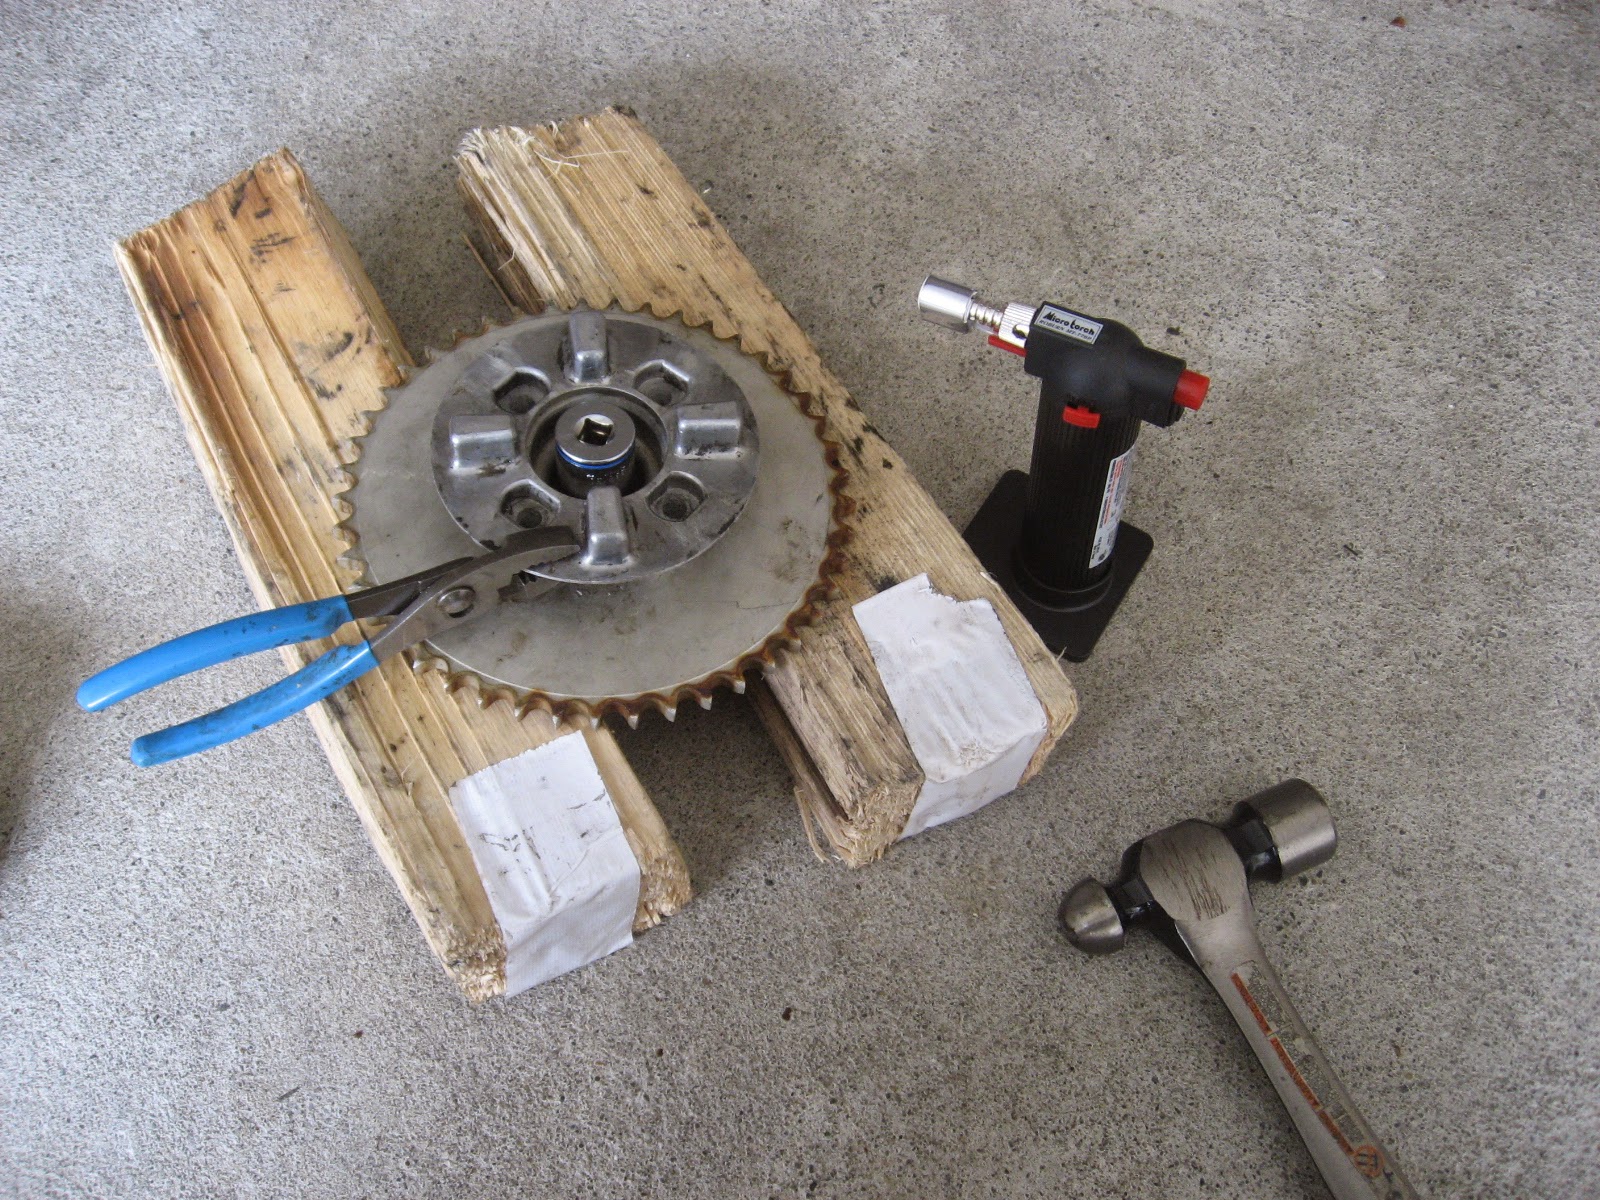
Step 1: Buy butane torch.
Step 2: Heat flange.
Step 3: Knock bearing out.
It was pretty much that simple.
Then I tack clothed the gas tank and did 3 coats of primer, waiting 15-20 minutes between each.
Subscribe to:
Posts (Atom)