Showing posts with label fuel system. Show all posts

Friday, April 3, 2015

Red: Tank Inspection

This tank just gets better and better.  Inside was spotless.  Exterior was very nice, too.  There was a dent, but it's under the side cover.  Looks like it was repainted at some point, unless it's very worn original paint.

It has a second output on the opposite side of the tank.  I forget why they did that.  Also, the petcock has a separate line for the reserve - why?

It must be that when you switch to reserve, it draws from the both sides of the tank, and delivers it to the main output.


Friday, August 15, 2014

Astrid: It's All Connected

Finally took the last step of hooking up the tank to the carb.  And ran her for a few minutes after that...

Everything hooked up nicely, though it's a somewhat untidy arrangement.  Wonder how you could clean it up if this were a real show bike.


Wednesday, August 6, 2014

Astrid: New Fuel

Attached the new filter/cutoff to the tank, both main and reserve.  Tested the reserve line by running plain water through it first (seemed to clean out some old evapo-rust).  Then ran gas through it a few more times.  The gas seemed to clog up the second time around, but then started to flow. 

Don't plan on using the reserve line much, but just trying to clean the gunk out of the bottom before filling the tank permanently.


Friday, August 1, 2014

Astrid: Prepping Filter and Cutoff Switch

Made up a pair of these.


Also tried to sop up the gunk at the bottom using forceps and blue shop towels.  Worked fairly well, actually.


Wednesday, July 2, 2014

Astrid: Scrambled Eggs

The old Evapo-rust in Astrid's tank was looking decidedly murky, so figured I'd dump and refill it.  Surprised to find something looking like scrambled eggs had coagulated at the bottom.  Not sure what it is, perhaps the Yahoo crew can identify.  I dumped out all the old liquid (tank looked like it was vomiting), then decided to risk rinsing the inside of the tank out with the hose to loosen as much of the "egg" as possible.  Got about 90% out in the end.

Also tested the reserve line to see if it was clear, and it was.

Finally, refilled the tank with what I had left of the Evapo-rust.  Also filtered out what I had used on Red's fork bridge and added that in, too.  Ended up with more than before, so I expect I'll knock out more rust with this batch.


Wednesday, February 26, 2014

Astrid: Tank Cleaning

Removed the tank, which turned out to be as easy as removing four bolts.  Pulled the fuel lines out so I could shake the big rust chips out of the tank.  Then I re-attached the tank, but let the fuel lines poke out of the battery compartment.  It should be pretty easy to run new lines when I'm ready.

Plugged the fuel lines with golf tees and filled the tank about half full of Evapo-Rust.


Monday, February 24, 2014

Astrid: Gas Tank Testing

At the risk of adding even more corrosion to the inside of the tank, I ran water through Astrid's reserve line to see if a lot of gunk would come out.  There was some sediment, but nothing a good filter couldn't handle. The bigger chunks stayed inside the tank as expected.

I'm considering filling the tank with Evapo-Rust and letting it sit for a couple days before then flushing it out again and finally replacing with gas.

Though with all the sparking going on, I'm still a bit nervous having gas in the metal tank.  Maybe I should leave the Evapo-Rust in until a more permanent (non-sparking) battery solution is in place.  Wouldn't hurt to let the Evapo-Rust sit for as long as possible anyway.


The old fuel filter cracked and the rubber fuel lines themselves are brittle and perished.  I'll need to see about replacing the fuel lines completely.


Thursday, September 5, 2013

Roxy: Carb Swap?

It would be nice to replace the carb entirely just to see what happens.  If it's the exact same problem (stalls at idle when warm), that's a big clue. 

Then again, I don't know if the replacement carb has problems of its own.  I'd really need to take a carb from a good working bike to be sure.

But as a test, I suppose it can't hurt.  So I started prepping the "C" carb (Viola's original) for duty.  Tested that the floats worked and then she was water-tight.  All in all, she looks to be in good shape.  The only problem I found is that due to heavy corrosion on the back threads, the throttle screw doesn't want to screw all the way in.  But it does go in far enough to just barely lift the slide.  So maybe that's enough.


Testing for leaks.


Testing to make sure the floats aren't leaking.


Wednesday, September 4, 2013

Roxy: Stalling when Idle continued...

Today I swapped out the slow jet with the Keyster one.  No change.

Swapped the air intake along with the gasket and insulating rubber, just to rule out leaks.  No change.

But did notice something new.  The bike actually idle ok (a little ragged, but held on) for about 2 minutes, when the engine got warm.  That's when she started to want to stall.

At that point, I happened to pull the throttle slide out, and white wispy smoke came out of the top of the carb.  It wasn't just one puff, rather it continued for 30 seconds or so.

I then pulled the plug and noticed it already had oil on the node, despite being only a day old.

So definitely seems that I have oil leaking into the cylinder, the question is just whether that is also affecting the idle problem or not.


The replacement intake is the one from Viola that I had painted with engine paint as a test.  The insulating gasket is in a lot better shape than the original one.


Friday, August 30, 2013

Roxy: Fuel Filter Fiasco

It's hard to know when to follow the old mechanic's adage of "If it ain't broke, don't fix it."

Just to keep the carburetor as clean as possible, I figured I could at least tackle the seemingly easy job of replacing the fuel filter, since the one that was on the bike was looking pretty aged.

This is basically how it went...

  1. I ordered 2 different kinds of fuel filter online, plus clear blue fuel lines in 1/4" and 5/16", just to be safe.  One of the filters was the same K&N that was on the bike (so I thought).  And the other was a brass 90 degree version that I thought may come in handy if I had to use the original carb with the fuel line on the opposite side of the petcock.
  2. Finally had a nice long afternoon to do the work.  Started by cutting off the old rubber lines since they were stuck way too tight to get off any other way.  Everything came off quickly and easily.  On closer inspection, the old filter definitely looked liked it needed replacing.  But it was all downhill from here...
  3. Immediately realized that the 1/4" fuel line was way too big to fit either the petcock valve or the carb gas valve.  I thought I could snug it up and make it water-tight by simply using a hose clamp.  I was wrong.
  4. Also, the K&N filter that I thought would be a direct replacement was actually longer than then one I had, making it much to long to fit between the petcock and the carb.
  5. My long relaxing afternoon in the garage suddenly became a race.  First, went to the hardware store, hoping they had polyurethane hose smaller than 1/4".  They had vinyl tubing that small, and also a polyurethane one but it was thin and stiff and not suitable for the bike.  No luck there.
  6. Went to the auto supply store since I had to grab filters as well.  I got two simple brass ones.  At first I thought they were sold out of 3/16" line, but luckily they carry it in the back and you can just get as much as you need.  I got 4' of their black rubber fuel line.  Small ray of hope that the day would get better...
  7. Race home and try to pick up where I left off, though now I only have 30 minutes left to work so I'm scrambling.  Scrambling and fiddling with fuel lines isn't the greatest combination.
  8. Replacing the lines and filter was actually fairly straight-forward at that point.  Got everything tight and leak-free.  Finally, time to start her up...
  9. ... and she won't hold idle - again!!  Not sure why this problem always surfaces anytime I touch the carb.  She's been running just fine for days now.  The only thing I'd done was run gas through the carb.  I can't see how that should affect anything about the idle.
  10. But I did notice that my jury rigged choke handle gasket had basically fallen apart.  I figured maybe that was the problem, but then again, had it been fine on all the long rides in the past week and only fallen off today??
  11. Left the garage and couldn't get back to work for a few hours, and I was losing daylight.  Under the gun, yet again.
  12. At this point, I figured I had nothing to lose, so why not try installing the original carb that I had cleaned and rebuilt?  This carb had the fuel valve on the opposite side, so I had to install the 90 degree filter.  After getting everything swapped, I crossed my fingers and opened the petcock.  
  13. Everything seemed to be holding together... until gas started leaking from where the bottom joins the top.  The gasket didn't quite fit the dimensions of the bowl, but I thought the fact that it was squeezed tightly would keep it water-tight.  Guess I was wrong, again.
  14. So now I think I'm stuck with the first carb, but I should really install the proper choke handle gasket, just to eliminate that as the possible air leak.  I was hoping I could get the choke handle off with the carb still on the bike.  But I hit the same problem I did on the other carb - the end of the handle was so deformed that it wouldn't pass through the hole.  
  15. So I pulled the entire carb off, and just like I did on the other one, I tried to file the tip down so that it could pass through.  But it was already dark and I was working with just a headlamp now.  As much as I filed it down, it still wouldn't pass through.  I finally had to abandon that strategy.
  16. So the carb goes back on, and I concentrate on trying to make a better jury-rigged gasket.  I ended up using a small section of the rubber hose, cut to fit snugly into the gap.  I also spread petroleum jelly around the contact surface hoping to improve the seal.
  17. And started her again... and actually got a weak, but steady idle.  Was happy enough to leave it at that.  And I'm still left with the question of whether I really should have bothered switching the filter in the first place.


The old setup.


Funnel to catch gas from the drain plug.


 The old filter on the farthest left, and the 3 others I had to choose from before the trip to the auto supply store.  The simple one on the farthest right was in the box of parts from the PO, and I didn't know how much use it had already seen.


Testing with the 1/4" lines that ended up leaking.  Nice clear blue lines, though.  Will probably end up ordering them again in 3/16".


And the final setup.  Not very pretty.  Though I did eventually swap the hose clamps for the wire fuel clamps.


Friday, August 16, 2013

Roxy: Pine Sol Soak

Since my head was into carbs, I decided I may as well attack the gunked up original Keihin carb that came from the PPO.  It was such a mess that the two halves wouldn't even separate.

Bought a big jug of Pine Sol and just dunked the whole thing, letting it soak for 2 hours.  The pictures pretty much say it all.  The Pine Sol worked miracles.  Now I'm thinking I could use the same technique on some of the other engine parts, maybe even the bottom end.

Unfortunately, I found the float pin wouldn't budge.  I know you can try to knock it out with a punch, but since the posts are easily damaged, you have to support them and do everything very carefully.

Also, the intake o-ring had been sealed into place with some white rubber cement type substance, which was used in a lot of other places to seal gaskets. 


Before...


Two hours in a Pine Sol bath.


And after...


Roxy: Mechanical Milestone

All right, so I did fix the brake lights earlier, but let's face it, that was an electrical issue (and a rather simple one at that).  This time we worked on the carb - perhaps not true "engine work", but certainly another significant baby step toward the goal of a complete engine overhaul!

During yesterday's ride, I noticed that problem again where she just wouldn't hold idle.  She was good for about 10 seconds before before stalling. I rode the whole loop through Golden Gate Park feeding her throttle the whole time.

I checked a couple of easy things that night.  Battery voltage was still good at 6.4V.  Also, I tried using the air and throttle screws to see if that did anything.  It barely had any effect.  Based on a lot of reading on the S90 group, that symptom pointed to a clog in the idle circuit.  (For reference, the screw settings were 2-1/4 out for air, and 3 full turns out for throttle).

So today, I actually opened the carb up.  Was a little nervous, despite having opened and dismantled the carbs on the other bikes dozens of times.  Again, it's different when you're working on the bike you actually ride versus one that just sits in place.
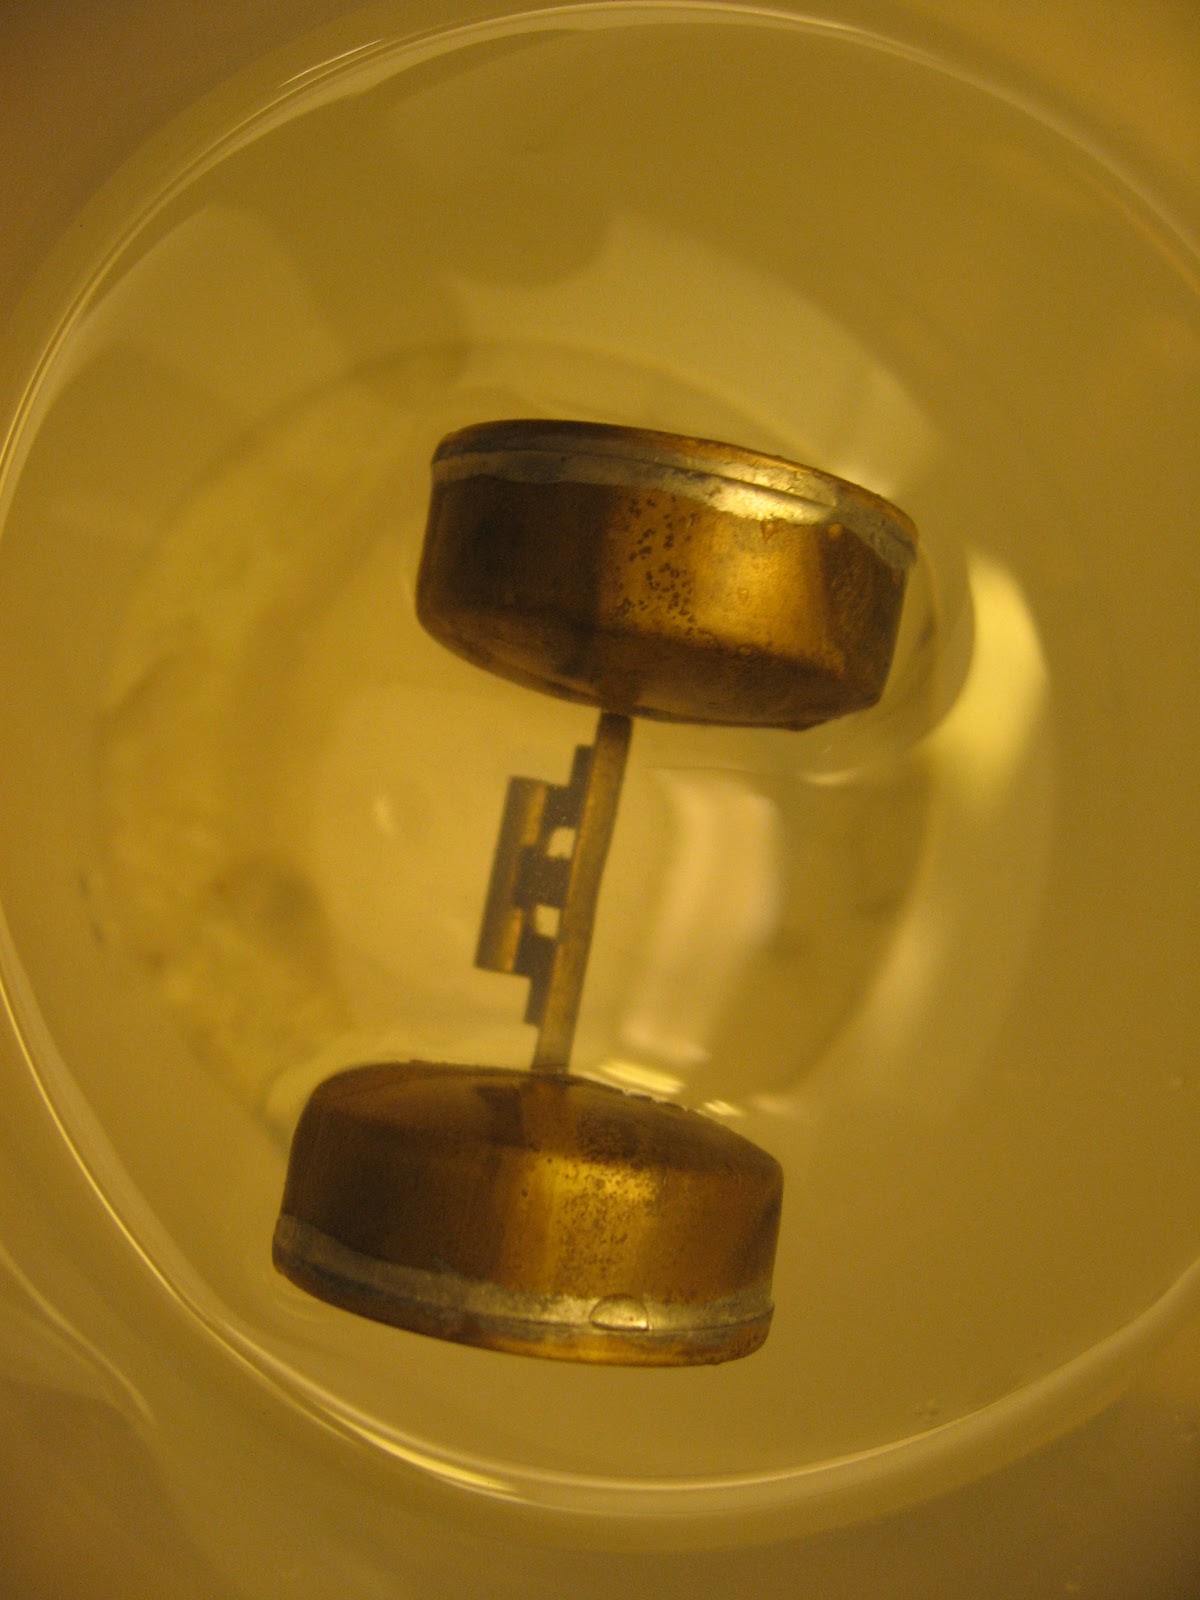

A reference shot of the screw settings.


The drain screw comes out.  After the gas had drained from the bowl, I realized that there was still plenty of gas left in the filter and I realized it was being held there by vacuum.  Next time I suppose I could run the engine with the petcock closed and thereby drain it completely.


Inside, the carb is actually nice and clean.


And here's the culprit, the slow jet.  I couldn't see daylight down the length when I first took it out.  Also noted that these are definitely not factory.  And they didn't even have a size on them.  I suppose it would be nice to clean up the original carb and get it back in, but then again, if this carb works with this engine, maybe there's no need to muck with it.


Pine Sol soak for a few minutes, followed by WD40 and then air.  While that was soaking I also checked the entire slow circuit by doing these 3 steps:
- with the air screw removed, shoot WD40 into the inlet and it should exit through the screw hole
- with the screw back in and the slow jet removed, shoot WD40 into the inlet and it should exit the slow jet hole
- cover the slow jet hole with your finger and shoot WD40 into the inlet and it should exit into the chamber


All back together, and then the moment of truth.  Took a couple of kicks to start her and I was sure I'd buggered something up.  But then she fired, and wouldn't you know it - SHE IDLED!


And in conclusion, don't run in Reserve unless you have to!!!  I think that's how it ended up clogging in the first place.