

Showing posts with label top end. Show all posts
Showing posts with label top end. Show all posts
Thursday, June 25, 2020


Sunday, May 3, 2020
Red: Swap to Roxy's Top End
Swapped Red over to Roxy's top end to eliminate that as the cause of the low throttle stumble.
Specifics of what went onto Red:


Specifics of what went onto Red:
- Roxy cylinder head
- The thicker DRATV copper gasket
- Roxy head cover
- Roxy camshaft
- kept RED's base plate
- Roxy camshaft pin and bolt
- Roxy advance
- kept RED's points cover


Sunday, February 9, 2020
Roxy: First Tear Down Ever
Hard to believe that after having owned Roxy for this long, still had never pulled the top end apart down to the cylinder. Was to be the big day when we finally discovered if she had a big bore or not. Would answer the question of why she seemed to have so much grunt or why she had the relief valve on the tappet.
She was a bit tough to get apart. Had to knock a few covers with the screwdriver handle to jog them loose.
Toughest was the head cover. Wouldn't budge. And for some reason, with it still on, I couldn't get the head completely off the cylinder studs.
Ended up separating it using a Philips as a wedge (as gently as possible). But once that was off, the head came off. Pulled the cylinder but left the piston.
Cylinder bore actually looked great. Still had the cross hatching. Just a narrow rim of discoloration (corrosion?) on the outside edge. Thought for sure it would be in much worse shape. But if that's the case, then why the smoke?
Started this tear down as the first step to cleaning her up and putting her into Preservation Mode.


She was a bit tough to get apart. Had to knock a few covers with the screwdriver handle to jog them loose.
Toughest was the head cover. Wouldn't budge. And for some reason, with it still on, I couldn't get the head completely off the cylinder studs.
Ended up separating it using a Philips as a wedge (as gently as possible). But once that was off, the head came off. Pulled the cylinder but left the piston.
Cylinder bore actually looked great. Still had the cross hatching. Just a narrow rim of discoloration (corrosion?) on the outside edge. Thought for sure it would be in much worse shape. But if that's the case, then why the smoke?
Started this tear down as the first step to cleaning her up and putting her into Preservation Mode.


Friday, December 27, 2019
Red: Epic Top End Swap
Four hour epic battle, though the tasks were relatively simple.
Needed to test the theory that maybe it was the cylinder head (valves) that were at fault. So swapped over Ivy's head to Red. Also swapped back to the red cylinder jug to "reset" everything.
Fired her up and now she was absolutely blasting smoke. Filled the garage in seconds.
Then left with no choice but to do the full swap from Ivy: head, jug, and piston.
No big issues doing the swap. Fired her up and finally, only a trace amount of smoke (probably from the oil inside the muffler).
A few things to note:
- Ivy's head had the solid head gasket as opposed to the cut out. Left the solid one as it had seemed to work fine up to this point.
- Finally realized that there are 2 sizes of base plate, which line up to 2 different sized cylinder heads. The smaller 62mm base plate can fit in either. But the bigger 69mm can only ever fit in a 69mm head. Go figure...
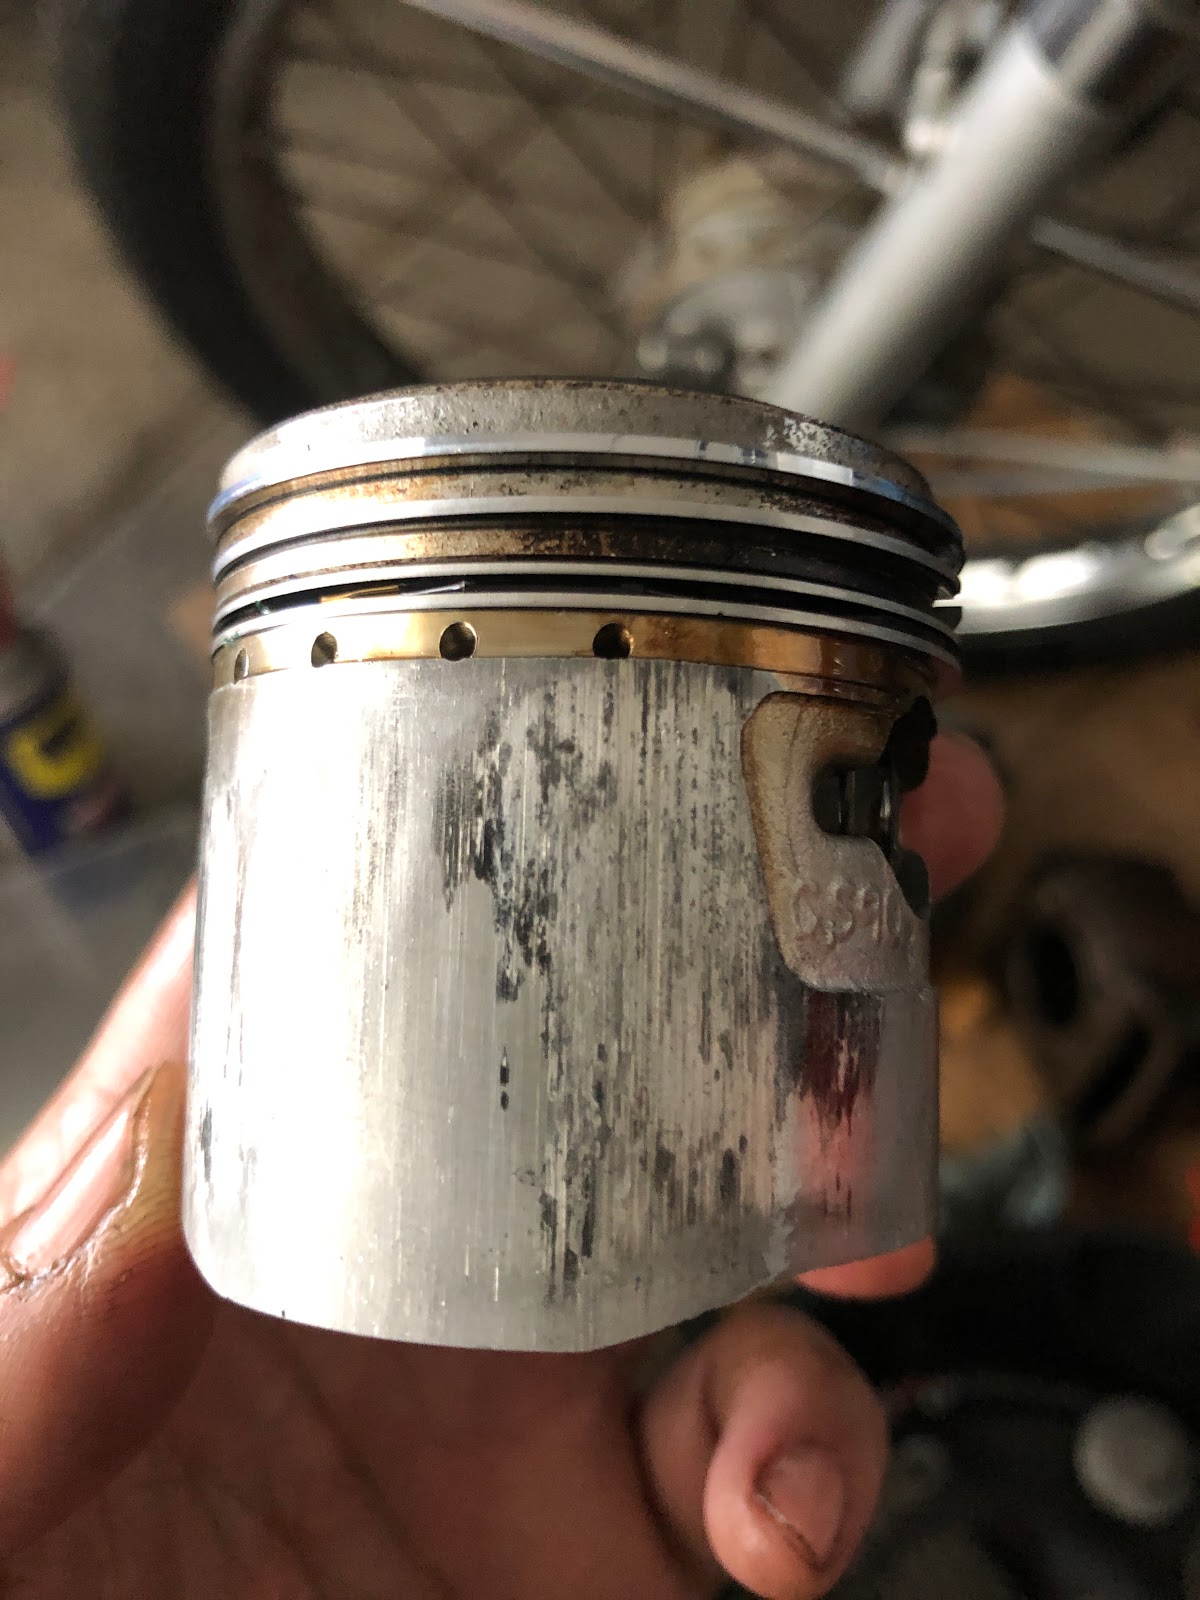
Ran around the block and confirmed smoke issue "fixed". But seems to confirm that it was always a case of bad cylinder walls. The Ivy cylinder was very, very clean.


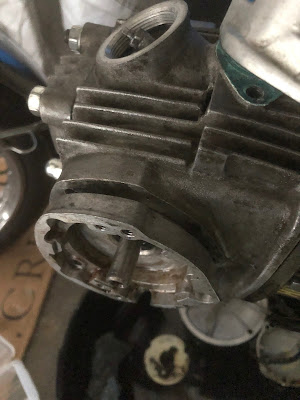
Needed to test the theory that maybe it was the cylinder head (valves) that were at fault. So swapped over Ivy's head to Red. Also swapped back to the red cylinder jug to "reset" everything.
Fired her up and now she was absolutely blasting smoke. Filled the garage in seconds.
Then left with no choice but to do the full swap from Ivy: head, jug, and piston.
No big issues doing the swap. Fired her up and finally, only a trace amount of smoke (probably from the oil inside the muffler).
A few things to note:
- Ivy's head had the solid head gasket as opposed to the cut out. Left the solid one as it had seemed to work fine up to this point.
- Finally realized that there are 2 sizes of base plate, which line up to 2 different sized cylinder heads. The smaller 62mm base plate can fit in either. But the bigger 69mm can only ever fit in a 69mm head. Go figure...
Ran around the block and confirmed smoke issue "fixed". But seems to confirm that it was always a case of bad cylinder walls. The Ivy cylinder was very, very clean.



Tuesday, November 26, 2019
Ivy II: Fire Test Go!
Playing with the new soldering iron. Made the static timer a lot more bulletproof.
Downstairs, added the alternator gasket, tighten the camshaft and advance bolt.
Torqued head cover bolts to 10 ft.lb. Too gun shy to go higher but maybe will go up even slower to 14.
Added 850 mL of fresh oil.
But initially, was getting nothing trying to kick it over. Wasn't even coughing. Was cold, too, in the mid fifties.
Then reset the air screw to 1 1/4 turns out (from 1 1/2) and suddenly she fired.
Let her run for a few minutes until noticed a giant leak from the left cover. But left that for another day.


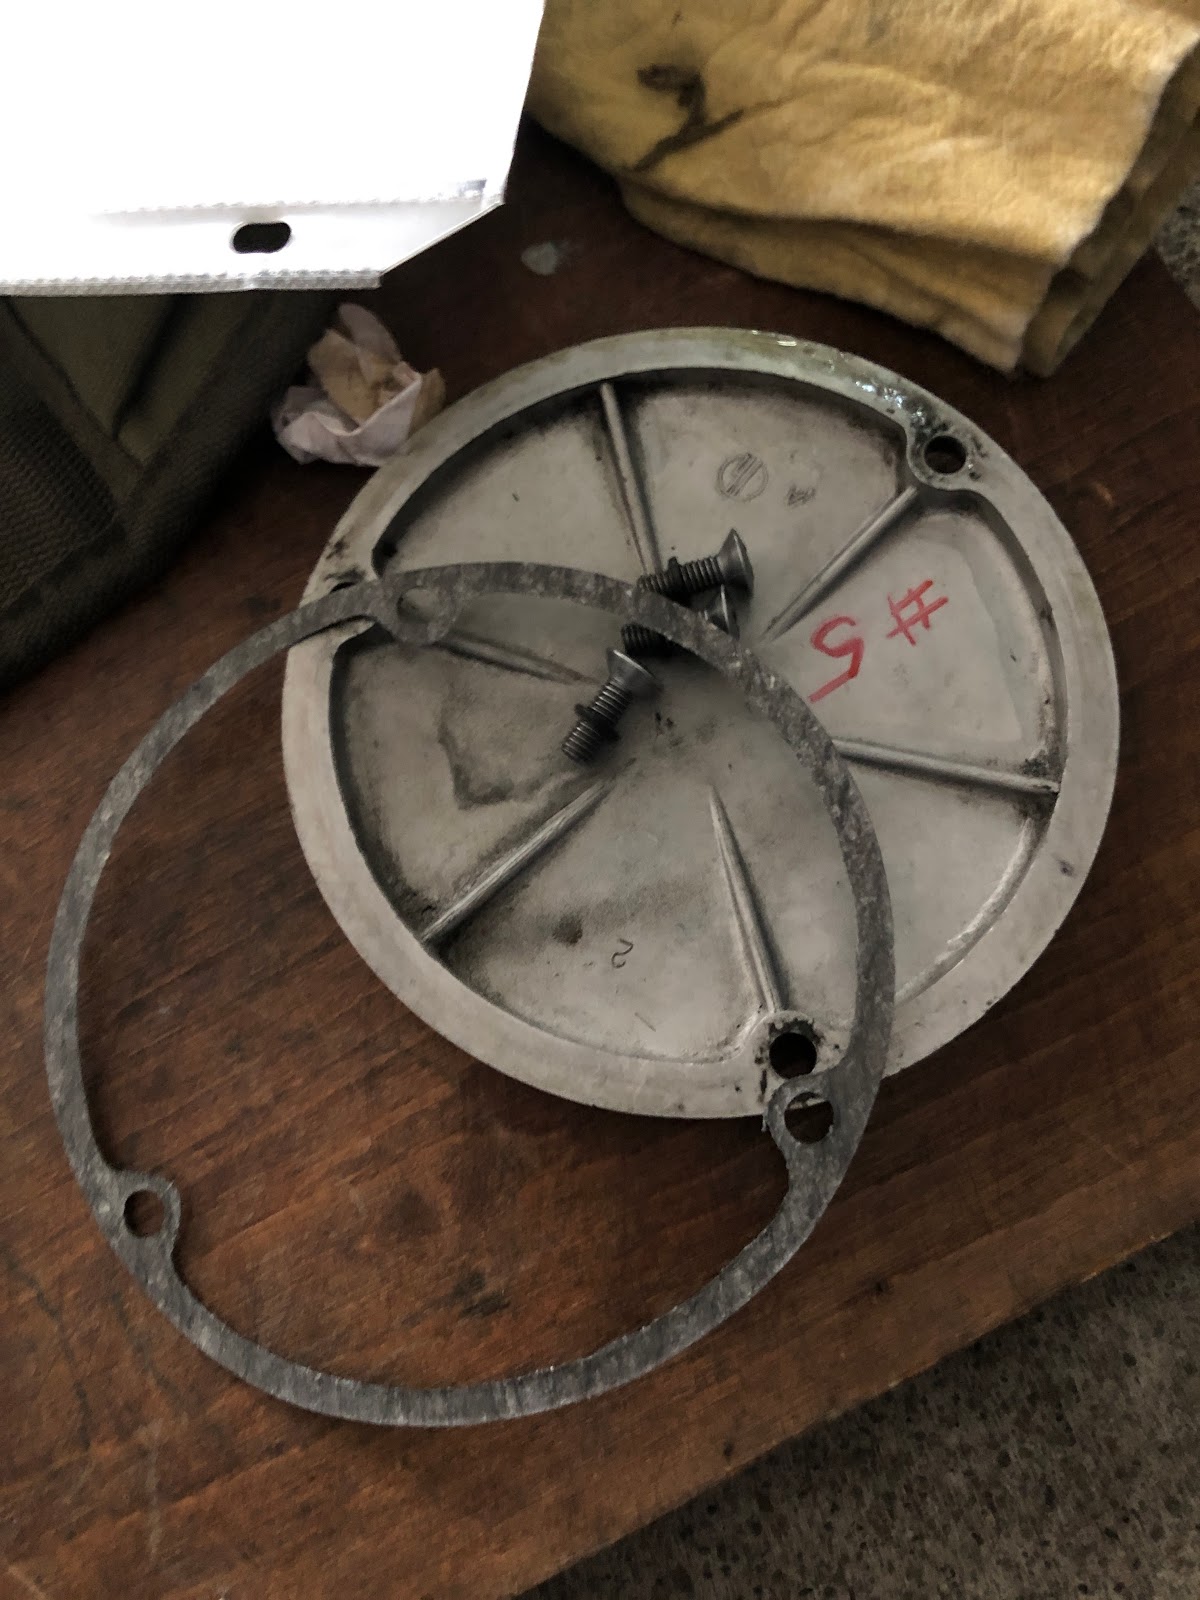
Downstairs, added the alternator gasket, tighten the camshaft and advance bolt.
Torqued head cover bolts to 10 ft.lb. Too gun shy to go higher but maybe will go up even slower to 14.
Added 850 mL of fresh oil.
But initially, was getting nothing trying to kick it over. Wasn't even coughing. Was cold, too, in the mid fifties.
Then reset the air screw to 1 1/4 turns out (from 1 1/2) and suddenly she fired.
Let her run for a few minutes until noticed a giant leak from the left cover. But left that for another day.




Friday, November 22, 2019
Ivy II: Top End Install
Piston back in with a little moly-B. Replaced a few gaskets that looked perished.
Torqued the rotor bolt to full 20 ft-lbs. But a little gunshy on the head covers - only torqued to 5 ft-lbs. Will slowly increase torque bit by bit before running.


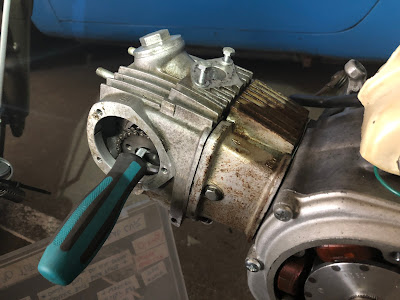


Torqued the rotor bolt to full 20 ft-lbs. But a little gunshy on the head covers - only torqued to 5 ft-lbs. Will slowly increase torque bit by bit before running.


Saturday, December 15, 2018
Run Red Run: Engine Install
After all the back and forth around possibly installing the motor to Astrid or Evie first as a test, decided to just cut to the chase and mounted the motor straight to Red.
First things first, swapped out the smaller bullet on the coil for the bigger red one.
Install itself was relatively painless, though the trick is that you have to set the rear in place before the front. Had the coil wired up through the battery box and just made sure to pull up the slack as I slowly pushed the engine into place.
Added the top end and the exhaust. Added the step bar so I could ride the sidewalk a few times, but really need to add the pedals to get a good feel for the ergonomics.


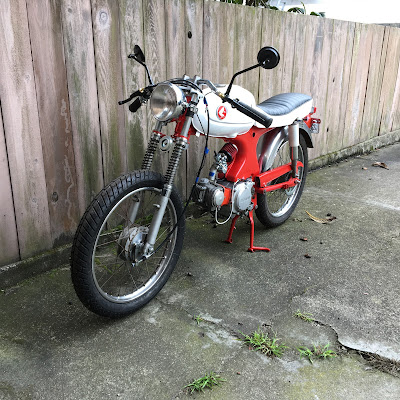


First things first, swapped out the smaller bullet on the coil for the bigger red one.
Install itself was relatively painless, though the trick is that you have to set the rear in place before the front. Had the coil wired up through the battery box and just made sure to pull up the slack as I slowly pushed the engine into place.
Added the top end and the exhaust. Added the step bar so I could ride the sidewalk a few times, but really need to add the pedals to get a good feel for the ergonomics.


Sunday, January 29, 2017
Run Ivy Run: Easy Come, Easy Go
Just like torquing the head bolts, a seemingly menial task turned into a catastrophic event.
The simple task was to tighten down the exhaust flange bolts after having realized that Roxy's were full tight. I thought the excess noise and smoke from the head was coming from it being too loose.
While cranking down the upper bolt, I suddenly realized that it wasn't actually tightening at all. I pulled out the bolt and saw metal shavings. So... the threads are completely gone. I tightened up the lower bolt as much as I dared.
I hooked up the battery and tried to start it anyway. Nothing - totally dead. Sat and thought on it for a few minutes, and just when I was about to pack it in, I decided to try it WITH the choke. And she started right up!
She wouldn't hold idle, but starting was no problem.
So is this related to the exhaust being loose? It was the only thing that changed, and yet why would she start and run with throttle, but not hold idle.
The fact that it took choke to start her this time means she's running much leaner than before. Could that point to the exhaust?
Started doing research on thread repair. Looks like there's the more common Helicoil option for only $20 or so, or there's the higher-end Time Sert kit for about $70, though it's said to be much better long-term.
Both options involve having to carefully drill into the head, though.
But like Pirsig said in Zen and the Art of Motorcycle Maintenance, the entire value of the bike is now hanging on this one stripped bolt hole.
Decisions, decisions...
Also, found a mix of oil and gas in the pan since the last run. Clearly the carb had overflowed and drained to the pan - and I realized I'd also left the petcock switched on on the aux gas canister.
But when I loaded up the gas again, nothing leaked. So I set up the overflow line into a separate plastic container and left gas in the canister to see if something leaks over the next couple days.


The simple task was to tighten down the exhaust flange bolts after having realized that Roxy's were full tight. I thought the excess noise and smoke from the head was coming from it being too loose.
While cranking down the upper bolt, I suddenly realized that it wasn't actually tightening at all. I pulled out the bolt and saw metal shavings. So... the threads are completely gone. I tightened up the lower bolt as much as I dared.
I hooked up the battery and tried to start it anyway. Nothing - totally dead. Sat and thought on it for a few minutes, and just when I was about to pack it in, I decided to try it WITH the choke. And she started right up!
She wouldn't hold idle, but starting was no problem.
So is this related to the exhaust being loose? It was the only thing that changed, and yet why would she start and run with throttle, but not hold idle.
The fact that it took choke to start her this time means she's running much leaner than before. Could that point to the exhaust?
Started doing research on thread repair. Looks like there's the more common Helicoil option for only $20 or so, or there's the higher-end Time Sert kit for about $70, though it's said to be much better long-term.
Both options involve having to carefully drill into the head, though.
But like Pirsig said in Zen and the Art of Motorcycle Maintenance, the entire value of the bike is now hanging on this one stripped bolt hole.
Decisions, decisions...
Also, found a mix of oil and gas in the pan since the last run. Clearly the carb had overflowed and drained to the pan - and I realized I'd also left the petcock switched on on the aux gas canister.
But when I loaded up the gas again, nothing leaked. So I set up the overflow line into a separate plastic container and left gas in the canister to see if something leaks over the next couple days.


Sunday, July 10, 2016
Ivy: Top End Transplant
Did the second big job to switch the top end over from Astrid to Ivy. Went rather smoothly.
Thought I was going to get stymied by a frozen head cover that wouldn't budge a millimeter once the nuts were off. But after just a few gentle taps with the ballpeen, it freed right up.
Finally getting a chance to remove the cylinder jug on Astrid, it looks like the persistent leak had been coming from the rectangular gasket around the camchain (on the front of the jug). So hopefully simply replacing it will stop that leak once it's on Ivy. (And should really just replace both those rectangular gaskets anyway).
Removing the piston pin circlip was unexpectedly fiddly.
The gasket on the contact wire is looking pretty perished.
Ended up with an "extra" o-ring coming off the Astrid head cover, and didn't obviously see where it was supposed to go. Need to double check...


Subscribe to:
Posts (Atom)