Wired up the voltmeter by taking hooking up the positive to the horn and grounding it to the bars underneath the horn switch.
Went right into the same mount as the speedo. Job done.
Showing posts with label voltmeter. Show all posts
Monday, July 15, 2019
Sunday, July 14, 2019
Red: Homemade 6V Voltmeter
Got a $10 voltmeter from Amazon (Chinese seller). Got an error as soon as I hooked it up to the battery but immediately realized it was meant for 12V and I'd just missed that in the title.
But then realized I at least had a nice metal body and I could perhaps swap out the guts of it with one of the 6V LEDs I already had.
Getting it open was the hardest part. Got the body off easy enough but the cap was really crimped on there tight keeping the plastic cover captive. Basically had to rip through and destroy the plastic inner shell to get anywhere near it.
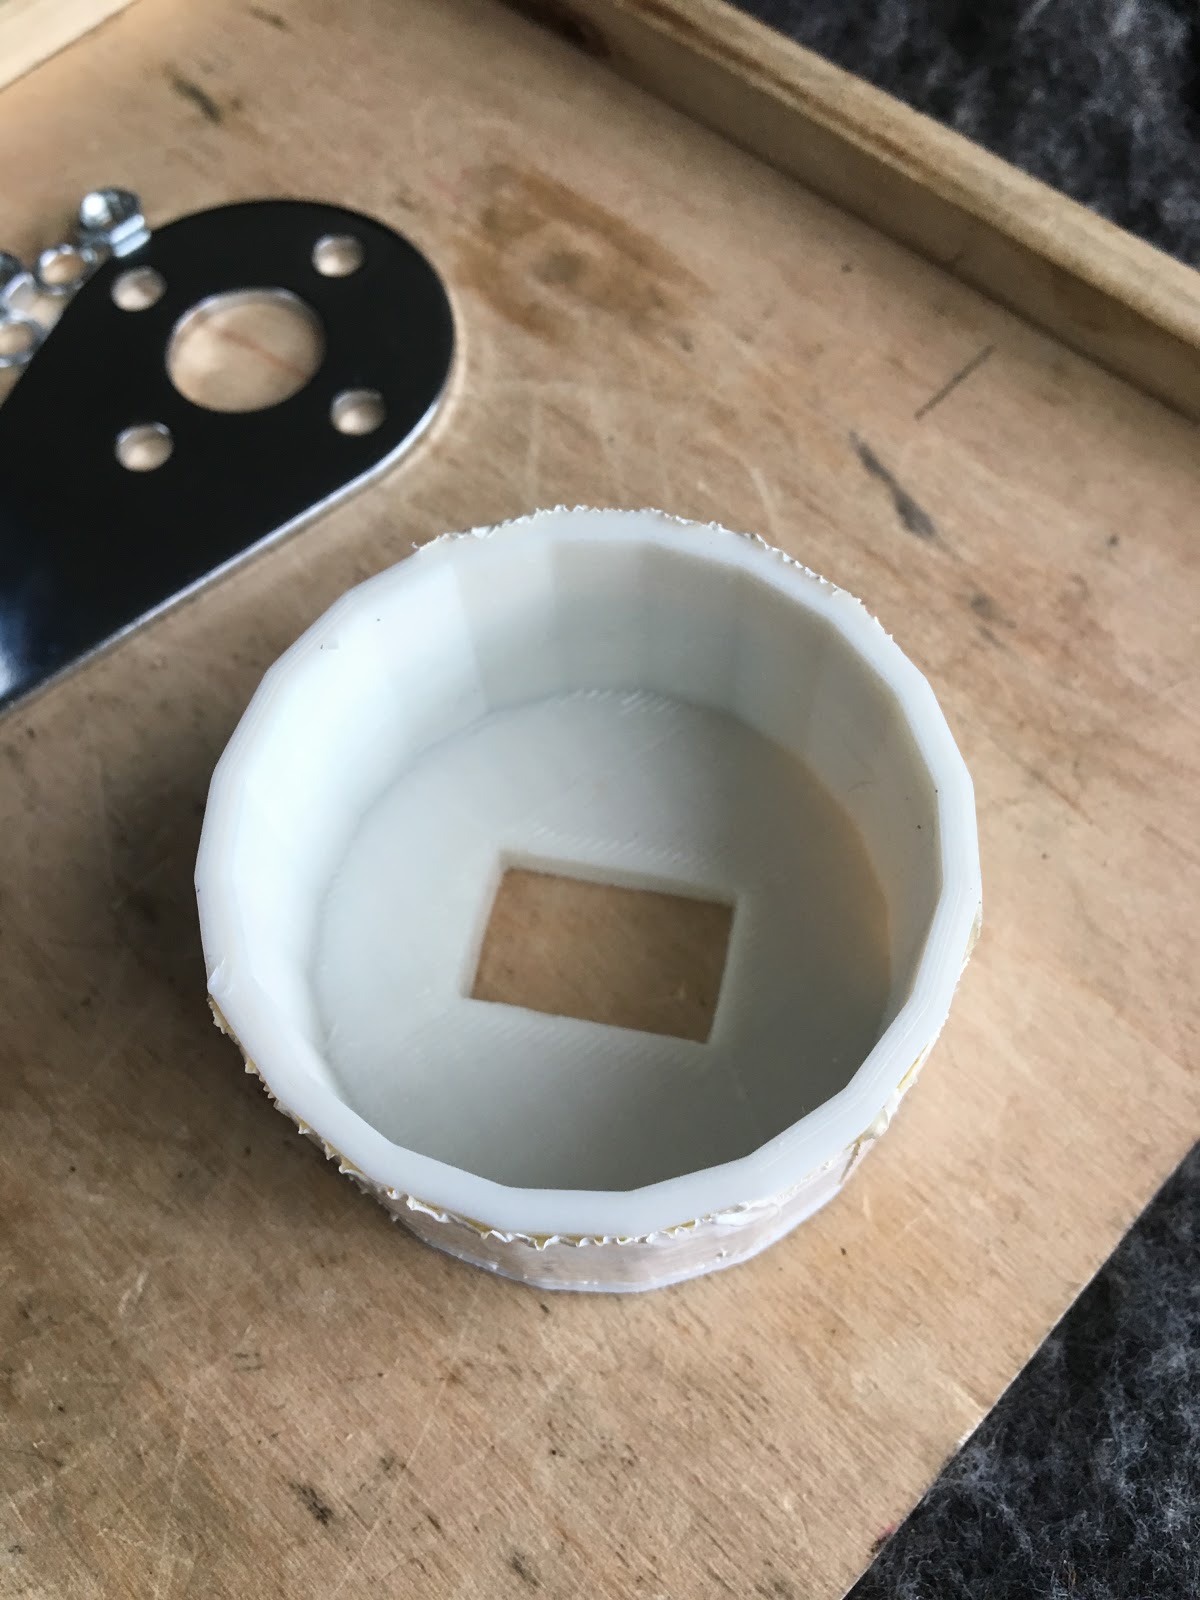
Relatively easy to 3d print a new inner body. Thought I'd have to also make some kind of fancy mount for the LED itself but found that it was easy enough to press fit it into the rectangular opening.
Final piece of luck was getting a couple big o-rings from the hardware store. Put a smaller one against the 3d body, then the clear plastic cover, then the thicker o-ring to keep it all in place. Worked a treat.
Bonus was that the blue LED looked much better than the original red 12V display.
But then realized I at least had a nice metal body and I could perhaps swap out the guts of it with one of the 6V LEDs I already had.
Getting it open was the hardest part. Got the body off easy enough but the cap was really crimped on there tight keeping the plastic cover captive. Basically had to rip through and destroy the plastic inner shell to get anywhere near it.
Relatively easy to 3d print a new inner body. Thought I'd have to also make some kind of fancy mount for the LED itself but found that it was easy enough to press fit it into the rectangular opening.
Final piece of luck was getting a couple big o-rings from the hardware store. Put a smaller one against the 3d body, then the clear plastic cover, then the thicker o-ring to keep it all in place. Worked a treat.
Bonus was that the blue LED looked much better than the original red 12V display.
Labels:
DIY,
electrical,
voltmeter
Subscribe to:
Posts (Atom)