Showing posts with label cylinder head. Show all posts

Friday, July 6, 2018

Red: Engine Investigation

Had the day off and decided to audit all the jugs and cylinder heads, starting by pulling the "Mystery" one from Astrid.  Simply can't remember its origin.  I know that I swapped whatever was on Viola/Ivy for the Astrid top end back when we were getting her running, but was that the original Viola top?  I have another cylinder head marked "Viola", but maybe that came as a spare part?

Regardless, I pulled that jug and head from Astrid and brought that up for carpet work along with the "Viola" one.

Stated by inspecting the valves, which I did on the Viola one (everything was within wear limit), but found the Mystery rocker cover screws were frozen and stripped.  Again, not sure why that never got addressed.

Tried to mate the Viola head on the Mystery jug and came to the realization that they are two completely different models.

The Mystery jug has a 68mm surface with no groove in it.  While the Viola has a 65mm cylinder surface.

Are these really 2 different S90 jugs?  I need to lookup the Yahoo discussions again.  I think the Viola 65mm is definitely stock S90 so if anything is different, it's the Mystery one.


Sunday, March 23, 2014

Spare Engine: Night and Day

Media blasting with aluminum oxide.  This head won't get used on a running engine, so I sacrificed it to the sandblasting gods.


Saturday, March 22, 2014

Spare Engine: Chaser

Finally got a chance to use the spark plug thread chaser I bought ages ago - and to good effect.  The threads in the head to be blasted were pretty wonky.  By slowly screwing in the chaser I was able to get them all lined up and now the plug will seat by hand.

I did it without packing the gaps with grease (because I was working in the kitchen), but I see how that would catch all the small metal filings.


Thursday, March 20, 2014

Spare Engine: Better to be Lucky

Caught some very lucky breaks today.  There were a couple times I thought things were definitely going south, but somehow we pulled through.


Not only were all the screws frozen on the oil pump (impact driver knocked them out easily), but then it was hard as hell getting the halves apart.


Actually damaged the metal hammering it apart with a screwdriver, but I didn't have much choice.


These three screws holding the cam assembly turned out to be the toughest frozen screws ever.  Mainly because the screws were such soft metal that they wanted to tear apart at the slightest turn.  Plus, I couldn't really get the Dremel cutting wheel square on any of them, so they all had to be cut at a weird slanted angle. I was almost positive I'd have to resort to other means to beyond the Dremel/Lisle to get them free, but this was the first lucky break when the impact driver knocked them all loose (though it took an unusual 4-5 hard blows).


Switched over to working on the crappier of the 2 spare heads.  I plan to media blast one of them, sacrificing it for the benefit of the "model engine".  It turned out to be in really horrible condition anyway, and probably not something I'd ever want to risk running in a working engine.


First time using the tweezers to pull the keepers.  Worked pretty well, but the buggers are still pretty tricky to yank out.


Then discovered that the intake valve was absolutely frozen into place.  It wouldn't budge a millimeter.


Used the alternator puller like a punch to hammer it down.  But even then, it was taking heavy blows just to get it to move.  It was chock full of rust-colored powder.


Luckily, the exhaust valve came out without too much fuss.


Which was a good thing because I had to use the exhaust valve to punch out the intake!  (pretty clever idea if I do say so myself)


Finally out!  That was another lucky break.


Major corrosion.


Monday, June 27, 2011

CM91: Reattaching the Head

When I first started working on getting the cylinder head off, I was stopped several times by stuck screws or tools I had to go buy.  That led to me disassembling and reassembling the thing several times.  The first time I'd get five steps in and then have to stop.  The next time I'd get eight steps in and then have to stop.  Each time I'd reassemble everything and just start over the next time I worked on it.

I'm realizing now that the repetition was very helpful since you don't pick up on everything the first time around.  With that in mind, I decided to go ahead and get the cylinder head reattached even though I haven't yet cleaned it or gotten the valves or rocker arms out.

Followed Clymer's and everything went back together without a snag.  Though the first time I tried getting the head back on, I found that the cam sprocket wouldn't come out far enough to line up correctly.  I thought the chain was pulled taut, but it had gotten a bit kinked inside the cylinder, so watch out for that.

Also, as part of reassembly, you need to remove the cam chain tensioner sealing bolt, followed by the spring and the pushrod (to give the chain the max amount of slack).  Well, I got the bolt off with no problem (and make sure you have something to catch the residual oil) and the spring fell right out behind it.  Then... nothing.  Checked around with my finger and couldn't feel anything inside the hole.  So I just carried on with the other work.  Five minutes later, the pushrod plopped out.  I'm sure there's a trick to get it out a little faster instead of waiting for gravity to do it, so I'll have to ask around on that.

After everything went together, I spun the alternator a few times, and to my surprise and amazement, everything worked!  Found TDC a few times and checked the marks and everything was lining up swimmingly.


Here's a shot of the spring and the pushrod that live under the sealing bolt.

Friday, June 24, 2011

CM91: Combustion Chamber

CM91: Lisle Impact Driver 4: Stuck Screws 2

Ok, so the Lisle impact driver isn't all powerful after all.  Ran up against three more stuck screws, this time on the rocker arm cover.  The screw at the 12 o'clock position eventually came free with just a few taps.  But the other two refused to give it up, and I ended up stripping them.

Out of six stuck screws total so far, the Lisle has taken down four.  I'll be keeping score.  Go Lisle!

So now it's the Dremel's turn to play.  Will attempt to re-slot them so I can fit the flat head attachment of the Lisle.

And if that doesn't work...?  Time to buy a drill...?


Thursday, June 23, 2011

CM91: Off With Your Head!

Cylinder head came off today.  As I'd disassembled all the way down to the camshaft several times already, the work went pretty quickly.

Everything was pretty straightforward, though Clymer's described there being a couple screws actually holding the head onto the cylinder, which I spent a couple minutes trying to find.  The picture in Clymer's was obviously a different model of engine, but I figured they'd just be somewhere else.  But after finding absolutely nothing, I decided to just pry the head off and viola - it popped right out.

My big mistake of the day was forgetting to charge the camera battery!  Had to switch to the iPhone camera about halfway through.


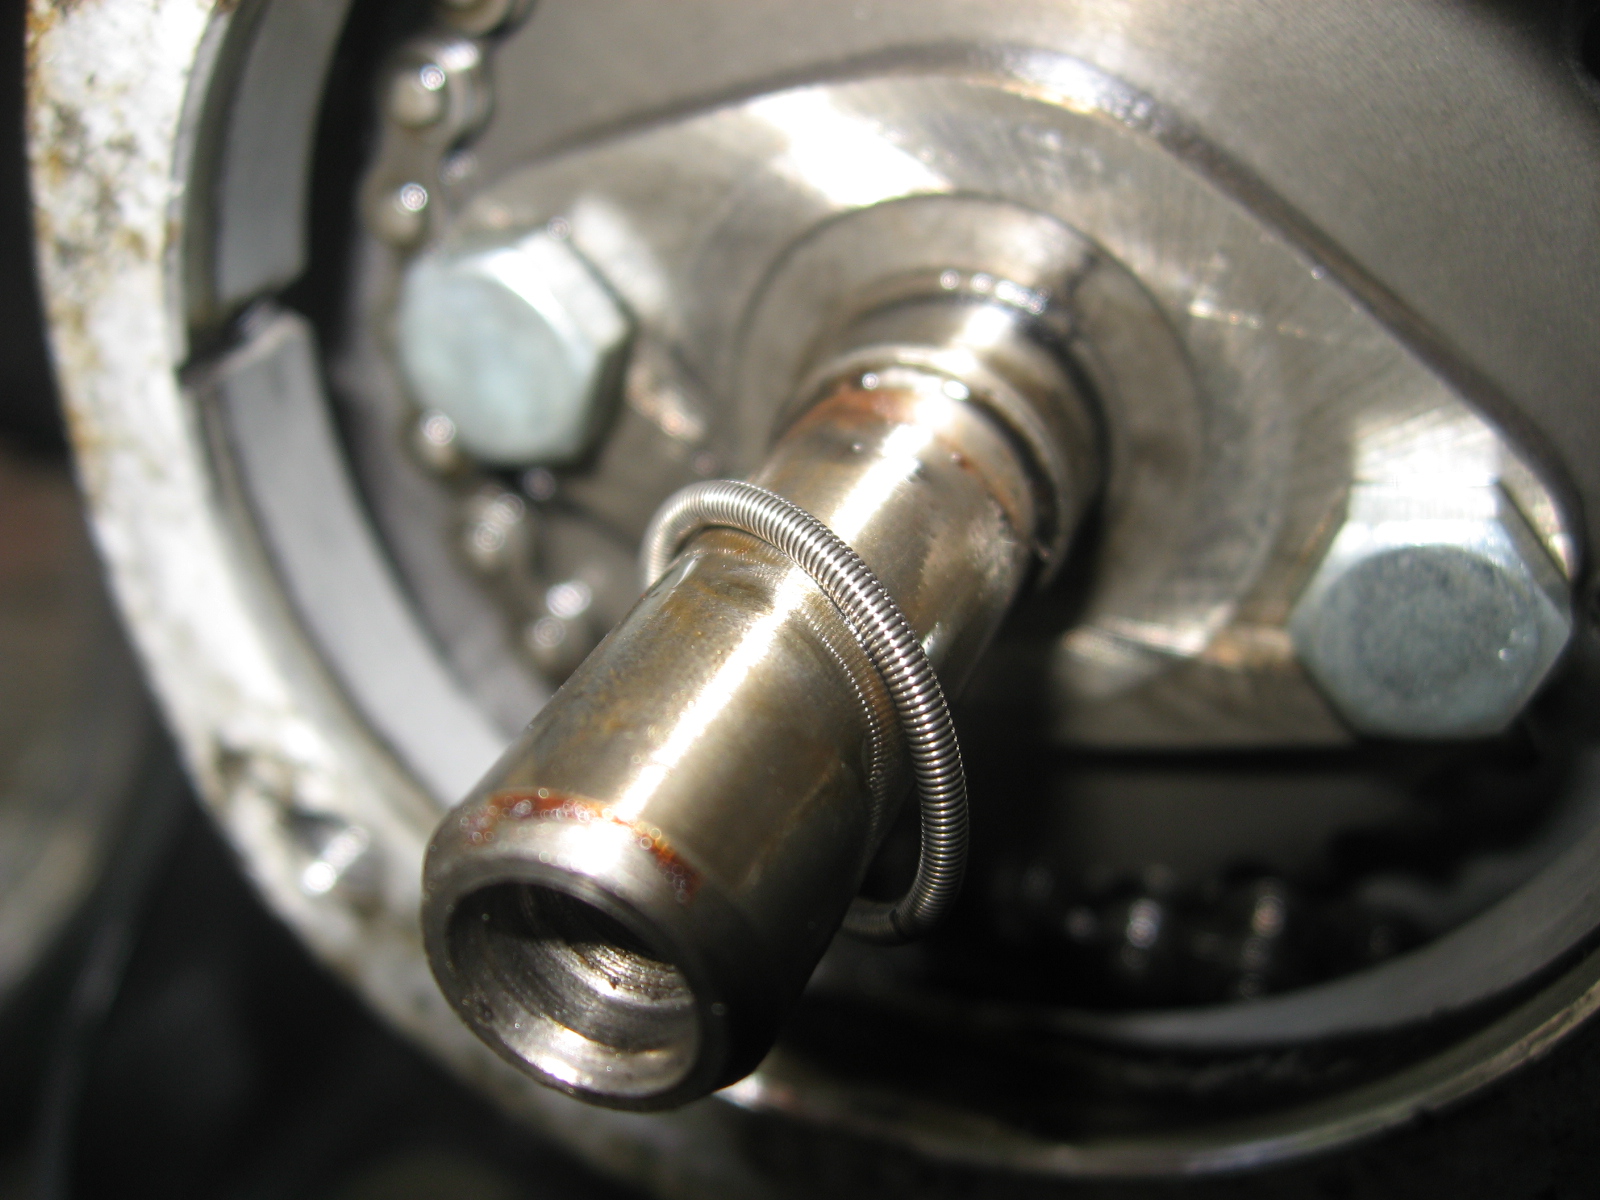
This little round spring thingy was hiding behind baseplate.  Clymer's didn't mention it so I wasn't watching for it.  Almost lost it...  It actually fits into the oil seal that's fixed into the center of the baseplate.


This gasket essentially disintegrated when I took it off.


A peek at the rocker arms.


A look at the camshaft.


The head as it begins to come off the dowels.


The top of the piston.


And finally, a few shots of the head itself.