Showing posts with label rear wheel. Show all posts

Saturday, May 8, 2021

CB100: Rear Wheel Check

 Checking new rear axle on swingarm.  CB100 is longer and thicker than S90 version.


Friday, March 17, 2017

Ivy Shakedown #6: Another Lesson Learned

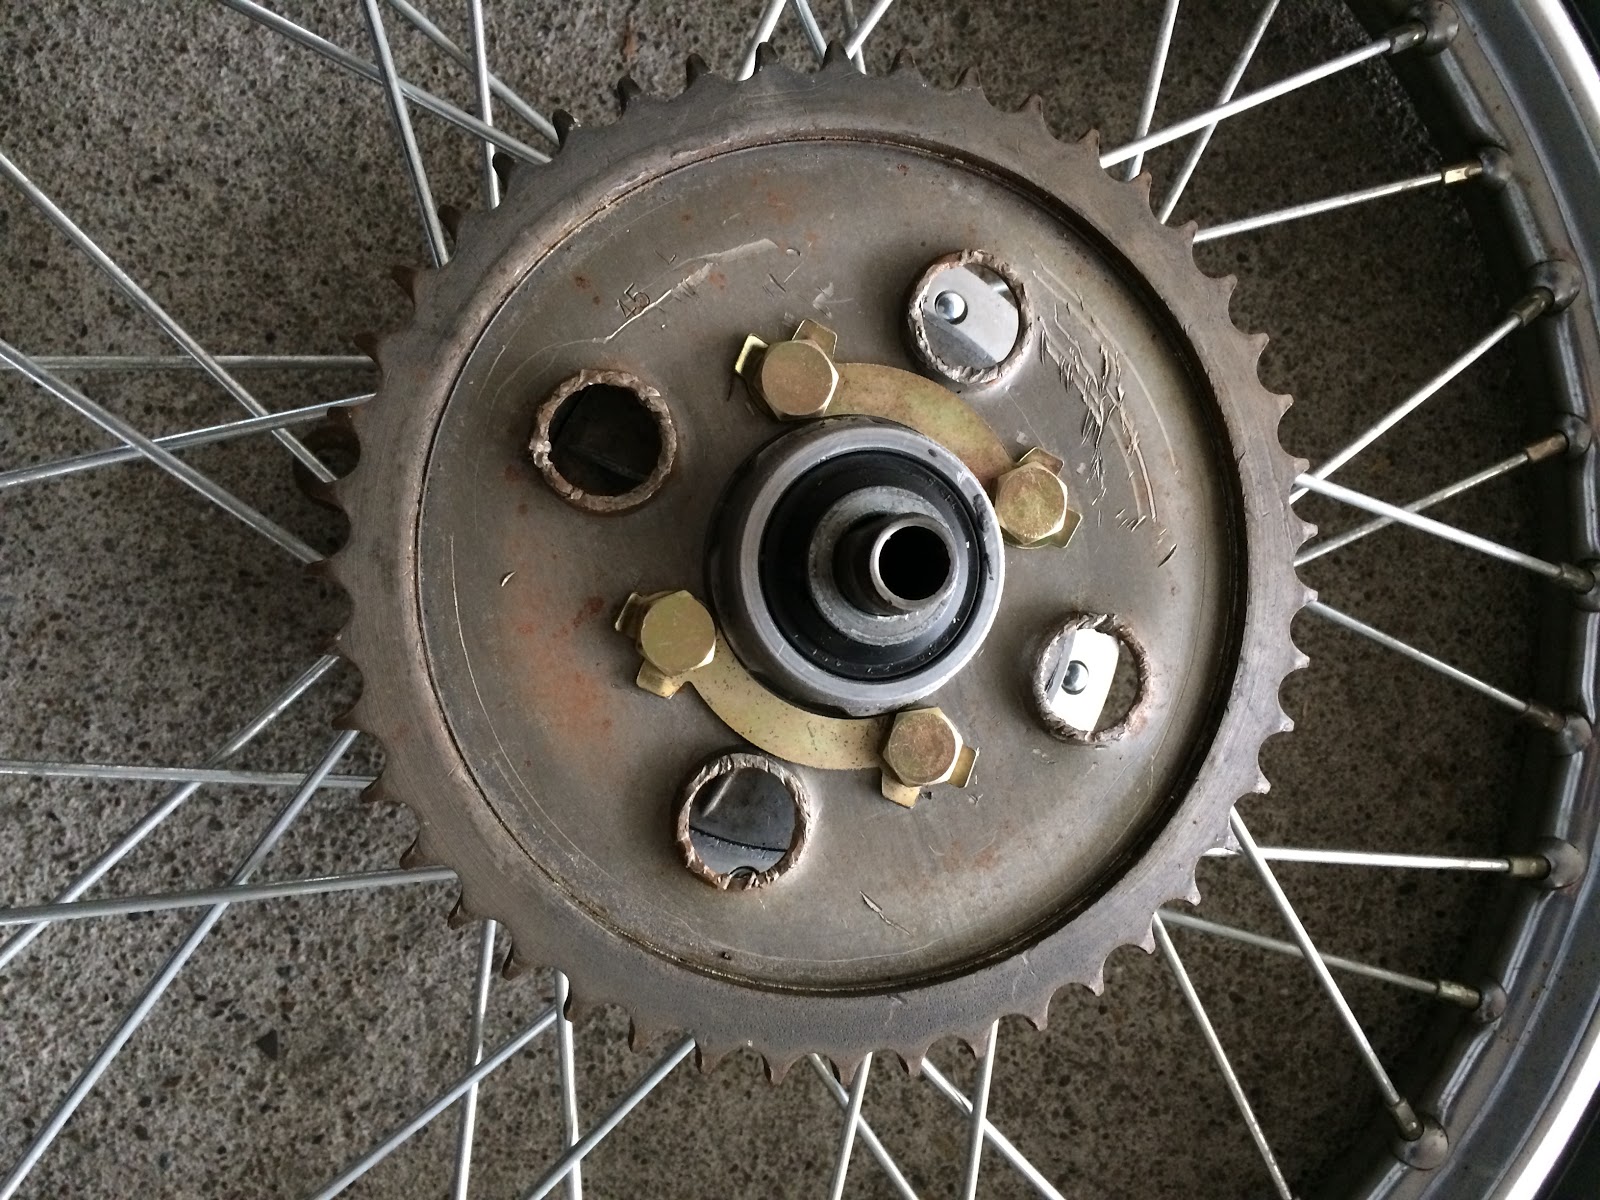
As I was rolling the bike to door, I hear a scraping sound every time the wheel made a full rotation.  Upon closer inspection, realized the flange bolts were totally loose and hitting the back of the chain cover bolt!  They'd been heavily scored!

Another lesson learned.  Not only did I never lock down the keepers, the bolts were not even tightened down!

Tightened them up (but didn't torque).


On the plus side, had a perfect clean ride for Shakedown #6.


Saturday, January 21, 2017

Run Ivy Run: The Sound of Catastrophic failure

Session actually started off very well.  I installed the stock air filter along with the S90B carb.  Everything went together very nicely.  This is the newish airbox, plus one good cover from the Viola original, plus a new repro air filter for 4-into-1.  Also confirmed the needle is in the middle position.

Before starting the next job of replacing the rear sprocket, I figured I'd torque the head bolts - a little job that just needed doing.

I use a 14mm socket on the torque wrench since they are 8mm bolts and start cranking away.  I'm then surprised to find that the socket starts slipping on the bolts when they get tight.  This strikes me as odd, but I don't actually PAUSE to ASSESS the SITUATION.

If I had, I would have seen that the bolts are in fact 13mm and not 14 like they usually are.  I was stripping them.

As I was tightening down the top left side bolt, there was a sudden CRACK and the wrench came off suddenly.  Apparently, I'd torqued the bolt enough that it ripped the bottom end rod in half.  Well, that's just great...

Though, if that rod was going to fail on torque, then it was always going to fail.  There's no way I could have under-torqued the bolts, somehow expecting the rod was weak.

Though I'm still not sure if the slipping socket had anything to do with it.  Did the slippage cause the wrench not to read the torque correctly which meant I was over-tightening?  I don't think so... but...

So definitely a major issue.  I think it's going to be a nightmare trying to remove the broken rod and replace it.  But I figure the engine should run with only 3 of 4 connecting rods???  Well, at least it that can't affect start up, can it?


After the shock of that wore off, I did the rear sprocket.  Pleased to find that in general, all the steps came back easily.  The job actually took a lot less time than I'd thought it would.


Wednesday, September 16, 2015

Ivy: Rear Wheel Prep

Getting the "good" rear wheel ready to mount.  Added two fresh Nachi sealed bearings, a new rim strip, the good IRC tube and the IRC tire.


Friday, September 11, 2015

Ivy: Wheel Swap

Did this...


  1. Removed Ivy's rear wheel
  2. Removed all the spokes
  3. Put the bearings back into the "bad" hub (did not install the distance collar)
  4. Swapped the dampers to see if they'd be a little thinner (and thus make for a better fit).
  5. Re-laced the bad hub and the bad rusty rim with old spokes.  Tightened them but did not bother truing.
  6. Put anti-seize on all the spoke threads.
  7. Replaced the rim strip which was all covered with rim rust.  
  8. Used an old tube and the "safety" tire.
  9. Re-installed the new bad "temp" wheel.  Had the wheel cocked at an angle trying to install the spacer and think I cracked the rear brake when trying to hammer it in.
So now I can lace and true the good "silver" hub with the nice clean rim with the brand new spokes.


Sunday, August 9, 2015

Spare Wheel: Modify to Fit

After getting confirmation from the group, I knew I needed to widen the holes in the hub to get the outer spokes to fit.  I used the old weird hub from Viola to do some testing.  At first I just went straight in with the Dremel sanding tip to widen the hole.  But then I realized it's not so much the width of the hole but the the material where the spoke first hits.

So I came in with the Dremel at the same angle and direction the spoke would.  Just taking a bit of material out of the top of the hole allowed the spoke to slide right through.  I only did the outer holes, marking it as I went.

Also, a revised lacing procedure:

  1. Insert all the inner spokes on both sides of the hub
  2. Add nipples to all the inner spokes on both sides
  3. Insert all the outer spokes on one side
  4. Add nipples to those outer spokes
  5. Repeat for the other side outer spokes
  6. Job done!


Monday, August 3, 2015

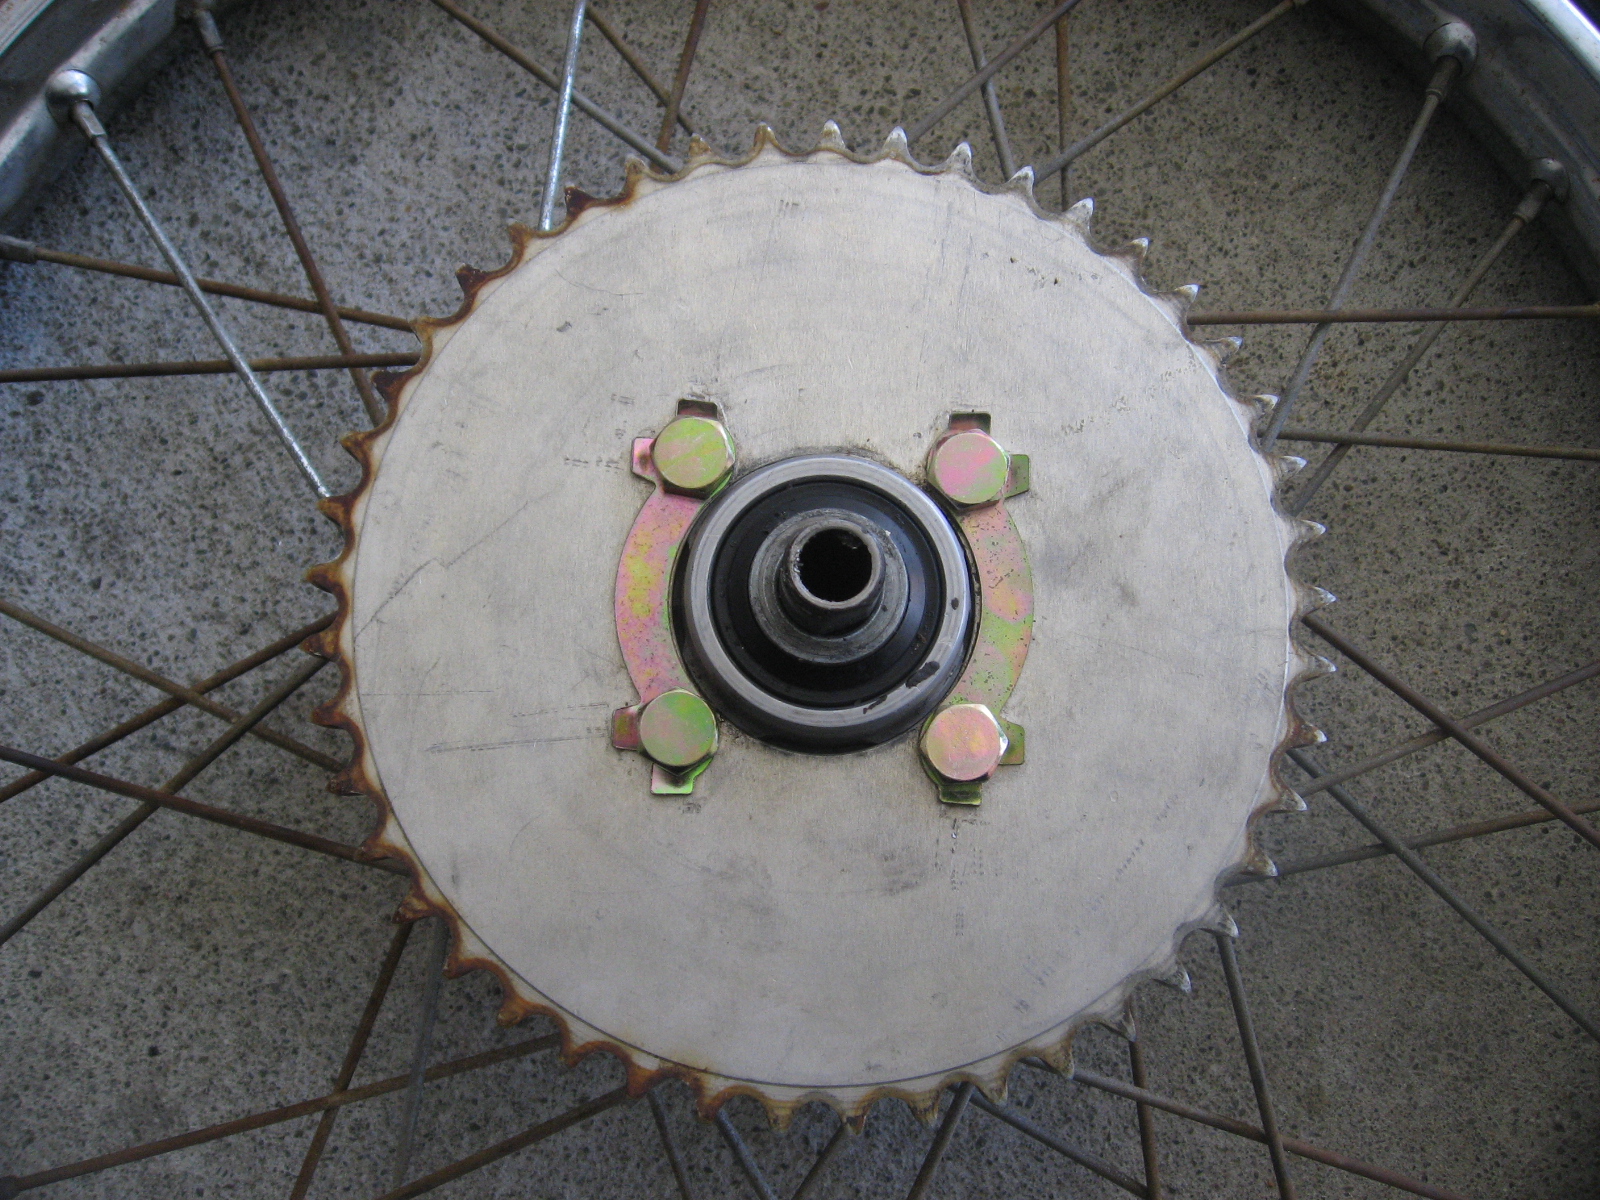
Ivy: Sprocket Restored

After spending a few days in an Evapo-Rust dip, the rear sprocket was looking very tidy.  Swapped it out with the eBay one.

Also tin-foiled the front and rear rims, and also added the new clutch cable which was sold with the correct number for the low bar (40") but turned out to be a high bar version at 44" overall.