Showing posts with label oil change. Show all posts

Friday, May 22, 2020

Garage: Odd Jobs


  • Ivy - reinstalled pillion pegs
  • Red - oil change (not filters)
  • Roxy - installed new fuel line, flushed some gas through petcock


Tuesday, March 24, 2020

Birthday Garage Party

Not much to do on a birthday during quarantine...

But maybe fitting to work on all 3 bikes a little bit.

Added the copper washer to Red's tensioner bolt which did seem to stop that leak.

Also did oil changes on all three.


Tuesday, May 28, 2019

Red: Left Cover Leak Fix

Changed the oil (without cleaning filters).

Swapped out the left cover for the one that had been on Evie.  Needed a little cleaning and gasket scraping, but looked ok.

Wondering if it was the locating dowel on the old one that somehow contributed to the leak.

Doubled up on the gasket, though that probably was not necessary.

Went back the next morning and the shop towel shoved under the leak was clean!  Hopefully job done, but will check once more.


Sunday, May 12, 2019

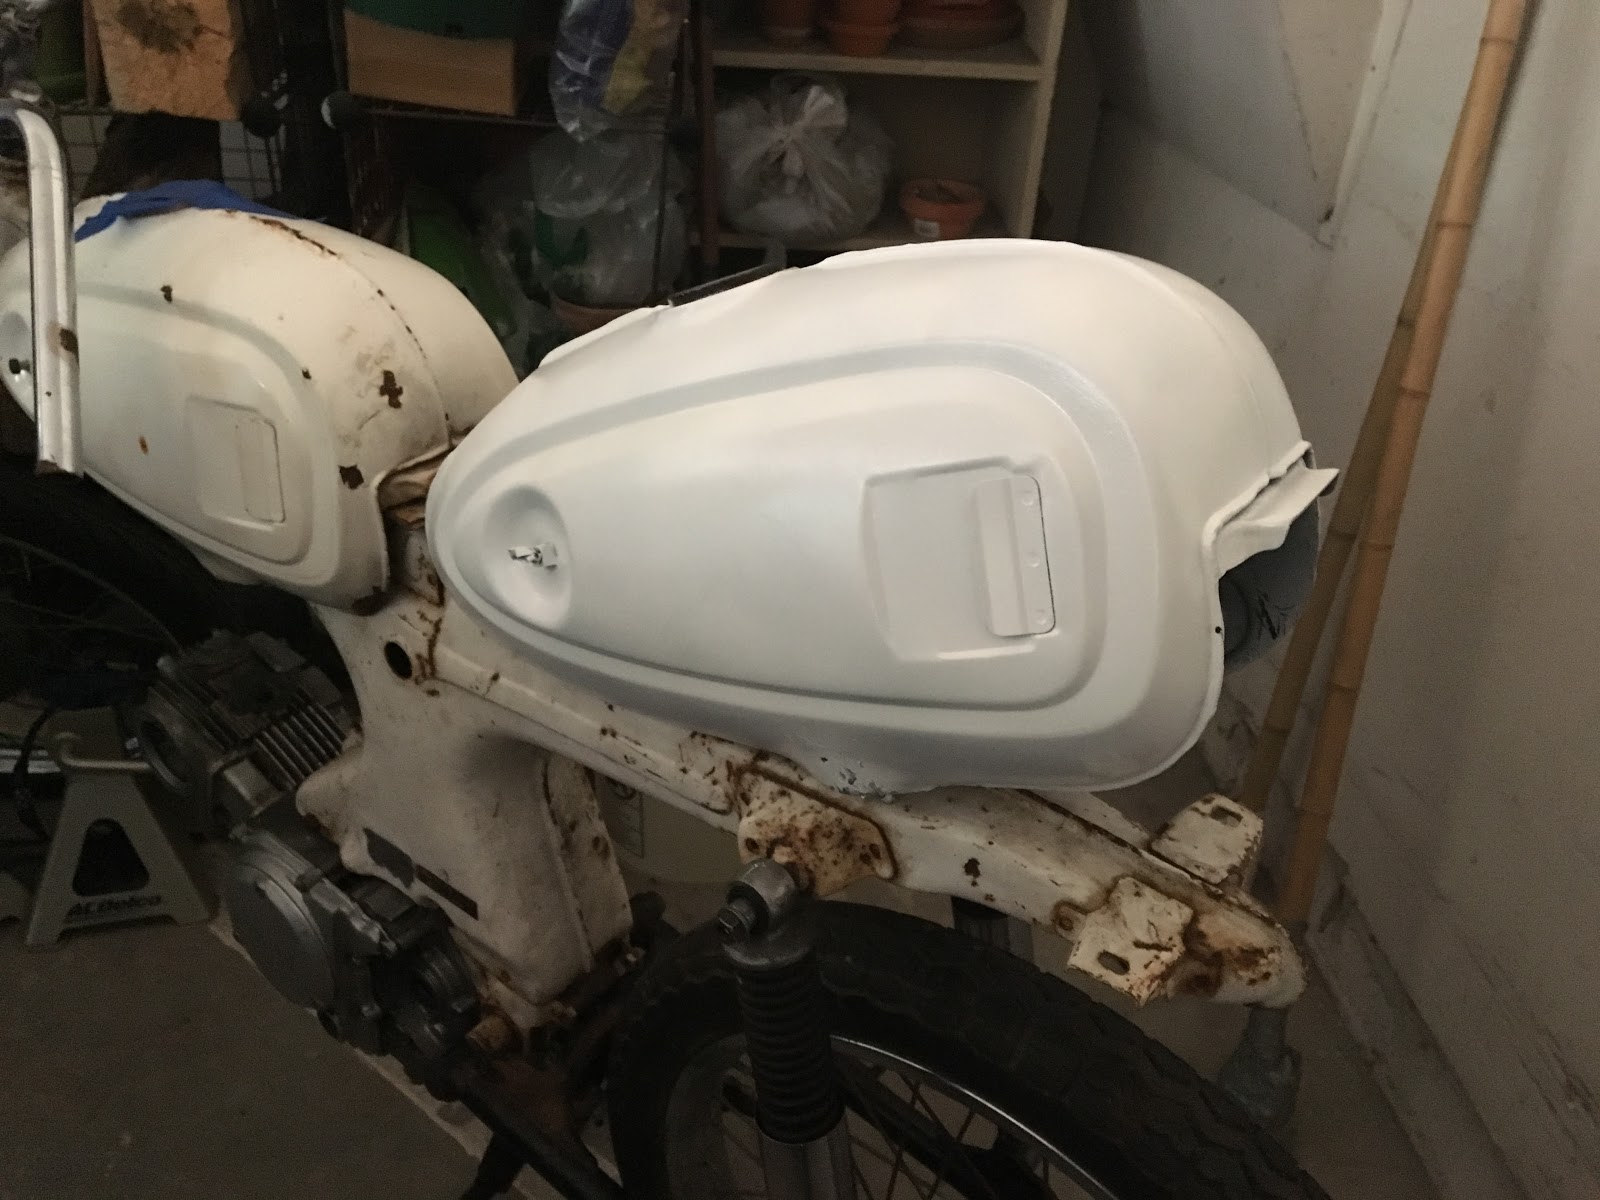
Red: Epic Tank Fail


Today was more about recognizing when you're about to step over that line from bad to worse.

Session started out okay.  The tank had dried nicely but I could still see some black coming through the white coats so I added a few more layers before doing the top coat.

Between coats, I changed Ivy's oil (but not the filters).

Then back to Red... went ahead and added 125 mL of fork oil on each side.  In doing that, I haphazardly went about torquing both the fork bolts and the main steering bolt.  No issues there but realized immediately after that something was wrong and that the forks were not moving at all.  They literally seemed frozen in place.

Tried to reset at that point.  Drained the oil from both sides (the left side drained in a solid stream, but the right only dripped, not sure why yet).  That changed nothing.

Added in the jack stands and started unbolting the forks themselves.  Got the left side undone from the fender and axle and found it moved fine.  Undid the right side and realized that was the one that was causing the problem.  I could get it to move but only with a lot of effort and it would keep getting "stuck" in place.

Undid the lower fork bolt but it was only when I undid the top bolt that everything came loose and started working again.  I must have torqued it all out of order and caused some kind of bind.

Redid everything in the right order and problem solved.  Added back about 100 mL on each side (forgetting that the right side probably still had a bunch stuck in there).

And I thought that was gonna be the hard part of the day...


Then a kind of summit fever hit.  Realizing I was so close to being done, I decided to push for getting the tank installed and petcock hooked up.  There was still more than enough daylight to get everything done and take her out for a maiden run around the block.

Chain of events went something like this...
  • The tank dropped into place nicely.
  • Installed the dual-inlet petcock, no problem.
  • Ran a 3/16" line from the vertical inlet to a gas catch.  Thought maybe I should do the secondary inlet, too (and lucky I did)
  • Poured a cup of gas into the tank (petcock still closed) to test whether I had any leaks out of the base of the petcock itself.  So far so good...
  • Turned the petcock on and here's where all the trouble started.  With the petcock on, I got flow coming from both lines, which I was not expecting.
  • I thought, no problem, I'll just run the secondary inlet to the actual plugged side of the tank and essentially render it closed, but when I did that, I stopped getting flow from the main inlet.  I think it must create a vacuum lock or something.
  • This is exactly the point I should have stopped, packed up, and thought through the problem carefully, slept on it and come back the next day.  Instead, I got stubborn and all kinds of impatient.
  • I tried a couple more combinations hoping to find a way to get flow from just a single inlet, but nothing doing.  Should have been a little more thorough with testing because now I can't even remember exactly what I tried.  Plus, I only tried it on Reserve.  Maybe on plain "On" it would have worked???  I just didn't have enough gas in the tank to try it.
  • So instead of stopping, I thought I'd try to hook up the old single inlet petcock.  But made a gigantic toxic mess as I tried to somehow detach the dual petcock without spilling the remaining gas all over the place.  
  • I succeeded in getting the single inlet one on... only to realize that it was that it was so wide that you couldn't mount the tank with it already installed.
  • That's the point I called it a night.  Made even more of a mess trying to slosh out the remainder of the gas into a bowl.  Screwed the single back in and left the tank open.
  • Ended up smearing some paint on the bottom left of the tank and all the gas dripping out basically melted away everything on the right side near the petcock.

Lesson(s) learned.

First lesson: I should have done ALL of this petcock testing before painting the tank.  That was just plain hubris.

I should have been more patient when first testing the dual-inlet.  I would have realized I could have tried the "On" because obviously that would NOT have required gas flow from secondary inlet!!

I did end up ordering a single inlet as soon as I got back up, which is probably the right way to go anyway.

Do I fix the paint while I wait for it to arrive, or not even bother till I test everything completely?


Tuesday, January 9, 2018

Ivy: Oil Change

Ivy oil change.  Mesh filter was pretty clean, just a bit of "fuzz".

Added 650mL of oil back.

Also added a second DIY gasket to the cap and seems to have helped.

On restart, got smoke from where the header met the head - tightened up the bolts.

Also proved that Ivy's exhaust will NOT fit Red.

Also hooked up both lights for my work space - excellent!


Saturday, September 30, 2017

Ivy, Red, Roxy: Little Bit of Everything

Had a good three hours worth of free time so had big plans for the day.  Turned out to be rather epic.

Kicked if off by trying to recharge Roxy's battery for the second time.  The last time I did it, it took 5 minutes and it was back to 6 volts.  This time I left it charging for almost 3 hours and... zilch.  It started at 3.6 volts and actually went down to 3.4 by the time I rechecked.  I even added distilled water to bring the levels up.  Think it's toast.

Though given how little I'm riding Roxy now, maybe it's for the best, as it would be hard to maintain.  Maybe better to just run her off the sealed battery as needed.


Did an oil change on Ivy and planned to go the full nine yards and check both filters, but the struggles with the tire changed will delay that till the next time.  Added 700mL back in.

Cleaned and lubed the chain, too.


So... on to the tire change.  Swapping out the old knobbies on Red for the new Michelins.  Tried to "wing it" from memory.  Did pretty well, though made a couple mistakes and had to back track.

For example, went around pulling out the entire circumference of the old tire instead of just half so then it was hard to actually get the rim out.  Then totally forgot the step on the new tire where you have to add in the tube!  Lucky I even had a spare tube as I forgot there's no point doing a tire change without a tube and rim strip on hand.  Had to leave the old rim strip in, and it was very brittle.

All that and I was thinking to myself that I should really write all this down.  Only later that night did I realize, I ALREADY HAD.  Beautifully detailed set of step-by-step notes sitting there in the dropbox folder.  D'oh!

That old knobby was a real bear to get off.  Felt like I'd gone a few rounds on the mat by the time I was done.


Tuesday, April 4, 2017

Run Ivy Run: Oil Change

Did a loop around Legion Of Honor then back for an oil change.  The filter was fairly clean, which was a big relief.  Guess it caught all the shavings last time.

Also added the exhaust filter.  Couldn't quite understand how the copper one would work since it was a larger diameter than the hole... Does it simply get crushed into place?

Figured I'd just use the asbestos version for now.


Thursday, March 16, 2017

Run Ivy Run: New Clutch & Shakedown #5

As expected, there was significant wear damage to the inside of the clutch cover.  The band of metal that holds the arm in place was very worn down.  Any further and it would have hit the arm itself.  Lesson Learned!

Went on to install the new (correct) pin-type clutch.  There was zero tension on the cable, which made it a breeze to install, but had a worrying moment when I thought there was too much slack to even engage the clutch at all.

Then realized that I could also use the extender in the middle of the cable (which had been hidden behind the tank).  With that adjusted, the take up and engagement was perfect.

Added 500mL at first.


Shakedown Rd #5

Good, clean laps.  Got her up to 3rd.  Shifting was smooth and deliberate. 

Came back to the box, found the oil level wasn't even registering, so added another 100mL.

Thursday, July 23, 2015

Roxy: Centrifugal Force

Got it into my head that I must start cleaning the oil filters regularly.  Realized the benefit of having the 2-piece clutch cover: you don't need to remove the main cover to get to the centrifugal one.  Figured I could at least clean that one.  Save the screen filter for another ambitious day.

Started with the valve clearance checks while the engine was still cold.  She was rock steady at .05mm.  Spark plug was full of carbon deposits so I just gapped a new one and replaced it.  Then I warmed up the engine and drained the oil.

I already knew that 3 of the 4 clutch cover screws were tight.  I really thought I was going to end up having to re-slot them (damaging the cover in the process).  But lo and behold, the Lisle saves the day yet again.  Knocked the first one free with one hit and that really gave me hope for the others.  The last one almost didn't want to give in, but after 4-5 whacks it came loose.  Whew.  Lucky break.

Popped the cover off (carefully) for the first time, taking pictures.  Note there are three small pieces to worry about (and don't forget the spring inside the lifter).

Then I got worried about the outer cover screws being frozen.  It would be discouraging to have gotten so close only to be stopped now.  Had to go back up to get the clutch holder and I couldn't only get one peg into place, but it was enough to hold the basket enough to get the 2 screws out.  Another lucky break.

I had to gently pry the cover itself off, but that was the last big worry.  Finally she popped out and I was in.  The gunk was nowhere near as bad as I thought, given it's been 3 years of riding without a cleaning.  I did have to scrape it off, but I didn't need to chisel it.  Job done.

Getting the lifter and cover all aligned took a little fiddling given it was the first time.  I didn't have it all lined up correctly at first and actually screwed the cover back into place a couple times without then being able to move the clutch at all.  Finally got it all working and in place.  Realized that it was easier to attach the cable to the engine mount before screwing the cover done.

Also replace the 4 inspection cover screws and both those and the 2 outer cover screws got anti-seize.

Moment of truth - started her up, let her warm a bit, then the first shift.  Nice clean click into first.  Rode up and down the garage a couple times.  Gravy.

Also did part of a tune-up:

  • Checked valve clearance on the cold engine and they were both perfect.
  • Changed the spark plug since it was showing a lot of deposits.
  • After the oil change, did a compression test and got a nice 110.