Showing posts with label bottom end build. Show all posts
Monday, July 30, 2018
Run Red Run: Small Jobs
Added the primary gear and circlip.
Added the clutch with the lock nut (but not the washer yet).
Switched the knock pin from the cover side over to the case side.
Discovered that the nicest of the 2-piece clutch covers wouldn't fit onto the right crankcase cover. For some reason, the "tabs" along the inner circumference were just a bit too tight.
Labels:
bottom end build,
Run Red Run
Sunday, June 3, 2018
Red: Bottom End Transplant
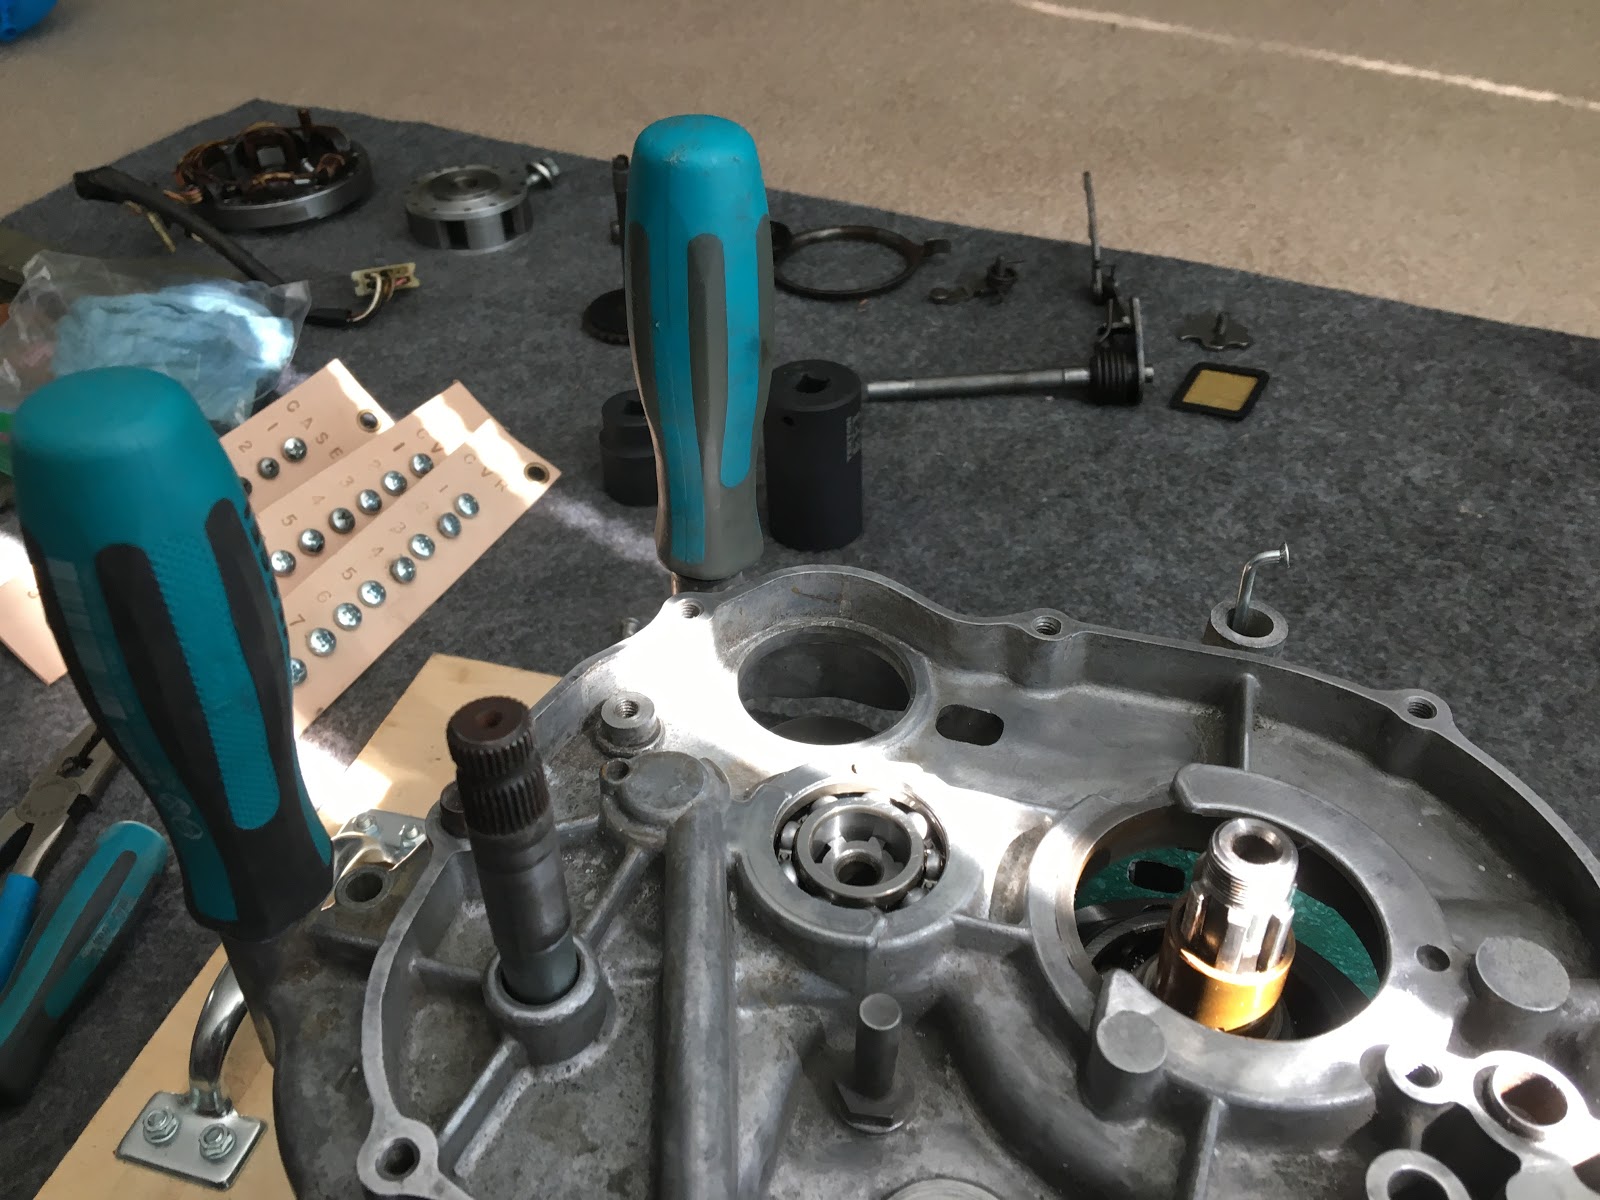
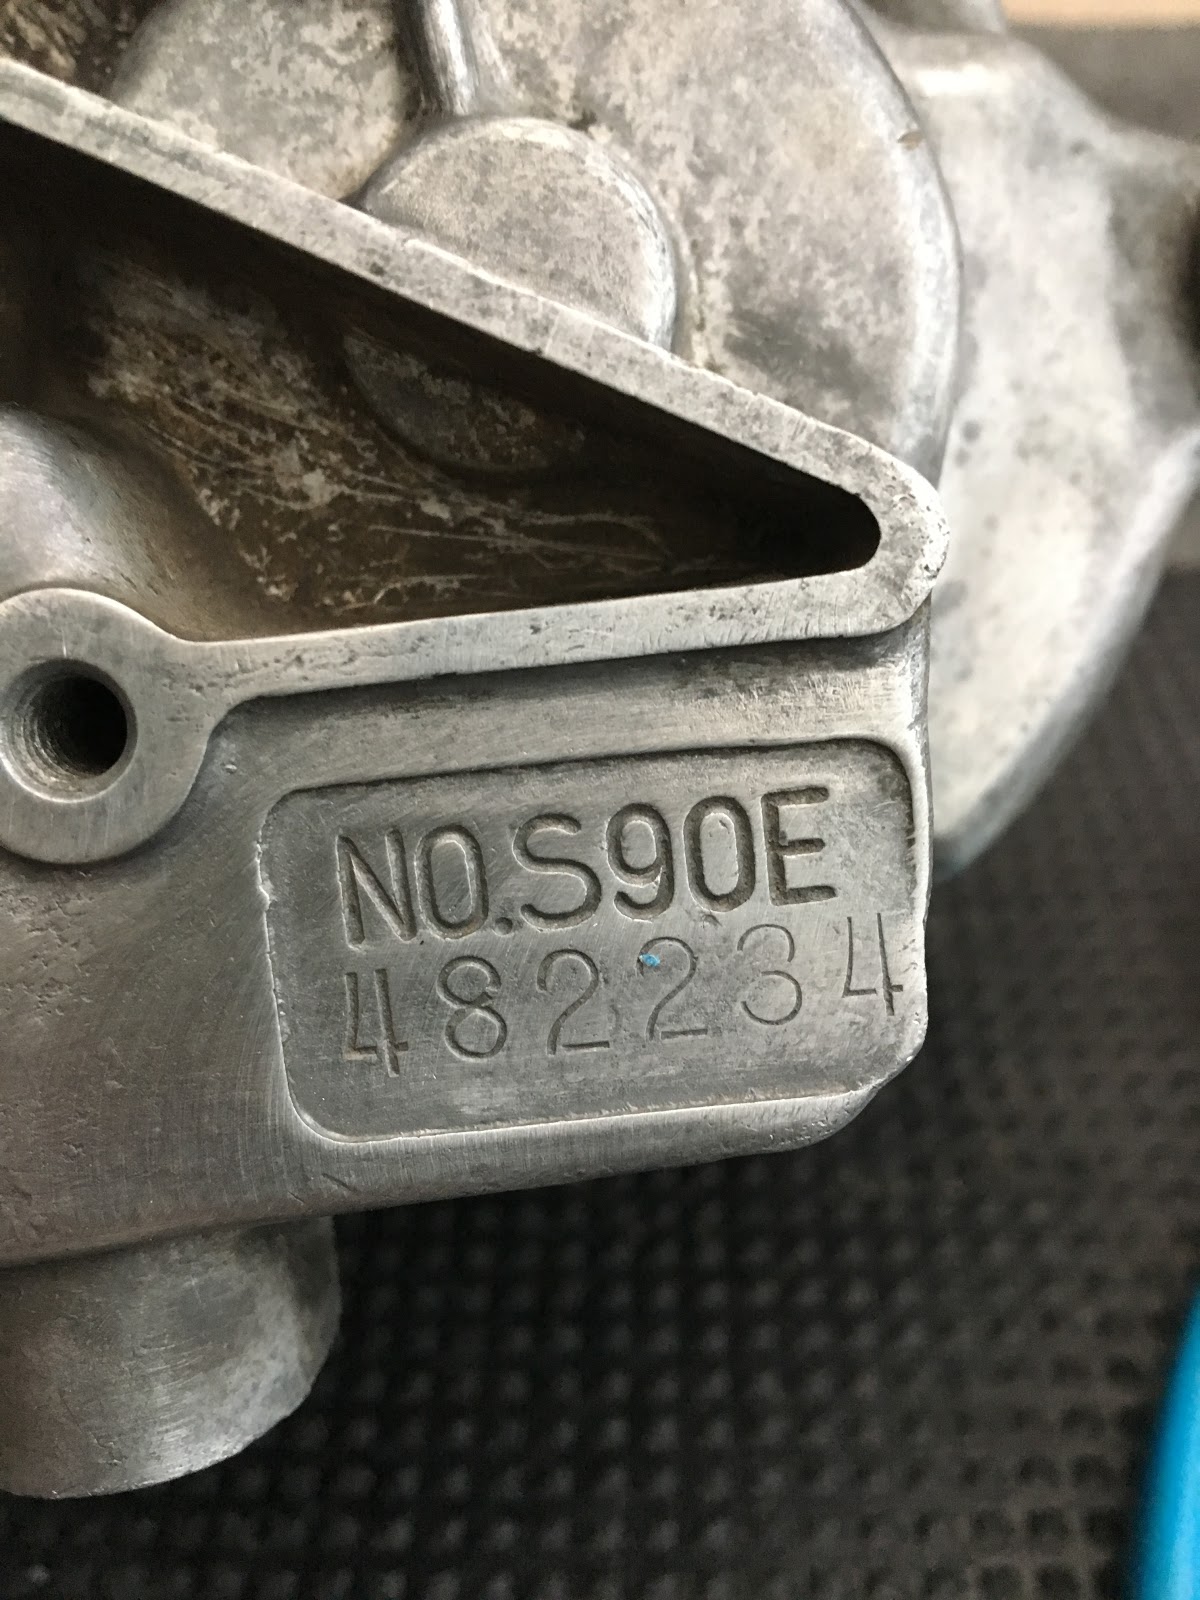
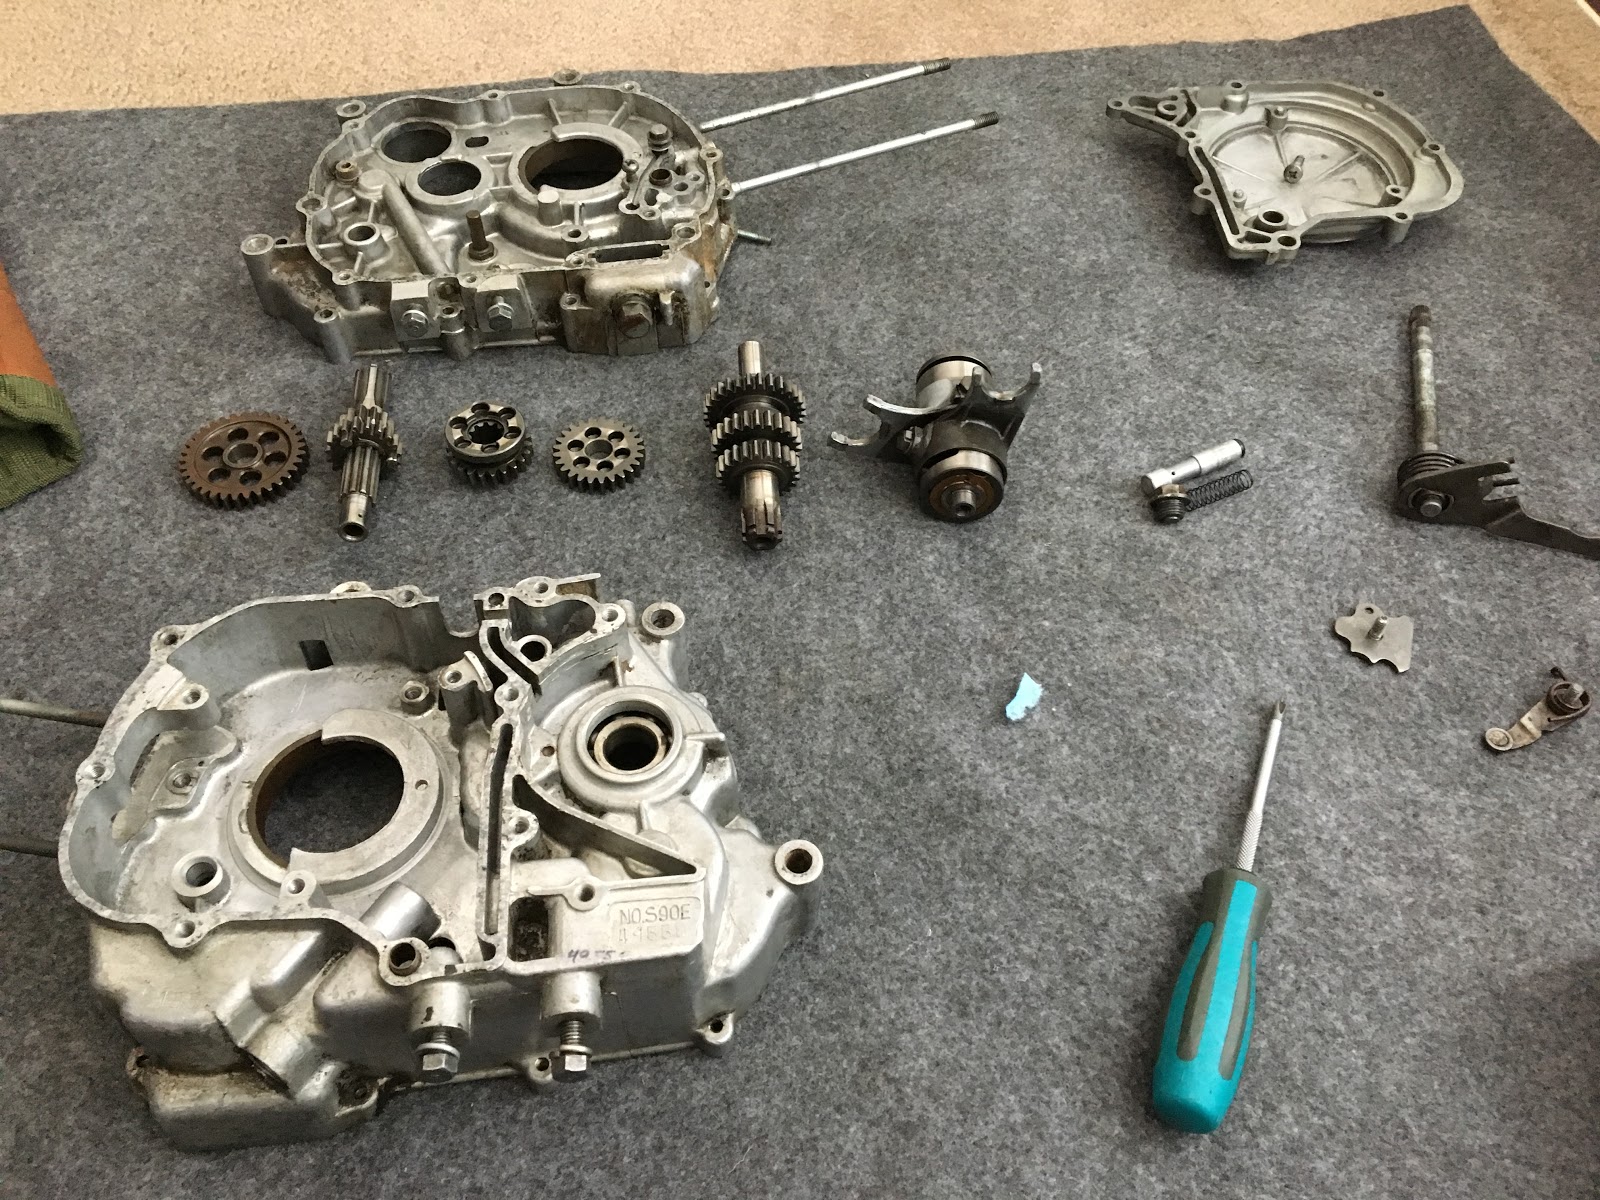
Epic day on the carpet to transplant the engine from the 495-507 Trochoid case (will no bill of sale) to the new 482-234 case from Bill (with bill of sale).
Work notes are in Volume 3, page 22. Also captured this in procedural notes.
Just random highlights:
Work notes are in Volume 3, page 22. Also captured this in procedural notes.
Just random highlights:
- Had been especially worried about fitment of the crankshaft, but it went it pretty easily just using a gentle "rocking" motion.
- Testing the oil pump and found the gears were very gravelly and would barely turn. Then realized that it was missing its gasket. With that installed, it turned perfectly.
- Used the heat gun to install new Nachi bearings on both sides of the case. Although later during re-assembly, realized that the small bearing could be installed just by hand and would fall out pretty easily.
- Added in a "Nippo" brand crankcase gasket (made in Vietnam). Had a couple unopened Honda NOS gasket sets, but was wondering how much the material degrades over time.
- Had an issue once the cases were together where tightening the bottom or left side screws caused the mainshaft to lock up. Took the whole thing apart and with these two things fixed, was able to get it closed and working.
- Make sure to turn the shift drum fully counterclockwise before closing the case
- Also make sure the kicker is in the "unlocked" position
- Had to remove one knock pin from the Right Cover where the case already had one. Ideally, I think you want both the knock pins on the case so that you can hang the gasket off it, but having one pin on each seemed to work fine.
Labels:
bottom end build,
epic,
Run Red Run
Sunday, May 13, 2018
Bottom End Build
Added the tensioner setting A, which actually came from one of the new cases (where I'd had to Dremel/reslot the screws).
Labels:
bottom end build
Monday, April 16, 2018
Bottom End Build: Friction
Added in the new friction disks that came from Asia. That completes the clutch. Didn't bother adding the small springs yet, though.
Labels:
bottom end build,
clutch
Friday, March 23, 2018
Bottom End Build: Day Off Crankshaft Work
With a day off, decided to attack the crankshaft swap. Needed to take the "good" one out of the display engine to use in the real bottom end. I'd put the "bad" one into the display.
Here's why that crankshaft is a no-go:
The swap went relatively smoothly...
Here's why that crankshaft is a no-go:
- It has holes drilled into the flywheels which means it would throw off a stock motor.
- A standard piston pin doesn't fit through the connecting rod!!
The swap went relatively smoothly...
- Added the new woodruff key to the bad crank so I could fit the rotor.
- At first couldn't get the cases to close on the new case but just did it again (and a couple times more). Just need to get the "feel".
- Installed both thrust washers on the good bottom end.
- Be conscious of the 2 thrust washers on the two sides of the kickstarter gear.
- Ran into a weird problem where I couldn't get the tranny to fit. Need to make sure to turn the shift drum to full counter-clockwise before installing to set the gears in an optimal position.
Labels:
bottom end build,
crankshaft
Sunday, February 25, 2018
Bottom End Build: Busy Sunday
Lot of good work today on the carpet (and in the kitchen).
New toy is an infrared thermometer. Combine that with the heat gun and use it to heat up the case to install the bearing. All sounded good in theory, but wasn't sure it would work in reality. But actually everything went perfectly to plan.
Heated the case with one hand while taking the temperature with the other. Heated it up to about 215 and it didn't take very long at all. Did this on top of the stove (on a baking sheet covered with tin foil). Meanwhile had the 6004 bearing in the freezer.
As soon as it hit 215, I moved the case down to the floor (on top of plywood) and knocked the bearing into place with a 29mm socket with just a couple taps of the dead blow hammer.
Almost too easy, but job done.
Thought about removing the old bearing on the other side and installing the new one, but realized that I didn't have a socket big enough to safely knock the bigger 6204 bearing into place. Need to get about a 32mm socket or maybe a dowel of equivalent size.
Brought up the crankcase for inspection. This is the one with holes in it. Don't know why it never occurred to me before, but now I assume that the holes are a custom mod, not a different type of stock crank. Did the inspection as per Clymer's and it was all well within the wear limits.
Broke out the Tusk tools and installed the crank easily. Actually got the entire case all the way back together but then had second thoughts. Not really sure what the effect of the drilled flywheels will be on a stock setup and may not be worth the risk.
Thought about pulling the crank from the model engine and swapping it with the custom one, but honestly just too much work!
Ended by swapping our the rusted cable arm on the clutch cover with the one from the model engine. Learned something new: there's a little clip on the arm that holds it in place. Easy to miss if you don't know it's supposed to be there.
New toy is an infrared thermometer. Combine that with the heat gun and use it to heat up the case to install the bearing. All sounded good in theory, but wasn't sure it would work in reality. But actually everything went perfectly to plan.
Heated the case with one hand while taking the temperature with the other. Heated it up to about 215 and it didn't take very long at all. Did this on top of the stove (on a baking sheet covered with tin foil). Meanwhile had the 6004 bearing in the freezer.
As soon as it hit 215, I moved the case down to the floor (on top of plywood) and knocked the bearing into place with a 29mm socket with just a couple taps of the dead blow hammer.
Almost too easy, but job done.
Thought about removing the old bearing on the other side and installing the new one, but realized that I didn't have a socket big enough to safely knock the bigger 6204 bearing into place. Need to get about a 32mm socket or maybe a dowel of equivalent size.
Brought up the crankcase for inspection. This is the one with holes in it. Don't know why it never occurred to me before, but now I assume that the holes are a custom mod, not a different type of stock crank. Did the inspection as per Clymer's and it was all well within the wear limits.
Broke out the Tusk tools and installed the crank easily. Actually got the entire case all the way back together but then had second thoughts. Not really sure what the effect of the drilled flywheels will be on a stock setup and may not be worth the risk.
Thought about pulling the crank from the model engine and swapping it with the custom one, but honestly just too much work!
Ended by swapping our the rusted cable arm on the clutch cover with the one from the model engine. Learned something new: there's a little clip on the arm that holds it in place. Easy to miss if you don't know it's supposed to be there.
Labels:
bearings,
bottom end,
bottom end build,
crankshaft,
thermometer,
Tusk
Friday, February 16, 2018
Bottom End Build: New Parts
First batch of new parts from eBay/Amazon, including:
Installed the kickstart and alternator on the carpet, no issues.
- Nachi 6004 bearing
- 6204 bearing that I thought was Nachi but was generic (no wonder the price)
- complete kickstart
- rotor
- alternator
- clutch cover (with the cable guide rusted solid)
- cam chain
Installed the kickstart and alternator on the carpet, no issues.
Labels:
bottom end,
bottom end build
Sunday, February 11, 2018
Bottom End Build: Carpet Garage
Brought up the bottom end up to start working on it in earnest. Just getting my head back into the disassembly. All I've got for now are the cases, the tranny and the shifter.
Labels:
bottom end,
bottom end build
Subscribe to:
Posts (Atom)