Lot of good work today on the carpet (and in the kitchen).
New toy is an infrared thermometer. Combine that with the heat gun and use it to heat up the case to install the bearing. All sounded good in theory, but wasn't sure it would work in reality. But actually everything went perfectly to plan.
Heated the case with one hand while taking the temperature with the other. Heated it up to about 215 and it didn't take very long at all. Did this on top of the stove (on a baking sheet covered with tin foil). Meanwhile had the 6004 bearing in the freezer.
As soon as it hit 215, I moved the case down to the floor (on top of plywood) and knocked the bearing into place with a 29mm socket with just a couple taps of the dead blow hammer.
Almost too easy, but job done.
Thought about removing the old bearing on the other side and installing the new one, but realized that I didn't have a socket big enough to safely knock the bigger 6204 bearing into place. Need to get about a 32mm socket or maybe a dowel of equivalent size.
Brought up the crankcase for inspection. This is the one with holes in it. Don't know why it never occurred to me before, but now I assume that the holes are a custom mod, not a different type of stock crank. Did the inspection as per Clymer's and it was all well within the wear limits.
Broke out the Tusk tools and installed the crank easily. Actually got the entire case all the way back together but then had second thoughts. Not really sure what the effect of the drilled flywheels will be on a stock setup and may not be worth the risk.
Thought about pulling the crank from the model engine and swapping it with the custom one, but honestly just too much work!
Ended by swapping our the rusted cable arm on the clutch cover with the one from the model engine. Learned something new: there's a little clip on the arm that holds it in place. Easy to miss if you don't know it's supposed to be there.
Showing posts with label bearings. Show all posts
Showing posts with label bearings. Show all posts
Sunday, February 25, 2018
Wednesday, September 16, 2015
Ivy: Rear Wheel Prep
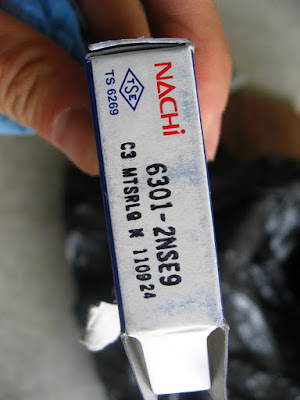
Getting the "good" rear wheel ready to mount. Added two fresh Nachi sealed bearings, a new rim strip, the good IRC tube and the IRC tire.
Labels:
bearings,
rear wheel
Tuesday, September 8, 2015
Spares: D'oh! Wrong Hub...
Long story short, went down to work on trying to get the concrete anchor to fit into the hub. Filed the main bolt down by hand and got it to fit. Started in on the spreader casing and switched to the Dremel. While messing around with the bolt, I realized it worked well to catch the inside edge of the bearing to hammer it out.
Thought I'd caught a lucky break. Knocked out both bearings and thought it was job done.
Just now... writing this... I realized I'd knocked out the WRONG bearings. I was aiming to do the ones in the new front wheel, but had knocked out the ones in the eBay rear hub.
But maybe the theory is sound. Going to try the bolt on the new front hub, maybe even file it down to give it an even sharper "edge".
Also, my wheel bearings for Turkey arrived today.
Wednesday, August 12, 2015
Spares: Blind Bearing Puller Revisited
I'd been ready to give up on the puller and was even considering how much it would cost to ship it back as a return, but I decided to do a little more testing today.
I installed the bearing I'd taken out yesterday into the new hub, applying some grease around the sides. This time the puller popped it out very easily. That's when I realized that the teeth had never been able to "hook" onto the edge of the inner race when I was doing it yesterday. With the bearing sitting flush against the distance collar, there's simply no space for the teeth to dig in.
You'd have to knock the first bearing out with a screwdriver far enough to give the puller something to lock onto. Once you've done that, you can remove the first bearing with the puller, remove the collar, then easily remove the second.
Tuesday, August 11, 2015
Spares: Blind Leading the Blind
Took the new blind bearing puller for a first test run. Complete fail, but for reasons I discovered the second day (see next post).
But on this first try, as tight as I kept locking it down, whenever I'd go to knock the bearing out, the tool would just slip out.
In the end, I decided to just knock the bearing out the old school way, namely using a screwdriver to catch the edge of it (the collar will slide to the side enough to allow you to catch an edge). Took a lot of hammering, but finally knocked one bearing free. Got my hands on the distance collar for the first time.
Tuesday, July 28, 2015
Red: Top on the Top
After realizing last night that the top cone race and bottom cone race are different sizes, I was worried I had put them on backwards when I did Red's steering.
Happy to report that the top cone (22mm ID) was indeed on the top.
Happy to report that the top cone (22mm ID) was indeed on the top.
Saturday, July 25, 2015
Ivy: Finishing Touches on Rear Wheel
Slept on it and then came back to try to get that flange off the old wheel. Realized I ought to just back the bolts out with a hammer. Beat them back flush with the flange, then used an old screwdriver as a punch to get them the rest of the way.
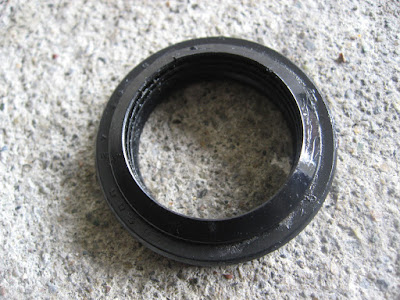
Realized that it doesn't really matter which flange seal you use, as long as you have the right spacer to go along with it.
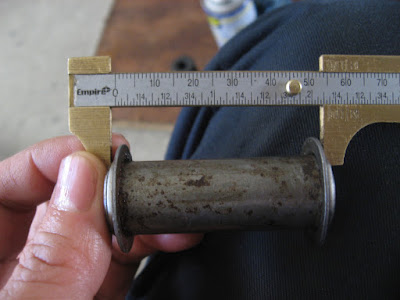
The early seal is a 23x40x6 and so you'd need the 23mm spacer to fit. The Late version is 27x40x6 and accordingly, you'd need the appropriate 27mm spacer.
I stole the 27mm seal and spacer from the old hub and put that on Ivy.
I also realized that the original Viola axle was a 12mm thread, which was different from all the other bikes. I swapped it for the spare eBay one which was the more normal 10mm thread.
Getting the right side spacer into place with the oil seal and spacer pressing on the left was a very tight fit (paint scratching tight). But maybe that's the way it's supposed to be.
Also, all the left side hardware (adjuster, axle sleeve nut, axle nut) fit better using the 10mm axle.
I punched out the flange bearing just for the hell of it.
Labels:
axle,
bearings,
rear wheel,
seal
Subscribe to:
Posts (Atom)


