Showing posts with label throttle cable. Show all posts

Monday, August 17, 2020

Roxy: Venhill Throttle Cable #3

Did up a new Venhill cable for Roxy's bars.  This time just used the tiny ball nipple instead of taking the trouble to open up the hole on the lever.

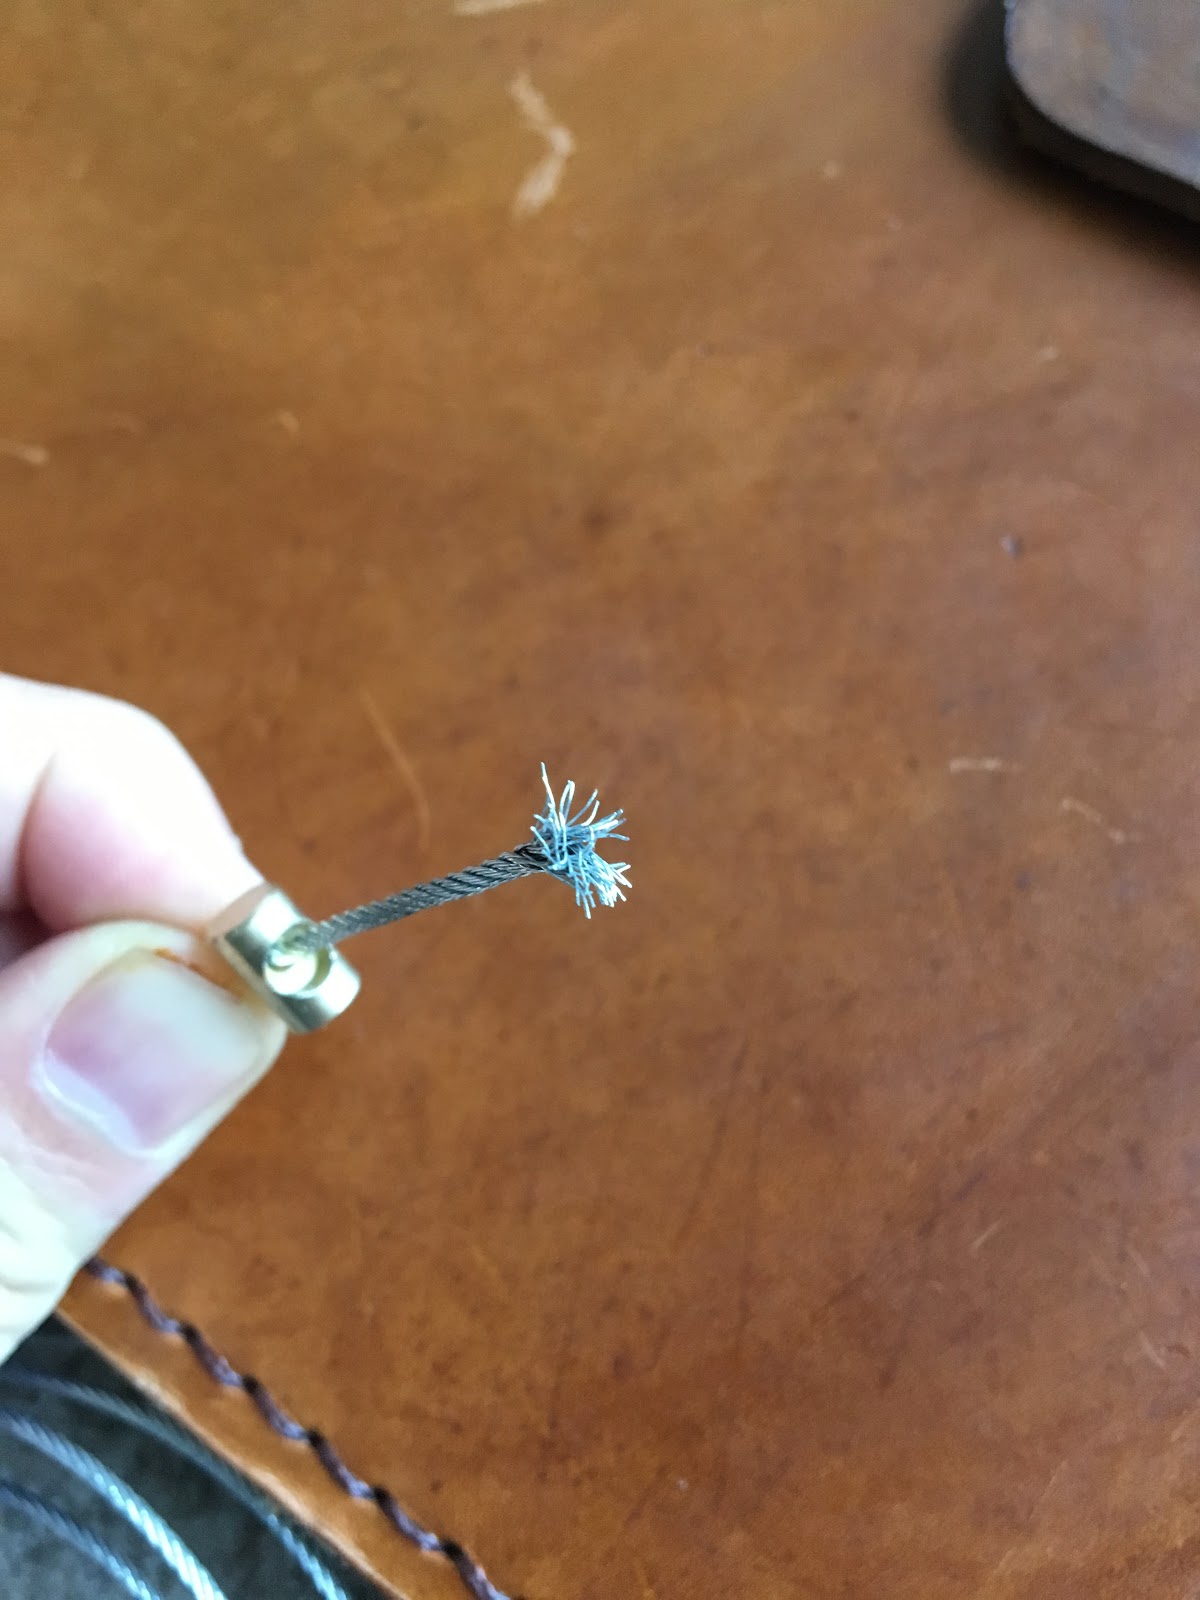
Melted the solder directly over the bird's nest and just worked it in with the tip of the iron.

Venhill notes in Volume 3, page 73.


Tuesday, April 21, 2020

Ivy: Custom Throttle 2

Built out the second Venhill throttle cable.  Pretty much the same drill as last time except I used a leftover length of outer shroud that was already sitting there.  It was 63cm (the first one was 70cm) but I knew that I should have made the first one shorter anyway.

Used the trick of putting a little piece of solder into the birds nest and then melting it in place.  Worked fine and a lot cleaner than the soldering pot.

Went to install it into the throttle only to discover that the opening for the ferrule was just way too small.  Either that or I needed to be using a different sized ferrule than last time.  But given I had so many of this size, figured I'd just open up the hole.

Used the Dremel to slowly work the hole open but must have taken an hour to just work it big enough to comfortably fit the ferrule.


Sunday, March 10, 2019

Red: Venhill Custom Throttle Cable

Had really been dreading this job so decided to say to hell with it and just go for broke.

Took me awhile to get my head around the old notes, but luckily I'd done all the heavy lifting on the measurements.  The stock throttle cable has 87mm of cable coming out of the sleeve.  I calculated I'd need 110mm for the custom job.  (But needed to leave some excess in order to do the solder)

Laid the cable out on the yardstick and clipped it in place to do the final measurement.

Then cut the cable, made the "bird's nest" on the nipple, heated up the soldering pot.  From old notes, I knew you can't let the flux creep too far up the cable, so was cautious about that.  Once the solder hit full temp I gave it a couple dips. 

Went down to test it on the throttle and realized that the nipple is a pretty tight fit in the first place and there can't really be very much excess solder on it otherwise it's just way too big.

So filed down the solder until it fit.  Thought, "That wasn't so hard..."

Went to install the carb-side end and only then did I realize that the ferrule on that end was too big for the carb!!

I'd totally forgotten that there were two sizes of ferrule and I'd use the large instead of the small.  Luckily, the cable's overall length was probably a bit too long, so I can chop the whole thing down and redo the ferrule.

Next time:
  • Make the bird's nest smaller and tighter so there's not so much excess solder
  • Since you can't thread the cable and have it come out of a set ferrule, and since the throttle end nipple is already set, may need to cut off the pre-done ferrule and replace that side with the small ferrule instead.
    • Cut off the ferrule that comes pre-installed.
    • Install the small ferrule on one end.
    • Thread the cable through that so that the carb-side nipple is on the same side as the small ferrule.
    • Install the larger throttle-side ferrule on the other end.
    • Cut to correct length and solder.
  • Need to check how the cable is going to be routed to set the final length.  But better to have it a little too long so that it's possible to adjust if needed.


Tuesday, May 1, 2018

Run Red Run: Solder Pot

Really had zero idea of what I was doing with this new solder pot.

First started just trying to figure out how high I had to go with the heat to melt the silver solder.  Started at low settings and just worked my way up.  At first I thought the metal would "liquify" but eventually realized that unless you fill up the pot completely, the solder will just pool into a little blob.  Realized that the best thing is just to max out the dial to get the solder nice and melted.

First had to figure out the "bird nesting" technique, which ended up being simply tweezing it with pliers.  Seemed to work just fine.

Then I dripped flux on the nipple, but didn't realize that the flux worked its way down the cable when I inverted it.  So when I dipped it into the solder, the silver actually "crept" up the cable, making it very brittle.  First lesson learned: gotta be careful with the flux.

Second time around, I only heated the solder enough to make it soft.  Did a better job with the flux this time, but when I dipped it, a whole glob of solder stuck to the end instead of "flowing".  Second lesson learned: max heat.

Third time was the charm.  Did a good bird's nest, was careful with the flux, and heated the solder to max before dipping.   Ended up with what seemed to be a very strong joint.


Tuesday, April 24, 2018

Run Red Run: Venhill throttle cable kit

At just $16 a pop, I figured I can't go wrong at least giving this a shot.  I ordered two packs.