Second cover (from the same eBay seller) got de-rusted and primed.
Showing posts with label restoration. Show all posts
Friday, September 11, 2015
Wednesday, July 8, 2015
Ivy: Painted Washers?
Wondering if it's cost effective to just paint certain hardware instead of buying new. Certainly for the high shine, high profile pieces (like a steering stem nut), it's hard to make paint look authentic (though for the anything-goes cafe bike, it seems okay).
Tried a washer with the Metallic Special and seems all right... Or maybe gloss black to make it pop a bit?
Labels:
painting,
restoration
Tuesday, May 26, 2015
Viola: Man vs Forks II
Now that I had the technique mastered, the second fork came out in 15 minutes flat, and I didn't even break a sweat.
Labels:
forks,
restoration
Thursday, May 21, 2015
Viola: Man vs Forks
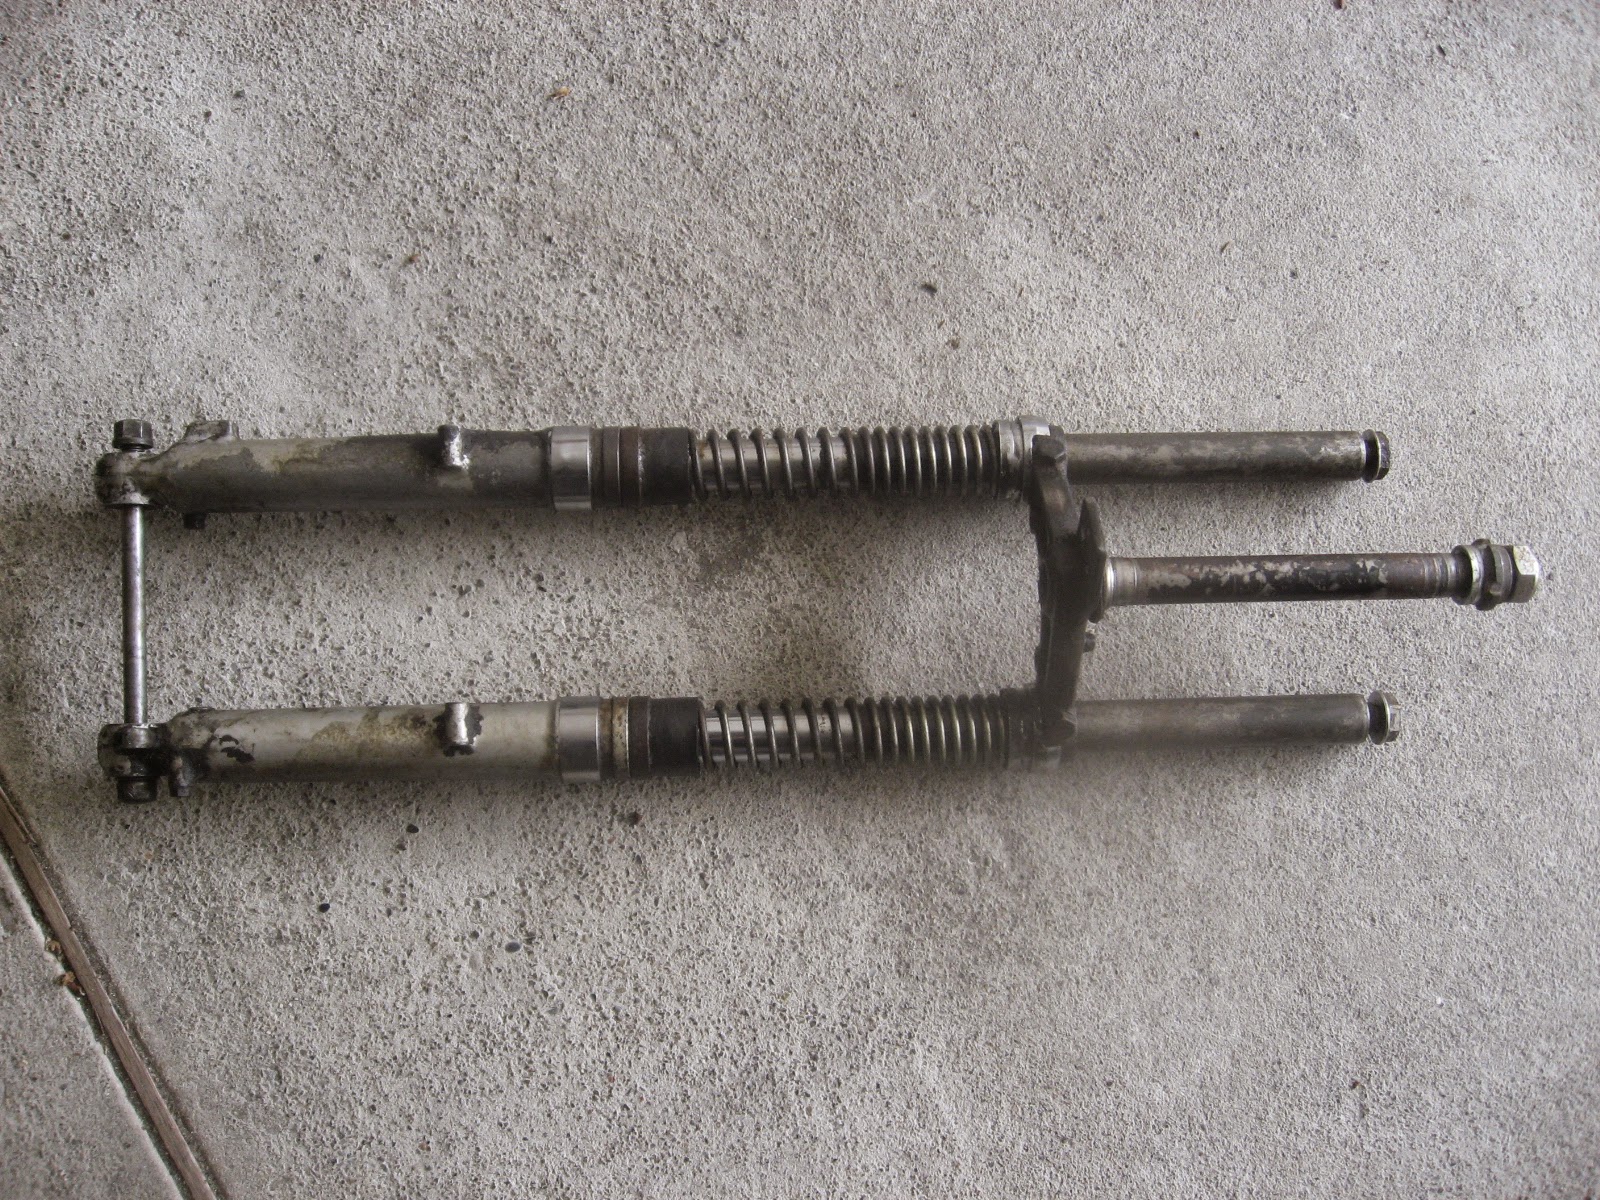
Waged an epic battle against Viola's original rusted out, completely frozen forks, They were fused with the steering head as if they were welded into place.
The torch (fresh from the victory over the flange bearing) comes back for another round. I heated the steering head and then used the rubber mallet to try to whack the fork out. But this is where I didn't have the technique quite right yet.
I tried just holding the entire assembly with one hand while whacking the fork with the other. But it was heavy, and I couldn't get very strong whacks that way.
Then I tried laying it down and whacking it on its side. That just led to scratches in the concrete and didn't seem to be that effective.
I could see that the fork was moving, but it was only going a millimeter at a time. I'd reheat very often, do a few hammer blows, heat again and repeat.
Finally, I started closing in on the better way. I turned it upside down and started hammering the fork on my little wooden stool. But then I planted one shot right in the middle of the stool and it exploded.
I then switched to a big square firewood log. With the steering head properly heated, I whacked it out in just a few shots. Magic.
(And the stool went back together with just some duct tape)
In the meantime, I was also painting half the tank in Ivory. Think I got 4 coats, 15-20 mins between each.
Labels:
forks,
restoration,
stymied
Wednesday, July 2, 2014
Astrid: Scrambled Eggs
The old Evapo-rust in Astrid's tank was looking decidedly murky, so figured I'd dump and refill it. Surprised to find something looking like scrambled eggs had coagulated at the bottom. Not sure what it is, perhaps the Yahoo crew can identify. I dumped out all the old liquid (tank looked like it was vomiting), then decided to risk rinsing the inside of the tank out with the hose to loosen as much of the "egg" as possible. Got about 90% out in the end.
Also tested the reserve line to see if it was clear, and it was.
Finally, refilled the tank with what I had left of the Evapo-rust. Also filtered out what I had used on Red's fork bridge and added that in, too. Ended up with more than before, so I expect I'll knock out more rust with this batch.
Also tested the reserve line to see if it was clear, and it was.
Finally, refilled the tank with what I had left of the Evapo-rust. Also filtered out what I had used on Red's fork bridge and added that in, too. Ended up with more than before, so I expect I'll knock out more rust with this batch.
Labels:
CM91,
fuel system,
restoration,
rust
Monday, June 30, 2014
Red: First Step
The fork bridge seemed like as good a place as any to start. I sanded down what I could on the top side, which was pretty straight forward. But the underside is full of narrow nooks and crannies. I gave the Dremel a shot, but there were still too many hard-to-reach places. So finally, I just gave it an Evapo-Rust bath for 24 hours. As usual, that worked wonders.
The Before...
Day two, looking to attack the underside with the Dremel. (7/1)
And the After...
Day three, priming (7/2)
The Before...
After day one of sanding the top.
Day two, looking to attack the underside with the Dremel. (7/1)
Couldn't quite reach those nooks and crannies with the Dremel brush.
So she goes in for a dip.
And the After...
Day three, priming (7/2)
Labels:
1965 S90,
restoration,
rust
Friday, June 27, 2014
Red: New Sanding Disc
Testing out the new 3M Paint and Rust Stripper Brush attached to the Makita. It was nice because you could come in at a nice 45 degree angle (the sweet spot) to handle flat and easily accessible areas. But then you could also run it on the edge for tighter spots. Worked about as well as I had expected.
And just some reference shots of hardware I removed.
Labels:
1965 S90,
painting,
restoration
Subscribe to:
Posts (Atom)


