Showing posts with label Roxy. Show all posts

Saturday, February 22, 2020

Roxy: Top End Preservation Rebuild

Pulled Roxy's piston pin (piston and jug will go to Ivy).  Top Tip: the 1/4" extension makes a perfect dowel to push the pin out!

Then installed the piston and jug (painted red) that came off Red due to the smoke issue.

Installed the top end, no issues.

Pulled the battery and wrapped up the end of the throttle cable.


Monday, February 10, 2020

Roxy: Bore Size Reveal

So turns out Roxy's cylinder is a standard 50mm. 

So why then did she always feel like she had a little more grunt?  She seemed both heavier and torquier than Ivy.  Or has it just been my imagination this whole time?

And why the breather tube on the tappet cover (as if it needed to bleed off loads of extra pressure)?


Sunday, February 9, 2020

Roxy: First Tear Down Ever

Hard to believe that after having owned Roxy for this long, still had never pulled the top end apart down to the cylinder.  Was to be the big day when we finally discovered if she had a big bore or not.  Would answer the question of why she seemed to have so much grunt or why she had the relief valve on the tappet.

She was a bit tough to get apart.  Had to knock a few covers with the screwdriver handle to jog them loose.

Toughest was the head cover.  Wouldn't budge.  And for some reason, with it still on, I couldn't get the head completely off the cylinder studs.

Ended up separating it using a Philips as a wedge (as gently as possible).  But once that was off, the head came off.  Pulled the cylinder but left the piston.

Cylinder bore actually looked great.  Still had the cross hatching.  Just a narrow rim of discoloration (corrosion?) on the outside edge.  Thought for sure it would be in much worse shape.  But if that's the case, then why the smoke?

Started this tear down as the first step to cleaning her up and putting her into Preservation Mode.


Saturday, May 19, 2018

Roxy: Epic Rear Flat

Following the sudden and overwhelming paranoia of riding Ivy without a title, I was looking forward to getting back on Roxy for the first time in ages.  Especially wanted to feel the acceleration again to see if she really was that much faster, or if it was only my imagination.

Started to pull her out of the parking spot only to discover a totally flat rear tire.  I knew this wasn't the normal deflation since the front was still good.  Decided to try to put air in it anyway and could clearly feel the air escaping out through the hole in the rim (missing spoke).

So that ride cancelled...

Luckily had the perfect session time later that afternoon. 
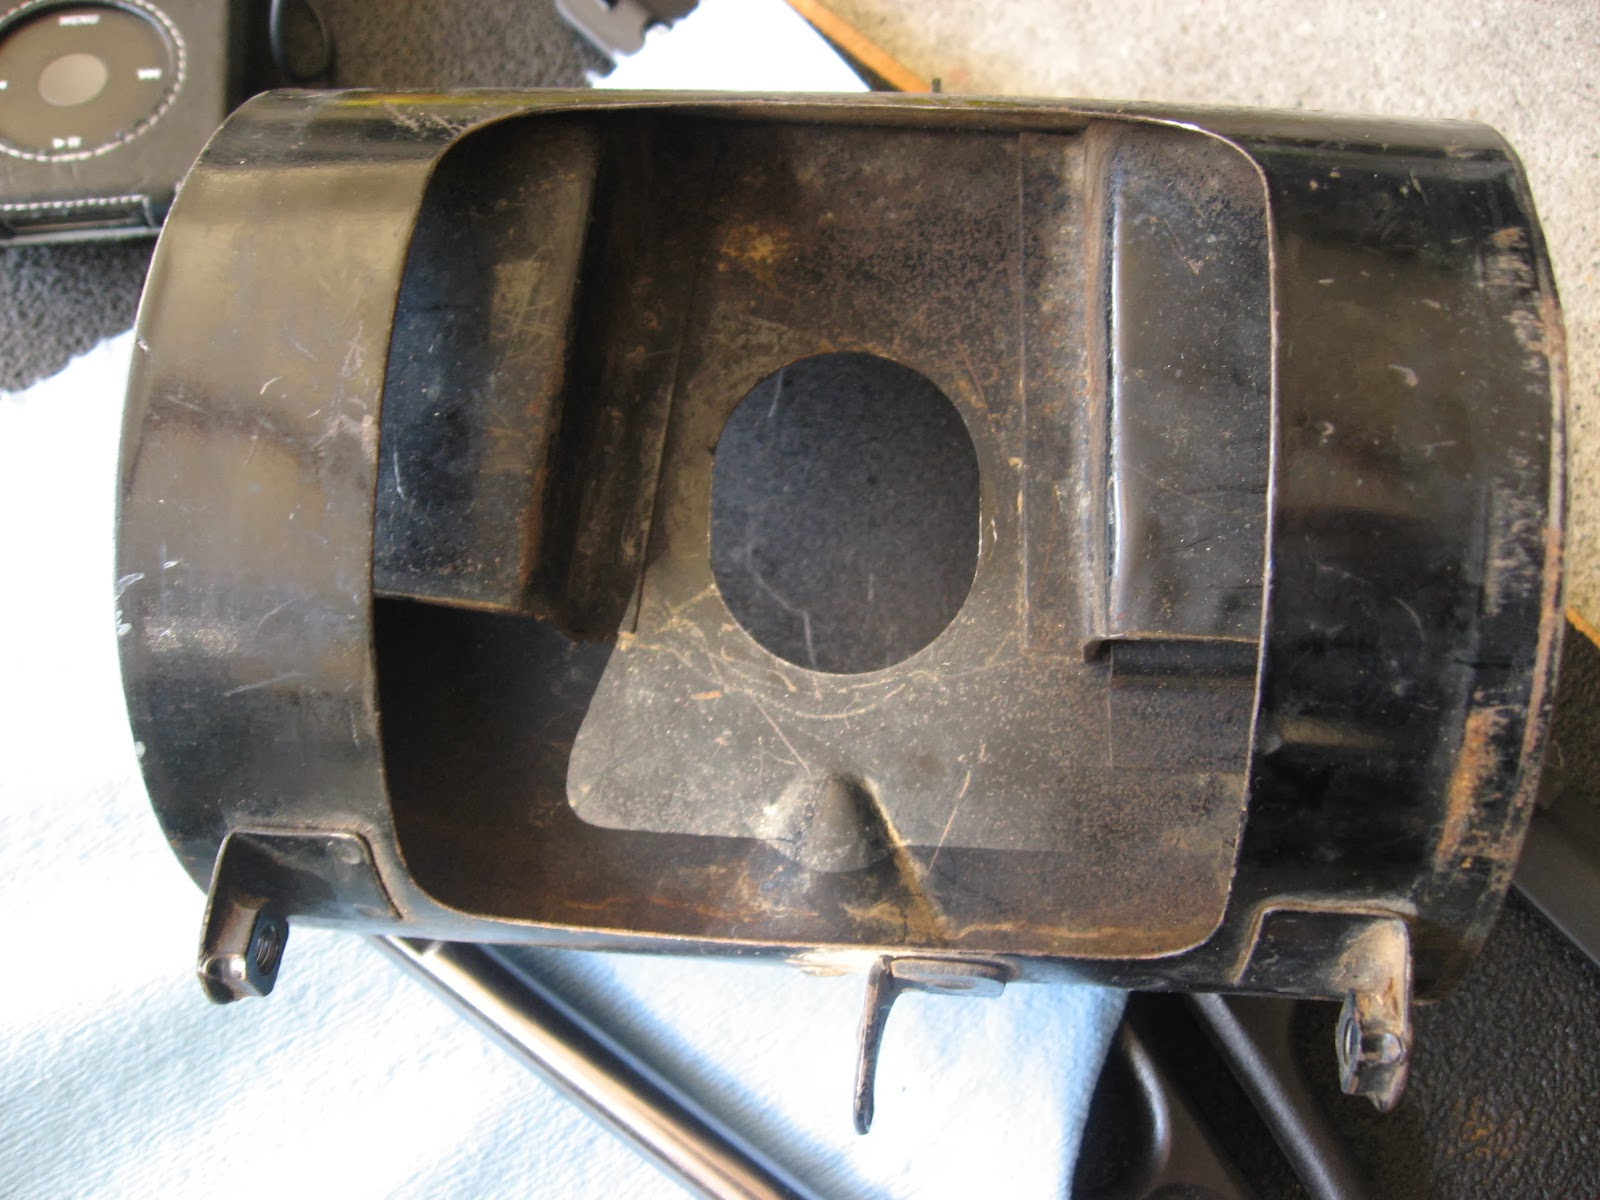
Fender
First things first, had to get the rear fender off.  But the left side bolt was covered by the chain guard.  And the bolts to the chain guard were hidden by the front sprocket cover.  So both of those had to come off in order.

Then, while disconnecting the taillight wires, I popped off one of the bullet connectors.  The top bolts underneath the seat were fiddly to reach (probably would have been worth my time to remove the seat entirely) but once those were out, the fender came out easily.

Rear Axle
The rear axle popped out with no problem.  But the sleeve itself was completely stuck inside its notch in the frame.  Really jammed in there.  Luckily, that doesn't stop you from removing the wheel, but the sleeve and rear flange have to stay put.  That's a fix for the future, although I'm not sure it'll come out without significant damage.

Tire Tube
The tire popped off with no problem.  I checked both the rim and the tire for any sharp points but couldn't find anything.  Couldn't even find the puncture in the tube until I pumped it full of air and then I only found it from the low whistle.  It was a tiny puncture.  Could have just been age that led to that?

Re-install
Everything went back together pretty easily.  Fortunately had a spare tube in the bin that was the right size.  Because the sleeve was stuck, though, I couldn't easily move the wheel forward in order to give the chain some slack during reinstall.  Not quite sure how I managed to muscle the links close enough to put the master back on, but somehow got it together. 

With everything back on, found the chain was still too slack, but also discovered that the sleeve did move if you use the chain adjuster nuts.  In retrospect, I realized that I could have also used the chain adjusters to push the sleeve forward to get the chain back on.

Added a new bullet connector to the taillight wire only to discover that the taillight is not lighting up anymore.  Brake light works fine.


Friday, March 18, 2016

Roxy: Taillight Fixed

One of Roxy's taillight mount screws had worked loose (and nut disappeared).

Also realized that they don't see to be the right fasteners, don't think they're even metric.

Either way, replaced them with regular 6mm bolts.


Monday, March 31, 2014

Roxy: Static Timing

It's going to rain all week, so I figured I'd set Roxy's static timing and if I messed anything up, at least I won't miss any nice weather.

It was very retarded and also I noticed the points plate itself was not exactly lined up to the mark.  Again, who knows whether all this is intentional (I really should have at least documented it when I first got the bike).

But she's been getting harder to start, even in warm weather.  So I'll see if this changes anything.'

I did start her right after making the change, and it took 6 kicks at 52 degrees, but I think I may have forgotten to switch the petcock on, so I'll drop the results of this test and try again tomorrow.


Monday, March 17, 2014

Roxy: Free at Last!

Finally got around to freeing up the stuck float pins in both Roxy's first carb as well as the spare that came from the PO.

To brace the posts, I used a small piece of the scrap 22ga steel from the alternator cover project and cut two notches with the cutting wheel, taking only a little material off at a time so as not to overcut.


Then used a C-clamp to start the pin moving, one end braced on the steel and the other one pushing the end of the pin.  Once I got one end flush with the post, I used a wooden punch to knock it out further.  Finally pulled it free with some needle nosed pliers.  Started with the S90B carb.  For reference this carb has 85/35 jets in it at the moment.


Able to get to the 1.7 float pin for the very first time.


Then went on to the S90K1 carb (Roxy's first carb) and found the pin had notching that matched notches inside one of the posts.


Also discovered, and this was somewhat expected, that the needle jet is unmarked.  Not only that but even though it's "close" to 8mm, an 8mm socket does NOT fit it!  Luckily the socket fit just enough to get it loose. For reference, this carb has the 85/38 jets that came out of the CS90C carb that's in Roxy now.


The tool itself was remarkably simple but completely effective.


Monday, February 24, 2014

Roxy: Original Airbox

Took some time to open up and WD40 the airbox that came as spare parts for Roxy.  It's in excellent condition.  The only thing I'd replace is the plastic side cover on one side (the other side is chrome).

Even the air filter element was in good condition.


Monday, January 13, 2014

Roxy: Chain Slack

Chain slack was up to 1.0" so it was time to adjust.  Dialed the axle out just a few turns to bring it down to between 3/8" to 1/2".


Before...

And after...