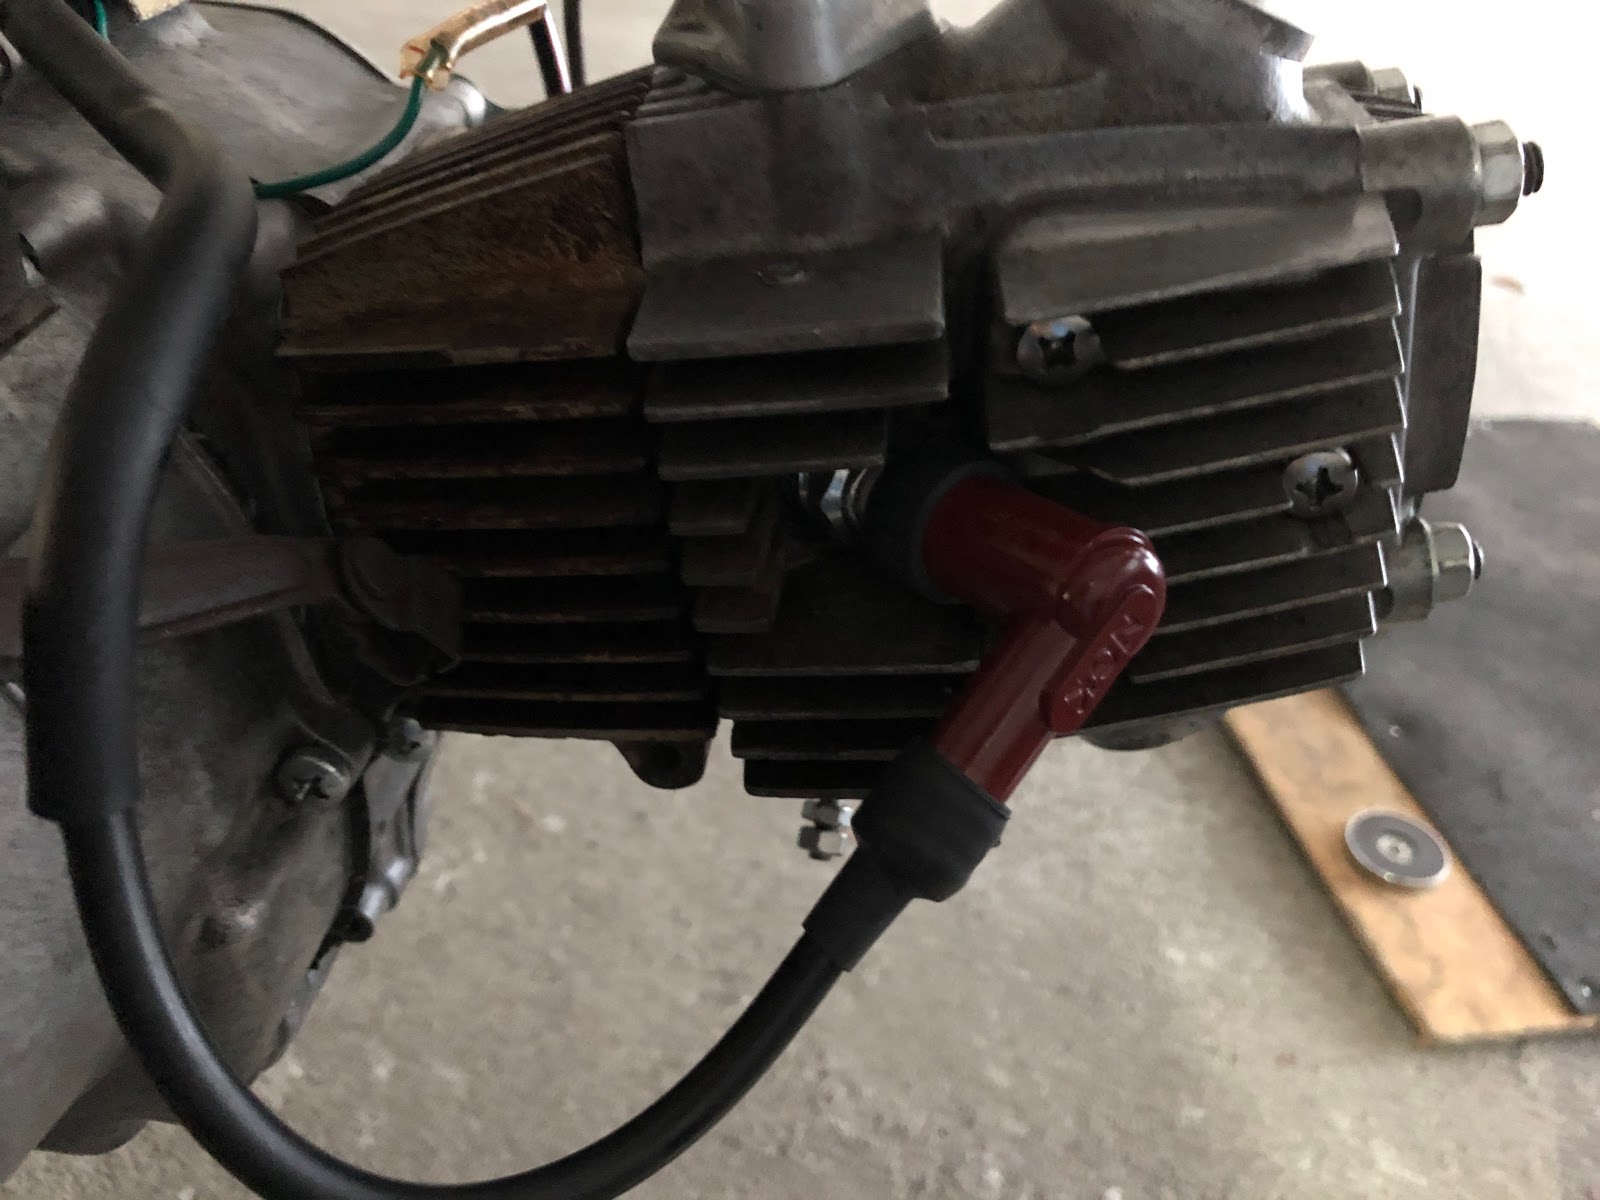
Big job to try to get a spark from the properly installed coil and fully mounted engine. Went in thinking there was maybe a 50/50 chance at best but might as well give it a shot.
Stymied at first when I realized that resting the engine on the wooden stool to mount it only works if there's NO coil installed. With the coil mounted, you have to angle the motor into the frame making the stool too tall to really work.
I tried sitting the motor on the stool and then adding layers of cardboard underneath to "jack" it up, but that didn't pan out.
Tried just muscling it into place but only ended up bending the tab of the coil when I dropped it.
Finally, went back to the old trick of laying the frame down on its side. I first laid it down on the right, but then quickly realized that the kickstart spindle sticking out the end was hitting the ground.
So then switched to laying it on its left, and presto, engine was mounted in 5 minutes.
Great trick, but really only works on a dry bike. It'd be a pain to do it on a running bike where you'd have to drain or remove the tank. Will need to find a better way to mount/drop the engine with the coil installed.
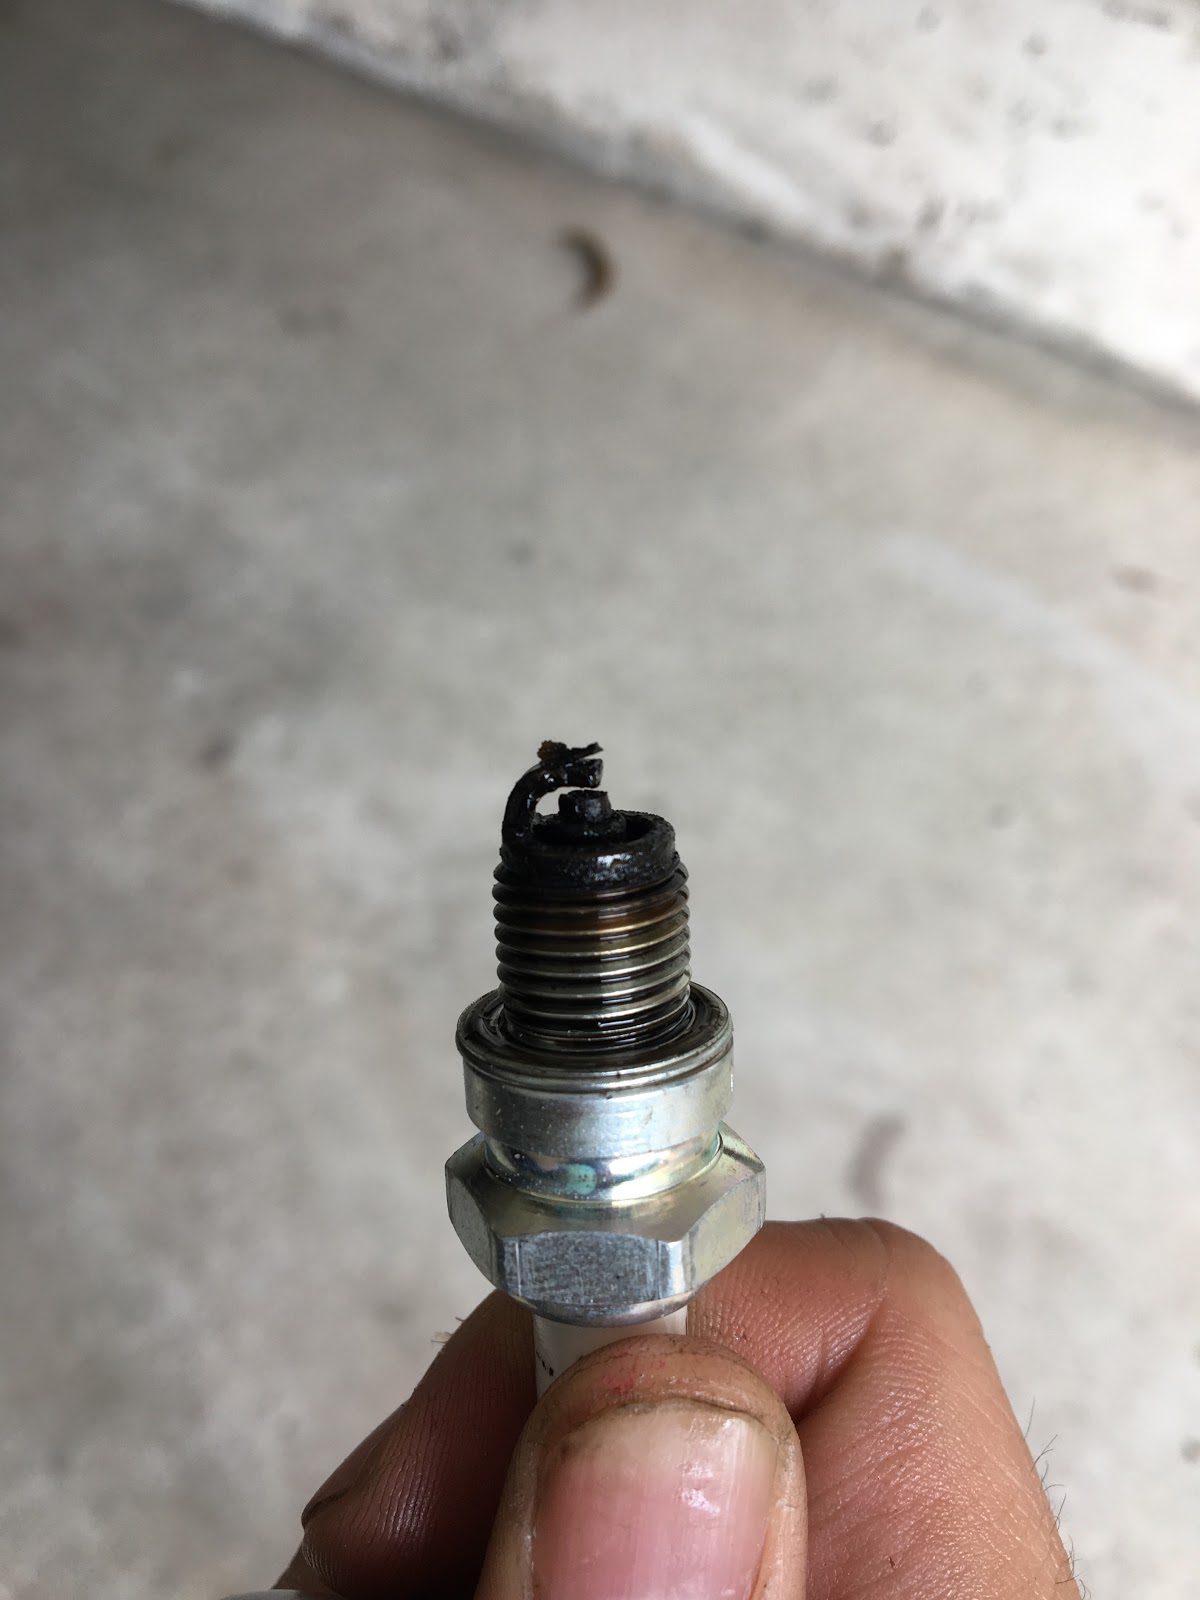
But after all that work, the reward was an instant big blue spark on the first kick. Job done!