Showing posts with label top tip. Show all posts

Sunday, April 19, 2020

Ivy: New Piston and Rings

Process of elimination to determine why Ivy's still smoking.  Figured first easy fix was just to swap in a new piston with new rings.

Had a new STD piston marked "HF" and installed a new 5-piece ring set.  Three-piece oil ring went on easy.  Top two rings were a bit more fiddly.  Used the ring pliers but was very careful to only open them the bare minimum so as not to snap them.

Install went smoothly, somewhat in part to all the practice I'd put into getting the piston circlip in and out.  Top Tip is to use the small punch to get in under the circlip and then coax it off.

On first start, no smoke!  Good sign.

Took her out for a ride and was all going swimingly at first.  Did a big lap around the hood.  Stopped at the top of the street to check smoke and she died!

Took her into the garage and after a few checks realized she had no spark at all!

Tried swapping the plug but no dice.


Monday, June 3, 2019

Garage Notes: All about Early Forks

Because for whatever reason, I always forget how this works...

The Early forks are nice and simple. 
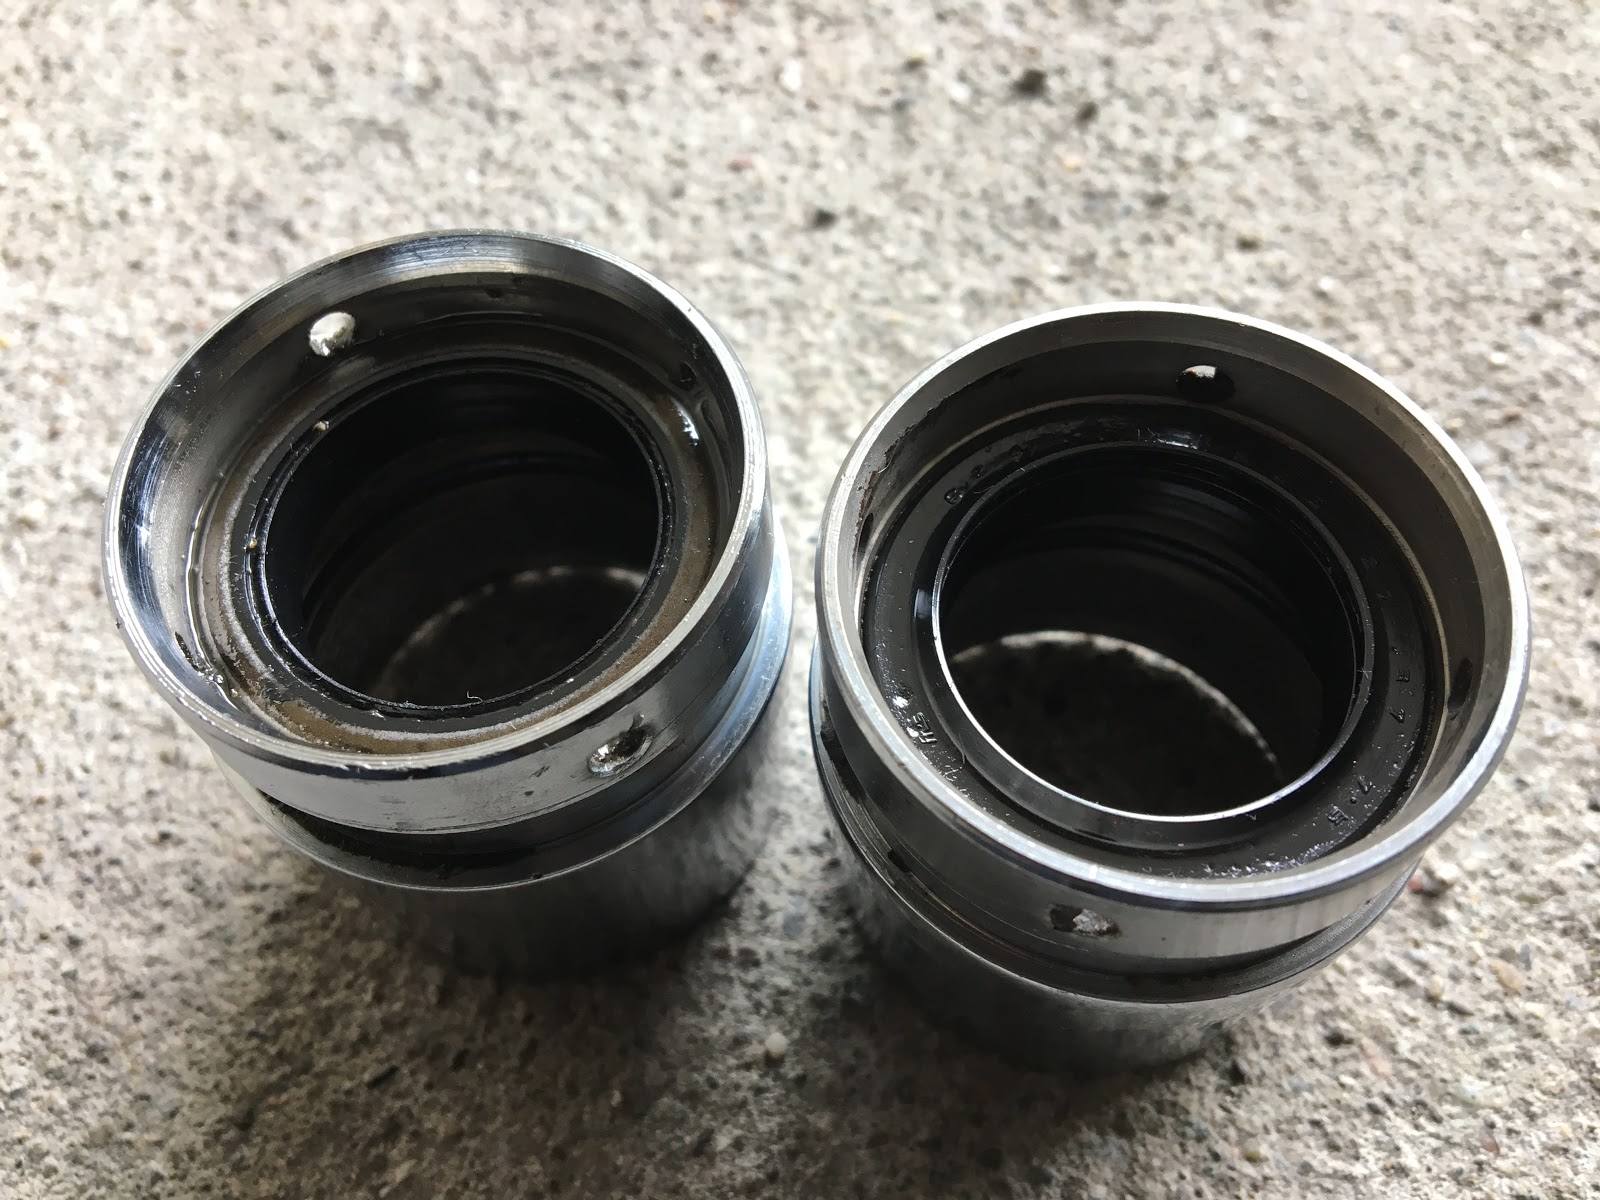
You unscrew the fork seal housing unit (the one with the holes for the pin wrench).  Once that's unscrewed, you essentially can break the fork into its three main pieces.

The Early fork seal housing unit does have a replaceable seal, technically speaking.  But it is extremely hard to remove (and probably just as hard to install) so you're probably better off just trying to find a good complete unit instead of swapping seals.

You can easily swap out the o-ring inside the unit, though, which may help with some leaks.

Also, don't forget to always install the metal ring on top of the seal before installing (this is where the springs sit).

Also, don't forget that the springs are mounted with the narrower coils toward the top.


Saturday, February 4, 2017

Run Ivy Run: Transmission Test, Part 1

Had a somewhat ambitious plan since I had a stack of recently delivered goodies: the new GN4 Honda oil, fork oil, the RK chain, the battery...

Straight off, I discovered the carb is definitely leaking.  It had leaked before that day I'd forgotten to close the petcock.  Then when I thought it had stopped, that was really due to it being dry because the fuel line was looped on the handlebar.

With the petcock open and the engine not running, it definitely overflows.  But I figured I'd proceed with the oil change and clutch work anyway.


  • I let the carb fill with gas then shut off the aux petcock.  She started easily and I ran her for 5 minutes.
  • Let the oil drain directly into the measuring cup and ended up with about 575 mL.
  • Took off the pegs and exhaust, then removed the cover.
  • Cleaned the filter (though was really not dirty).
  • Installed the 4 damper springs by simply pushing them into place (lucky that worked).
  • Installed the clutch lifter (canted at 45 degrees).
  • The cover slipped back on with the first try - no fiddling with the lifter.
  • Got a bit stymied by installing the clutch cable when it was under tension.
    • TOP TIP
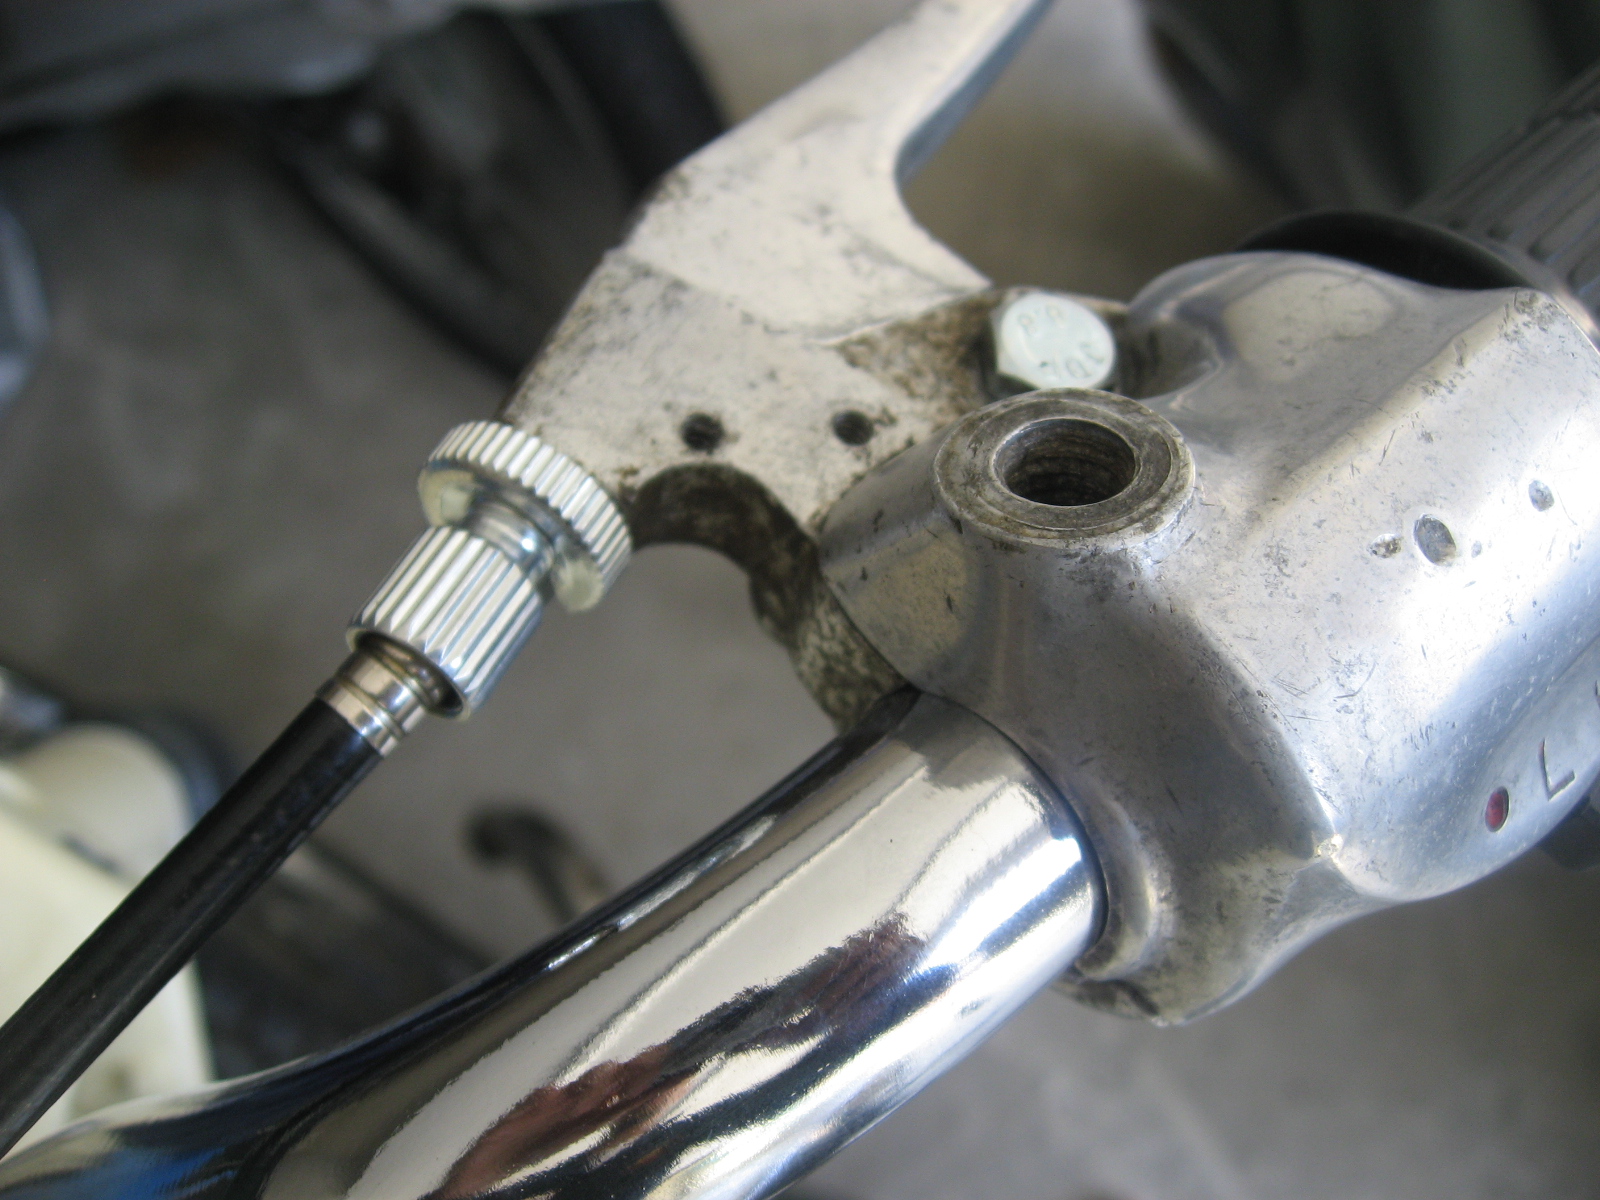
      • The cable should be installed on the handlebar, but dial the adjuster all the way in so that you have maximum slack at the other end.
      • Make sure the cable adjuster is also tightened up all the way to allow max slack.
      • Install the lower end of the cable into the clutch arm slot.
      • Then... you just have to muscle the arm far enough up to slip the cable into the holder.
  • Torqued the oil bolt to 17
  • Added 600mL of the new GN4 oil.

 Popped open the front sprocket cover only to realize there isn't actually a front sprocket installed.  Glad to see the countershaft spinning, though.

From there, I did try moving up and down through the gears, but it was very hard to tell what was actually happening just by looking at the countershaft.

So after all that work, the test seems... inconclusive.  I think you really need it chained up to the wheel to be certain.


Wednesday, August 12, 2015

Spares: Blind Bearing Puller Revisited

I'd been ready to give up on the puller and was even considering how much it would cost to ship it back as a return, but I decided to do a little more testing today.

I installed the bearing I'd taken out yesterday into the new hub, applying some grease around the sides.  This time the puller popped it out very easily.  That's when I realized that the teeth had never been able to "hook" onto the edge of the inner race when I was doing it yesterday.  With the bearing sitting flush against the distance collar, there's simply no space for the teeth to dig in.

You'd have to knock the first bearing out with a screwdriver far enough to give the puller something to lock onto.  Once you've done that, you can remove the first bearing with the puller, remove the collar, then easily remove the second.


Sunday, August 9, 2015

Spare Wheel: Modify to Fit

After getting confirmation from the group, I knew I needed to widen the holes in the hub to get the outer spokes to fit.  I used the old weird hub from Viola to do some testing.  At first I just went straight in with the Dremel sanding tip to widen the hole.  But then I realized it's not so much the width of the hole but the the material where the spoke first hits.

So I came in with the Dremel at the same angle and direction the spoke would.  Just taking a bit of material out of the top of the hole allowed the spoke to slide right through.  I only did the outer holes, marking it as I went.

Also, a revised lacing procedure:

  1. Insert all the inner spokes on both sides of the hub
  2. Add nipples to all the inner spokes on both sides
  3. Insert all the outer spokes on one side
  4. Add nipples to those outer spokes
  5. Repeat for the other side outer spokes
  6. Job done!


Monday, July 20, 2015

Ivy: Left Grip Switched

Switched the left grip over from the high bars to the low bars using the Windex trick.  You push a screwdriver down the length of the grip as far as you can, then spray Windex inside to lube it (why Windex?)  Worked wonders, and in fact, I think I could have pulled it off 5 minutes earlier but instead I kept Windexing it thinking it would be a fight to get it off.

Also swapped for new chrome cable adjusters.


Friday, June 26, 2015

Spares: Late Clutch (Finally) Disassembled

Can't believe it took this long to finally get the clutch from the Late Bottom End apart.  I got stymied a few times trying to get the damper springs out first, which was completely the wrong thing to do.  It's a little mechanical hubris in not going back to Clymer's to refresh my memory on the procedure.

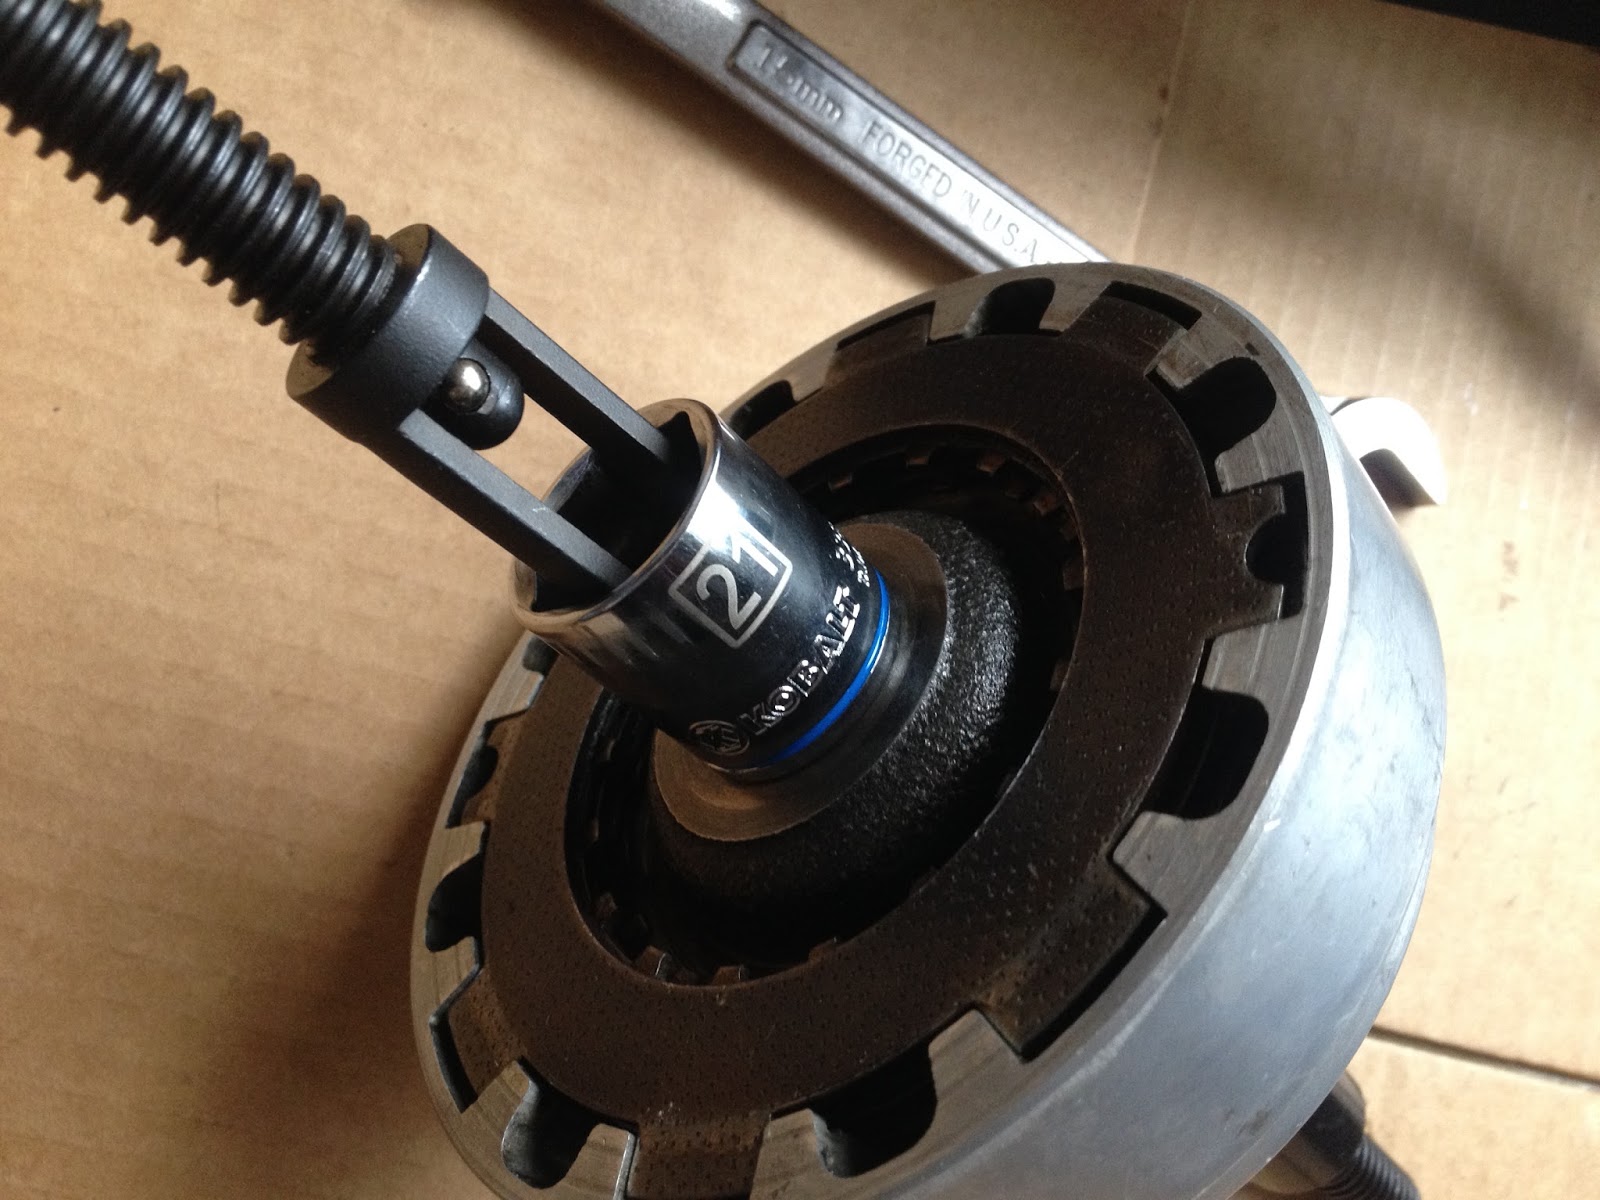
The first thing I needed to do was compress the clutch, then remove the clip, then remove the springs.

Go figure.

But the even bigger revelation came when I realized that Viola's clutch was NOT an S90 clutch after all.  I had always thought this Late spare clutch was the oddity, not having the screws I was familiar with.  All the while, it turns out Viola's clutch was actually a centrifugal type.  How did I keep missing that fact in the book?

Turns out the true S90 manual clutch is ten times simpler than the centrifugal version, as you'd expect.  You compress it, remove the clip, pop out 2 friction plates and 2 steel plates and you're done.  I also used 2 sockets (chrome 21mm, black 29mm) on the ends of the compressor tool (instead of a wrench placed crosswise like I used to) which made things even easier.

Finally, when measuring the friction plates, I found they were 2.92mm and since the standard is 2.8-2.9, it means they must be brand new.  The springs were also good at 26.6 (with 26mm wear limit).


Sunday, February 16, 2014

Astrid: Marathon

Solid four hours of quality garage time today.  Did a laundry list for Astrid run prep, pretty much everything leading up to adding oil and then doing the compression test.

  • Added in all the gaskets, using 4 from the replacement kit.  
  • Torqued the clutch nut, which actually turned into a bit of an ordeal, but learned 2 good tricks as a result.  
    • First, realized that I had the perfect sized C-clamp to keep the clutch basket holder from moving as you apply force to the nut.  
    • Second, on a brand new lock ring, you need to bend the tabs inward otherwise it's tough to fit a screwdriver behind the tab once it's tightened.
  • Did a mini tune-up
    • Set the valve clearance, using the yellow 3mm wrench for the first time
    • Set the points gap.  Weird thing about the points gap is that since the whole thing rides on a spring, it seems tricky to use a feeler gauge to measure the space in between.
    • Checked the timing, and realized after much confusion, that my homemade LED was not working because LED's don't dim.  Switched back to the incandescent bulb setup and found the timing was already dead on to the "F" mark.


These 2 gaskets were original, I'd just fallen into the habit of leaving them off.


These 4 gaskets came from the replacement kit.  I'm not 100% sure the o-ring for the oil galley is correct, but it seemed to fit and it was better than nothing.


The locking tab (before bending the tabs), the C-clamp setup, and a clean oil filter screen.