Session actually started off very well. I installed the stock air filter along with the S90B carb. Everything went together very nicely. This is the newish airbox, plus one good cover from the Viola original, plus a new repro air filter for 4-into-1. Also confirmed the needle is in the middle position.
Before starting the next job of replacing the rear sprocket, I figured I'd torque the head bolts - a little job that just needed doing.
I use a 14mm socket on the torque wrench since they are 8mm bolts and start cranking away. I'm then surprised to find that the socket starts slipping on the bolts when they get tight. This strikes me as odd, but I don't actually PAUSE to ASSESS the SITUATION.
If I had, I would have seen that the bolts are in fact 13mm and not 14 like they usually are. I was stripping them.
As I was tightening down the top left side bolt, there was a sudden CRACK and the wrench came off suddenly. Apparently, I'd torqued the bolt enough that it ripped the bottom end rod in half. Well, that's just great...
Though, if that rod was going to fail on torque, then it was always going to fail. There's no way I could have under-torqued the bolts, somehow expecting the rod was weak.
Though I'm still not sure if the slipping socket had anything to do with it. Did the slippage cause the wrench not to read the torque correctly which meant I was over-tightening? I don't think so... but...
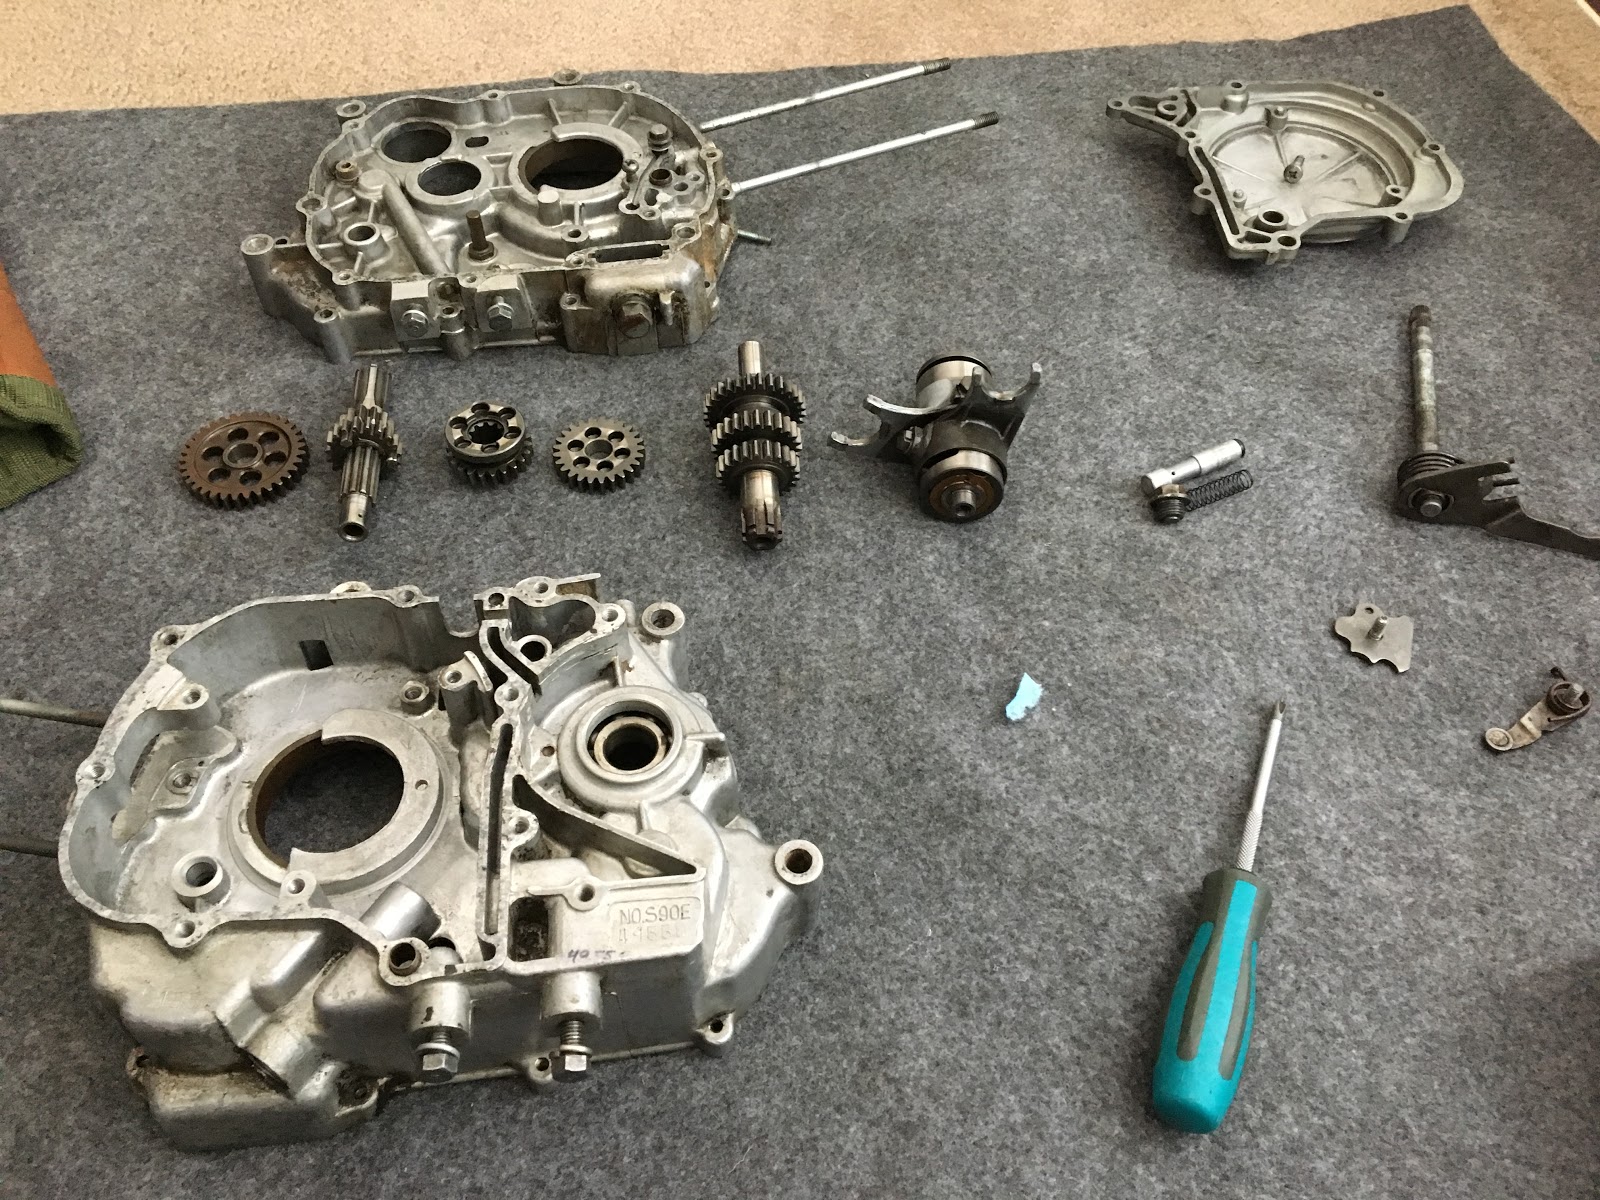
So definitely a major issue. I think it's going to be a nightmare trying to remove the broken rod and replace it. But I figure the engine should run with only 3 of 4 connecting rods??? Well, at least it that can't affect start up, can it?
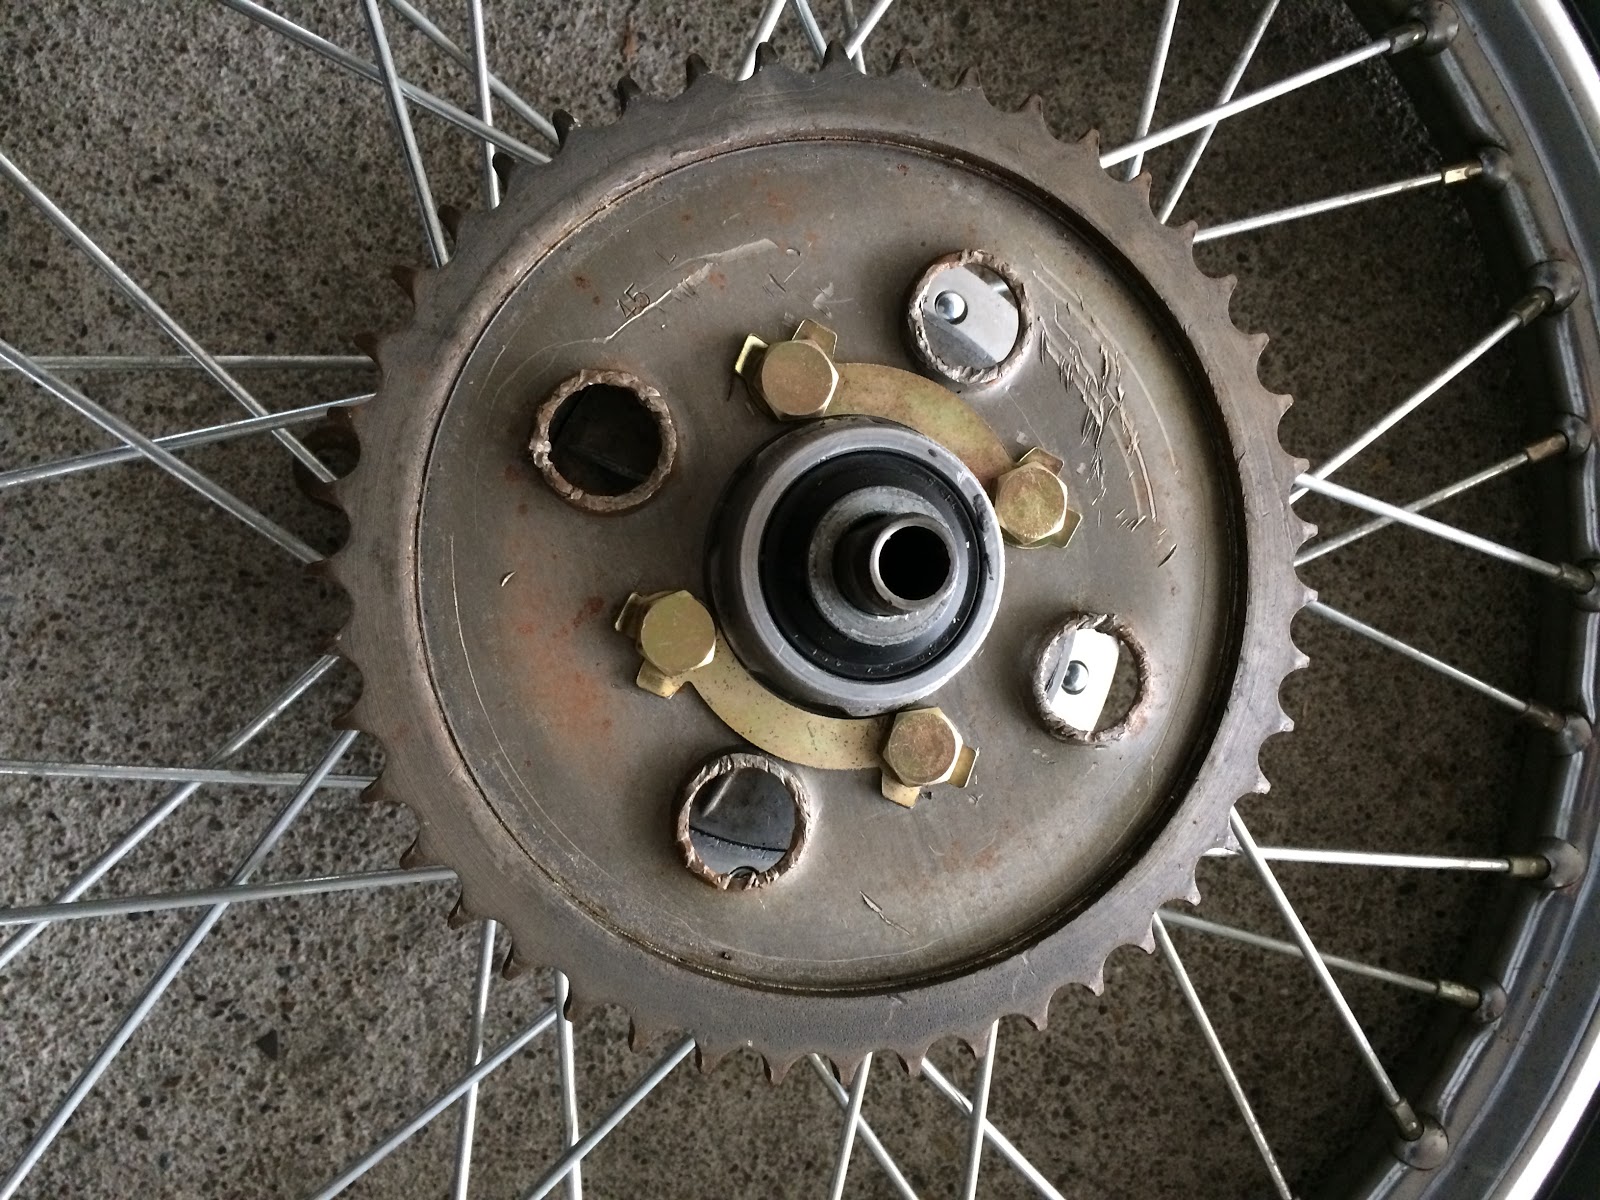
After the shock of that wore off, I did the rear sprocket. Pleased to find that in general, all the steps came back easily. The job actually took a lot less time than I'd thought it would.