Showing posts with label 1969 S90. Show all posts

Wednesday, July 30, 2014

Viola: Sprocket Count

Viola's sprockets are 12T up front, 45T in the rear.  Stock would be 14T/45T.


Tuesday, May 20, 2014

Viola: New Everything

Repeated the same coil test but with the new coil with the proper 89mm mounting points.

So this test had all the new stuff:
- Japanese ignition coil (is it really Mitsubishi?)
- Nippondenso condenser
- Nippondenso points
- NGK plug boot
- brand new NGK spark plug


Tuesday, May 6, 2014

Viola: Still No Spark

Tried the same test today but with the new condenser.  Still no spark.  So I started testing with the multimeter.

Found there was NO continuity between the HT spark plug wire and the coil ground wire.  So definitely seems like a bad coil.  Ironic since it's new, but perhaps somewhat expected given the Chinese manufacturing...?

Expecting a new coil from eBay soon.  This one has the correct mounting tabs, so hopefully it'll do the trick.

Also gave the new NGK boot a try, just in case that was part of the problem.


Thursday, May 1, 2014

Viola: No Spark Today

So... this didn't work.  Not really surprised.

I've got a new condenser now, so I'll try it again with that.  Plus I'll put the head cover back on and set static timing.


Tuesday, April 22, 2014

Viola: Coil and Condenser Confusion

As usual, Viola's PPO marched to the beat of his own drummer.  He was either a mad genius or a total nut  Maybe a bit of both?

Took a closer look at the condenser and coil today.  The condenser was unusual in that it only had one green wire coming out of it.  Usually there would be two: one green and one black.

The green wire from the condenser went into a connector that joined the green wire from the coil and the green wire that goes out to the points.  Finally there was a red wire coming out of the coil that ended in a mail bullet.


Monday, April 14, 2014

Viola: We Have Ignition

Ignition coil, that is.  Looking back at the old post where I first dropped her engine, I saw that I already determined that the coil wasn't mounted on the engine where it should be (no surprise there).  Guess I just never bothered to find it back then.

But following the HT wire back up the frame, it was quite clearly mounted at the top under the seat.  A hole had been drilled through and there was a nut holding it in place.  A little fiddly getting it out of the battery compartment, but just took a little twisting.

Clearly not the stock coil, which was probably why it couldn't be mounted on the engine points.

There's a black wire from the coil that joins with the condenser and a green wire that is the green wire leading to the points.  Then there was a red wire from the coil that ended in a male bullet that was detached.


Wednesday, March 26, 2014

Roxy vs Viola: Muffler Madness

Looks like Roxy has the "late" (why late if she's supposed to be '64?) 2-piece muffler with 2 mounting points.  Viola has the single piece version that has a bolt that goes through the mount point and then secured with a nut.


Viola...


Roxy...


Tuesday, March 11, 2014

Viola: Stymied!

Completely disappointed by the new Grabit bits I got.  I may just need to refine my technique, but in some cases the extractor wouldn't really "bite".  And when I did get one to bite, the drill just wasn't powerful enough to move the screw (which I guess is not really the fault of the extractor).

The other downside is that now that I've drilled the screws out for the Grabit, I have much less material to try and reslot it for the impact driver.  May end up just having to really drill one through for the first time.

The only bright side was that the "pencil test" showed that Viola's camshaft is indeed the S90 grind.


Sunday, March 9, 2014

Viola: How to Build a Cafe Racer

Taking the guidelines from the Bike EXIF post: http://www.bikeexif.com/build-cafe-racer


The Foundation: her natural lines aren't that bad, but I already see I need to drop the headlight to get it more in line with the tank.


The Cut-Off Point: her tail hangs out a bit too far.


The Height Limit: all good here.


The Bone Line: again, seems like the headlight sits too high.


Visual Weight: kind of tricky with the 90cc bikes.  Since the engine is so small, there's a lot of empty space under the tank that you can't really do much with.


The Swoop: just getting an idea of where the cowl would need to fall.


The Main Angles: definitely not parallel, but it would be a big job to change that.


Fork Distance: already very "tucked".


Sunday, March 2, 2014

Viola: On/Off

Thought if I Dremel'd a notch in the toggle switch bolt, I could knock it loose with a screwdriver/hammer - but no such luck.  I think it's fused to the frame by corrosion.


Also took a fresh look at her wiring set up.  I see most of the standard wiring you'd expect, but there's also plenty of wacky (and rather sloppy) custom stuff in there.  I had hoped to simply test for spark, but the spark plug boot is too perished for a safe test, I think.

Probably best to just rewire it and get a new ignition coil in the process.


Tuesday, January 21, 2014

Viola: Gears

Just some shots for reference.  I'm sure these are in an older post as well, but I'm too lazy to look.


While the new parts brush is working great on the outside of the case, I was reminded that there's still a thick layer of sludge on the inside bottom.  Not sure how to handle that...


Monday, January 20, 2014

Viola: The Right Tool for the Job

After a tip from a fellow Instagrammer, I picked up a Lisle Parts Brush, and was finally made some headway in cleaning the spare S90 engine.  First, I just used some dishwashing soap to get the major grime off.  Some of it was caked on so thick that I had to scrape it with a screwdriver, but the brush actually cleaned where no brush was able to before.

After the soap, I was still left with a greasy residue.  So I switched to WD40 and the parts brush, which again worked wonders.

Before, during, and after...


From another section...


Sunday, July 14, 2013

S90: Cafe Fever

Got new hardware in the form of Dime City Cycles levers and grips (with throttle included).  Installed those on the 7/8" handlebars from Bike Bandit (all the Dime City stuff fit perfectly!).

Wanted to get a real feel for the ergonomics of the grips, and realized I couldn't really do that with the stock seat.  So I got the other seat pan (which is actually the wrong year/model and doesn't mount correctly at the front) cleaned it up and gave it a quick coat of paint.  Sitting on that gave me a better idea of how things would look and feel.

One thing I realized is that the bike MUST have rearsets to make the whole thing work.  Your knees would just be too high up if you only changed the handlebars and seat height.  Unfortunately, rearsets will be the trickiest thing to install as mounting holes would almost certainly have to be drilled.

I have to say, she looks good in this cafe racer trim...


A comparison of the stock handlebar setup versus the cafe setup.  I still think these cafe bars are too wide at 30".  They're actually wider than the stock ones. 


Some detail of the Dime City hardware.  Not that I have much to compare it to, but I thought the fit and finish were great for the price.  The lever set was only $20, and same price for the grip set with throttle body.  Both are Plain Jane, OEM-style hardware, though.  Down the line, I'm sure I'll end up with something snazzier.


Friday, July 5, 2013

S90: Major Milestone

Hit a major milestone today by dropping the engine out of the S90 for the first time.  Everything went pretty much "by the book" according to Clymer's, with no real surprises.  The only hiccup came when I couldn't get the engine lined up to the mounting holes for the re-install.  Then I realized everything would be a lot easier with the bike lying on the ground instead of standing up.  Once I laid her down, I got the engine installed in about 30 seconds.

The whole exercise took about 2 hours, so now that I know what I'm doing I'm sure I can do it much faster next time. 


First the drive sprocket had to come off.  Had to re-slot these screws and then hit them with the Lisle.  I don't really understand why you have to remove it just to drop the engine, though.


Detach neutral switch.


With all 3 engine mount bolts removed (plus the clutch, alternator, air box, muffler, carb, and gearshift) - everything drops right out.


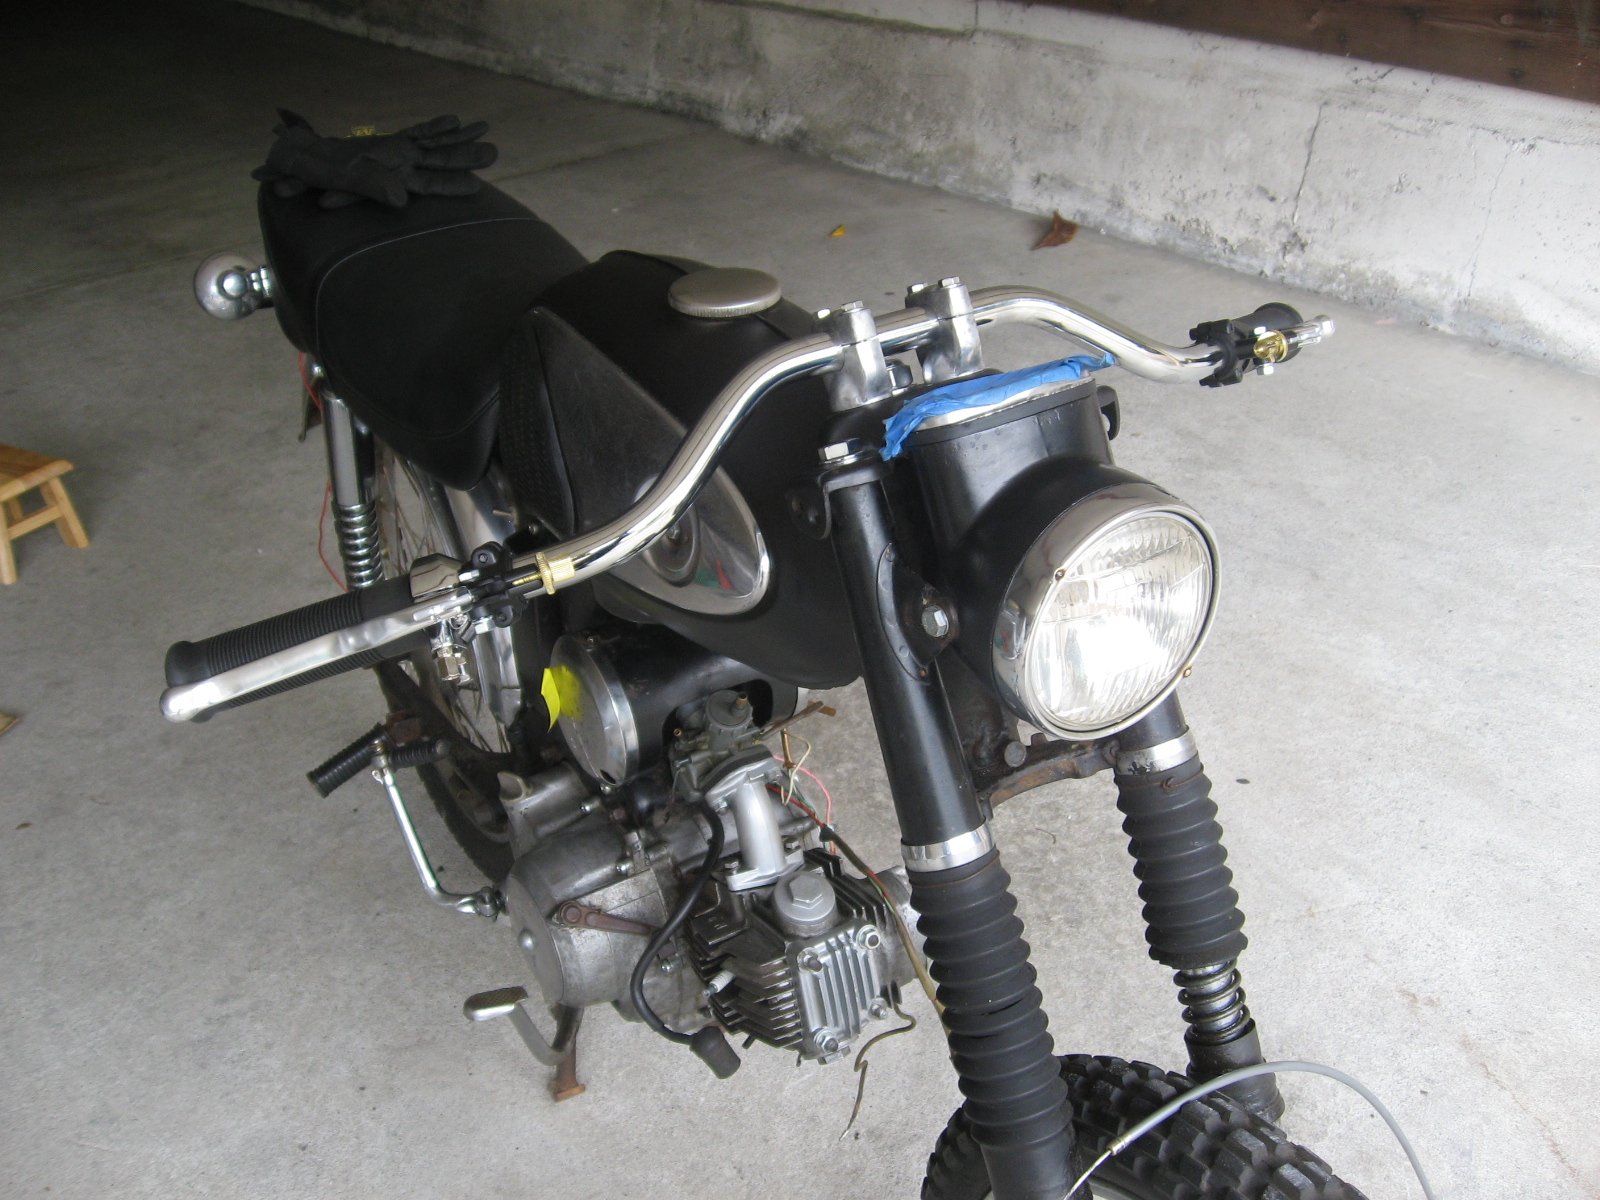
Doing research after the fact, I learned that the ignition coil is supposed to be mounted to the top of the engine.  Clearly it's not.  I think the PO mounted it to the top of the frame where the winker relay is actually supposed to be.  Not sure why, but assuming it's another of his trail mods.


Engine mount bolts.


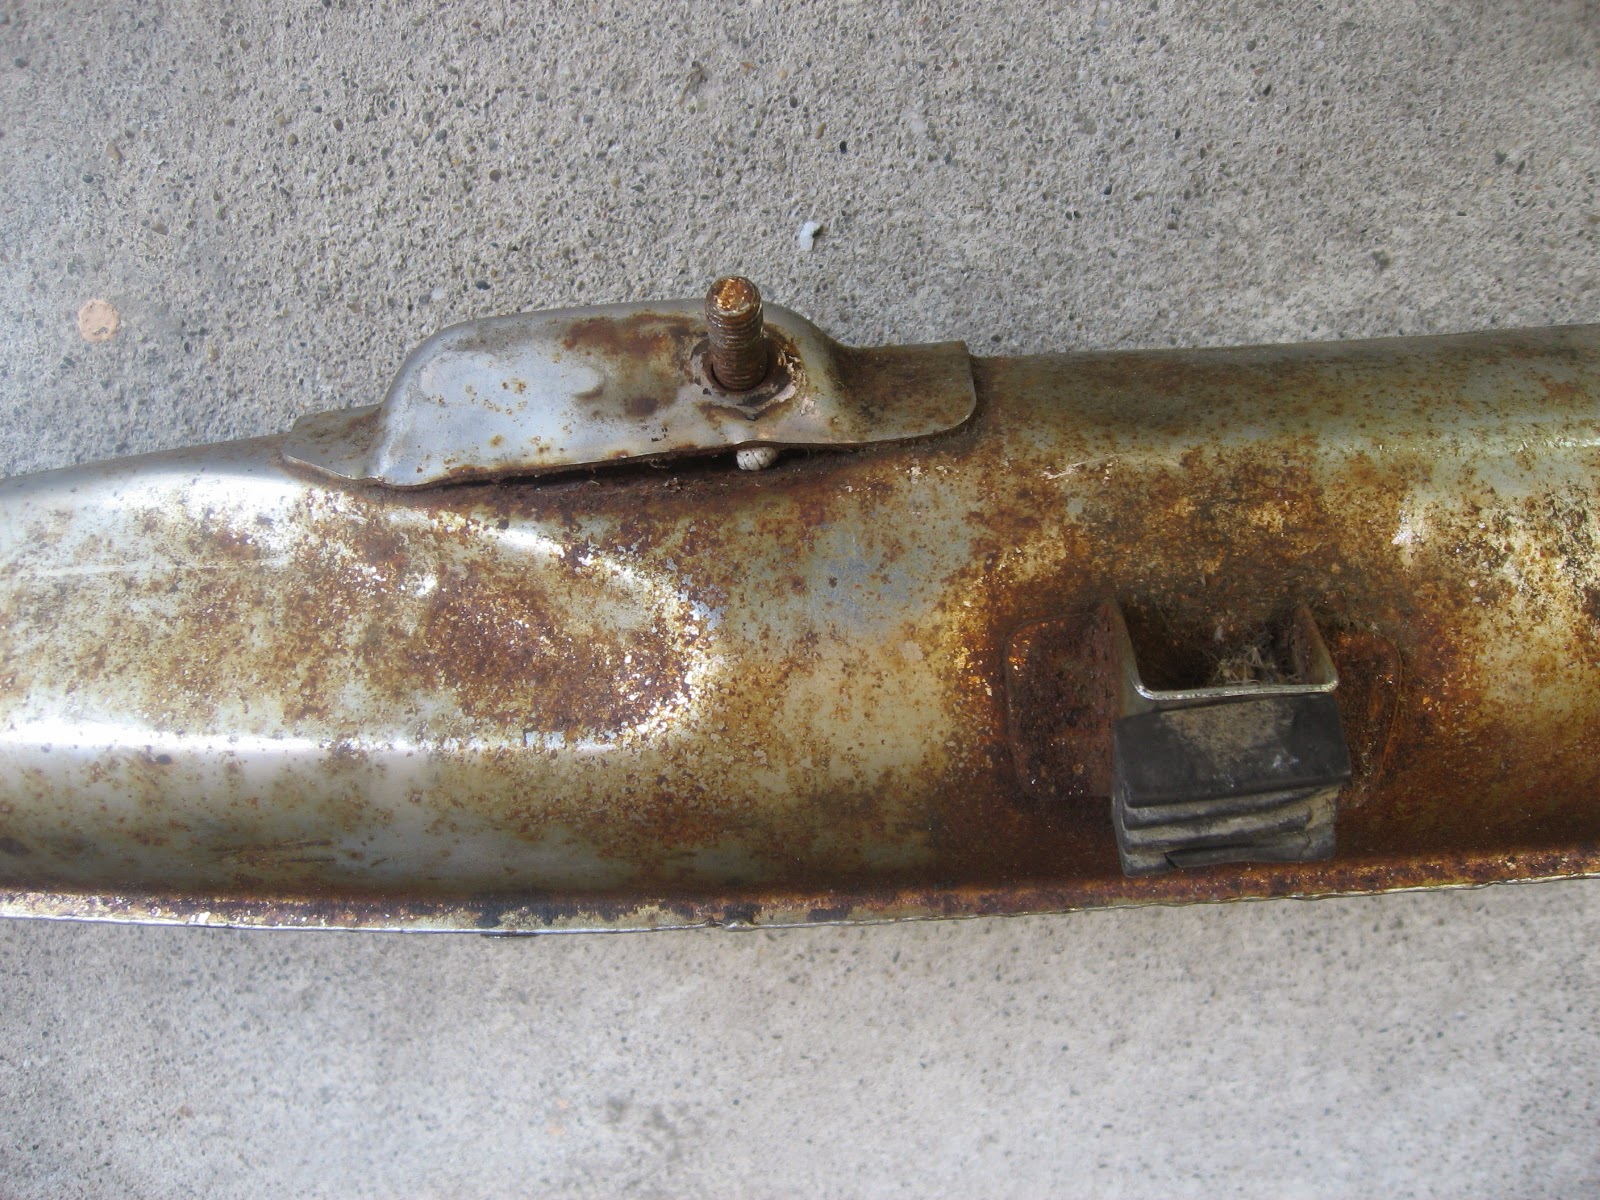
 Years of accumulated crap.


 First ever look at the rectifier.


 Getting the engine back in the easy way.