Showing posts with label cafe racer. Show all posts

Wednesday, May 27, 2020

Red: Stymied Twice

Finished cutting the custom pin for the new DRATV race camshaft.

Went to install the new cam and just couldn't get it to fully insert!  Seemed to go in ok, but just couldn't get it to seat into that last inch.

Had both valves loosened, but looking back, thinking that I didn't loosen them quite enough.  Vaguely remember that the exhaust valve was still too tight.

Didn't want to force it so backed off and reinstalled the original cam.


Then, thinking the day wouldn't be a total loss, went to install the 13t front sprocket.  Got it installed easy enough (although for some reason getting the master link off was a real pain, ended up ordering master link pliers) but quickly realized that the chain was hitting the sprocket plate.

So backed off of that, too and reinstalled the original sprocket.

Back to square one!


Thursday, May 14, 2020

Evie: CL90 Tank and More

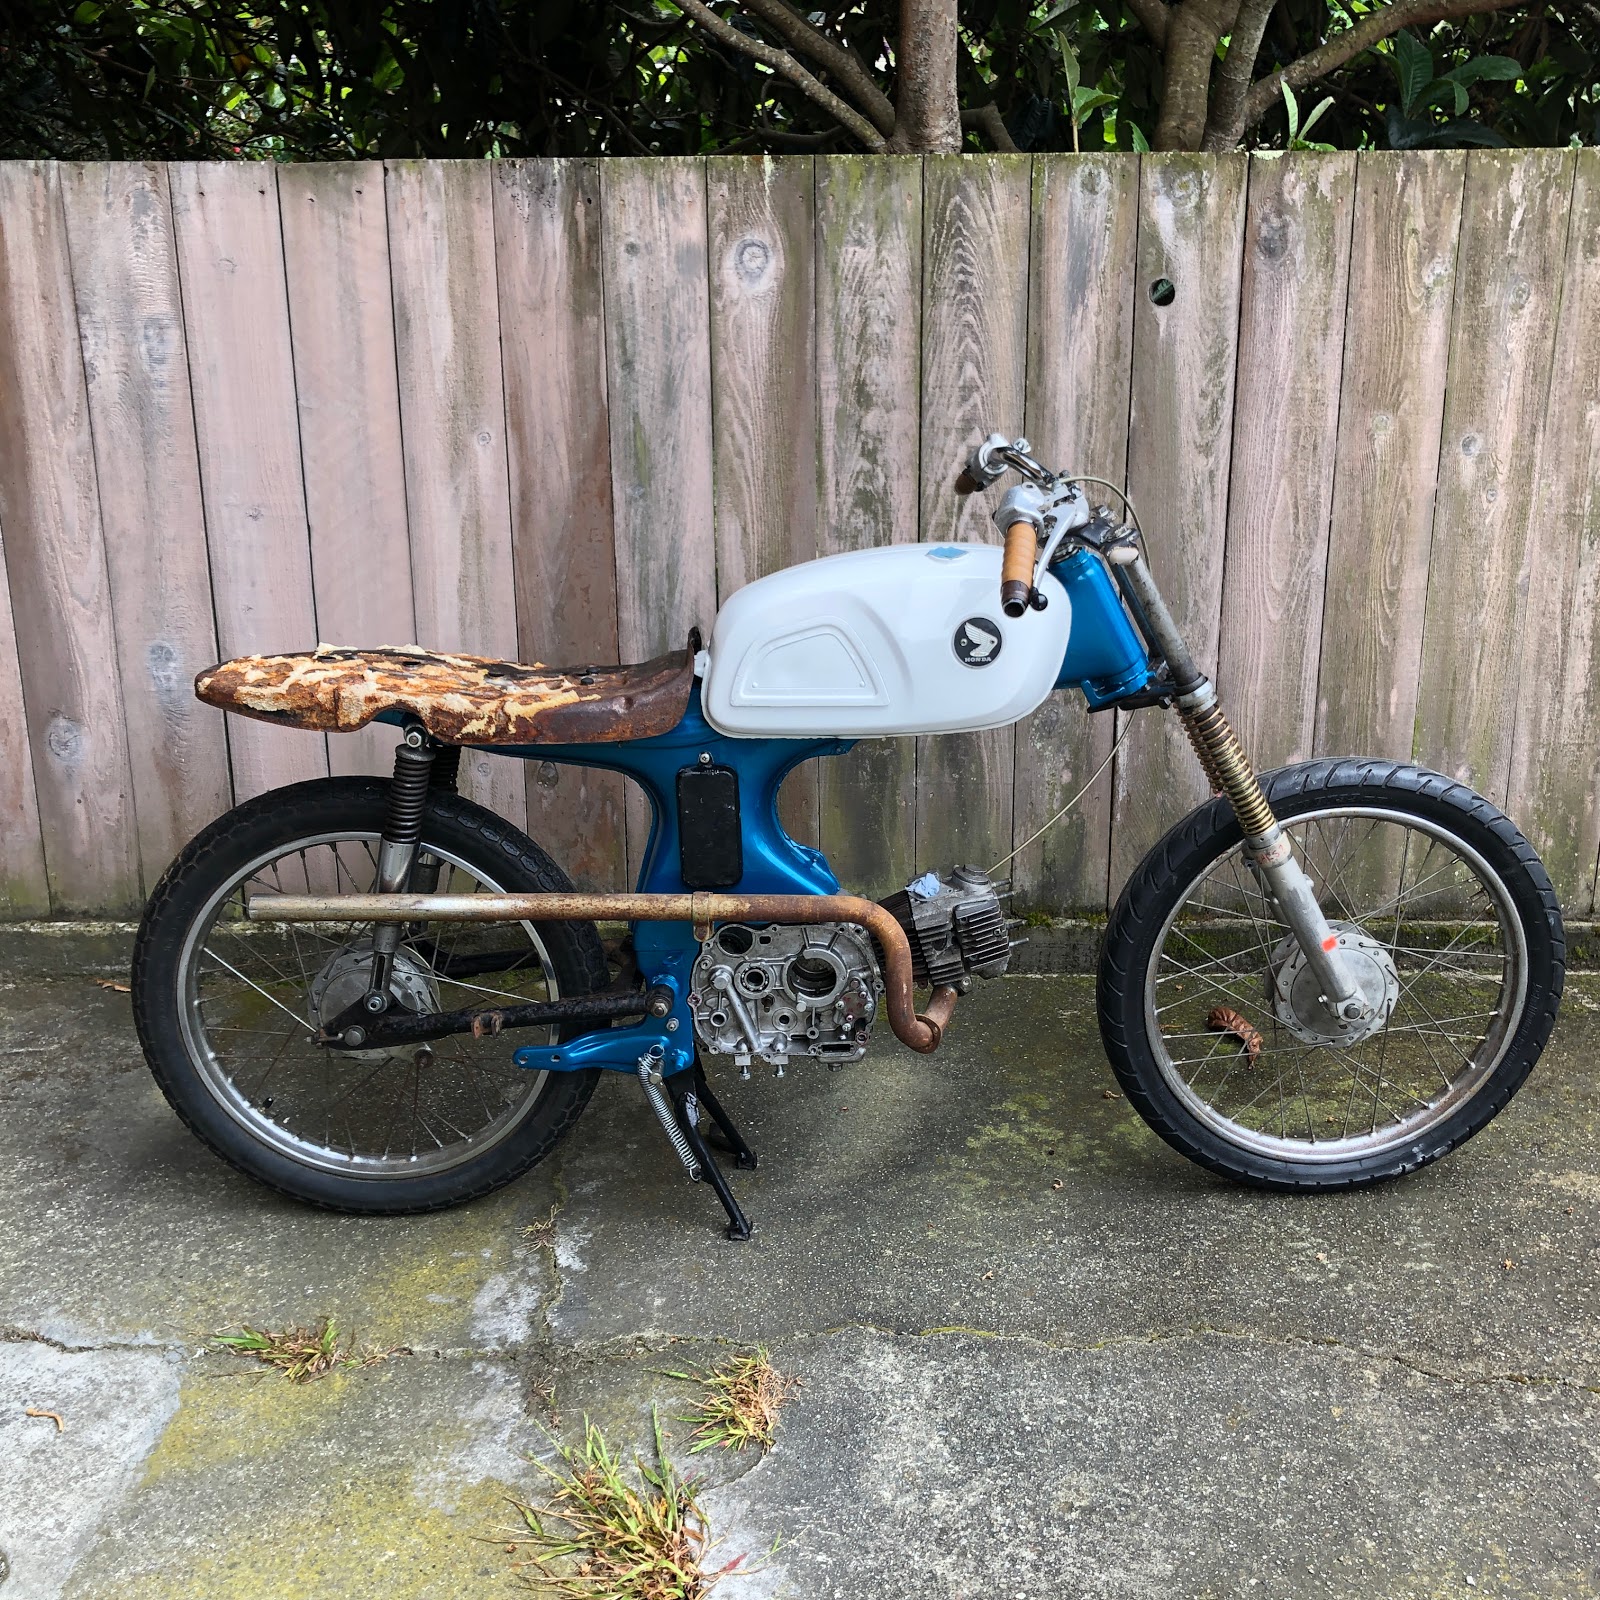
A fun day in the shop as we unboxed both the seat and CL90 tank. 

The CL90 tank turned out to be a shock.  Professionally painted (says the seller, but not by him) and absolutely mint.  Almost too scared to mount it now.

The leopard print and underlying foam came off the seat easily.

So the Evie build jumped forward a few big steps and now she kind of looks like a motorcycle.  The straight pipe looks good!


Saturday, May 9, 2020

Red: Race Cam Pin

DRATV race cam doesn't take a stock advance pin, but followed a Yahoo Group suggestion (from Bill, actually) to just cut down a finish nail.  The "10d" size just needed a bit of filing down to fit for diameter.  Then just need to Dremel the length.


Saturday, May 2, 2020

Ivy: Mirror, Mirror

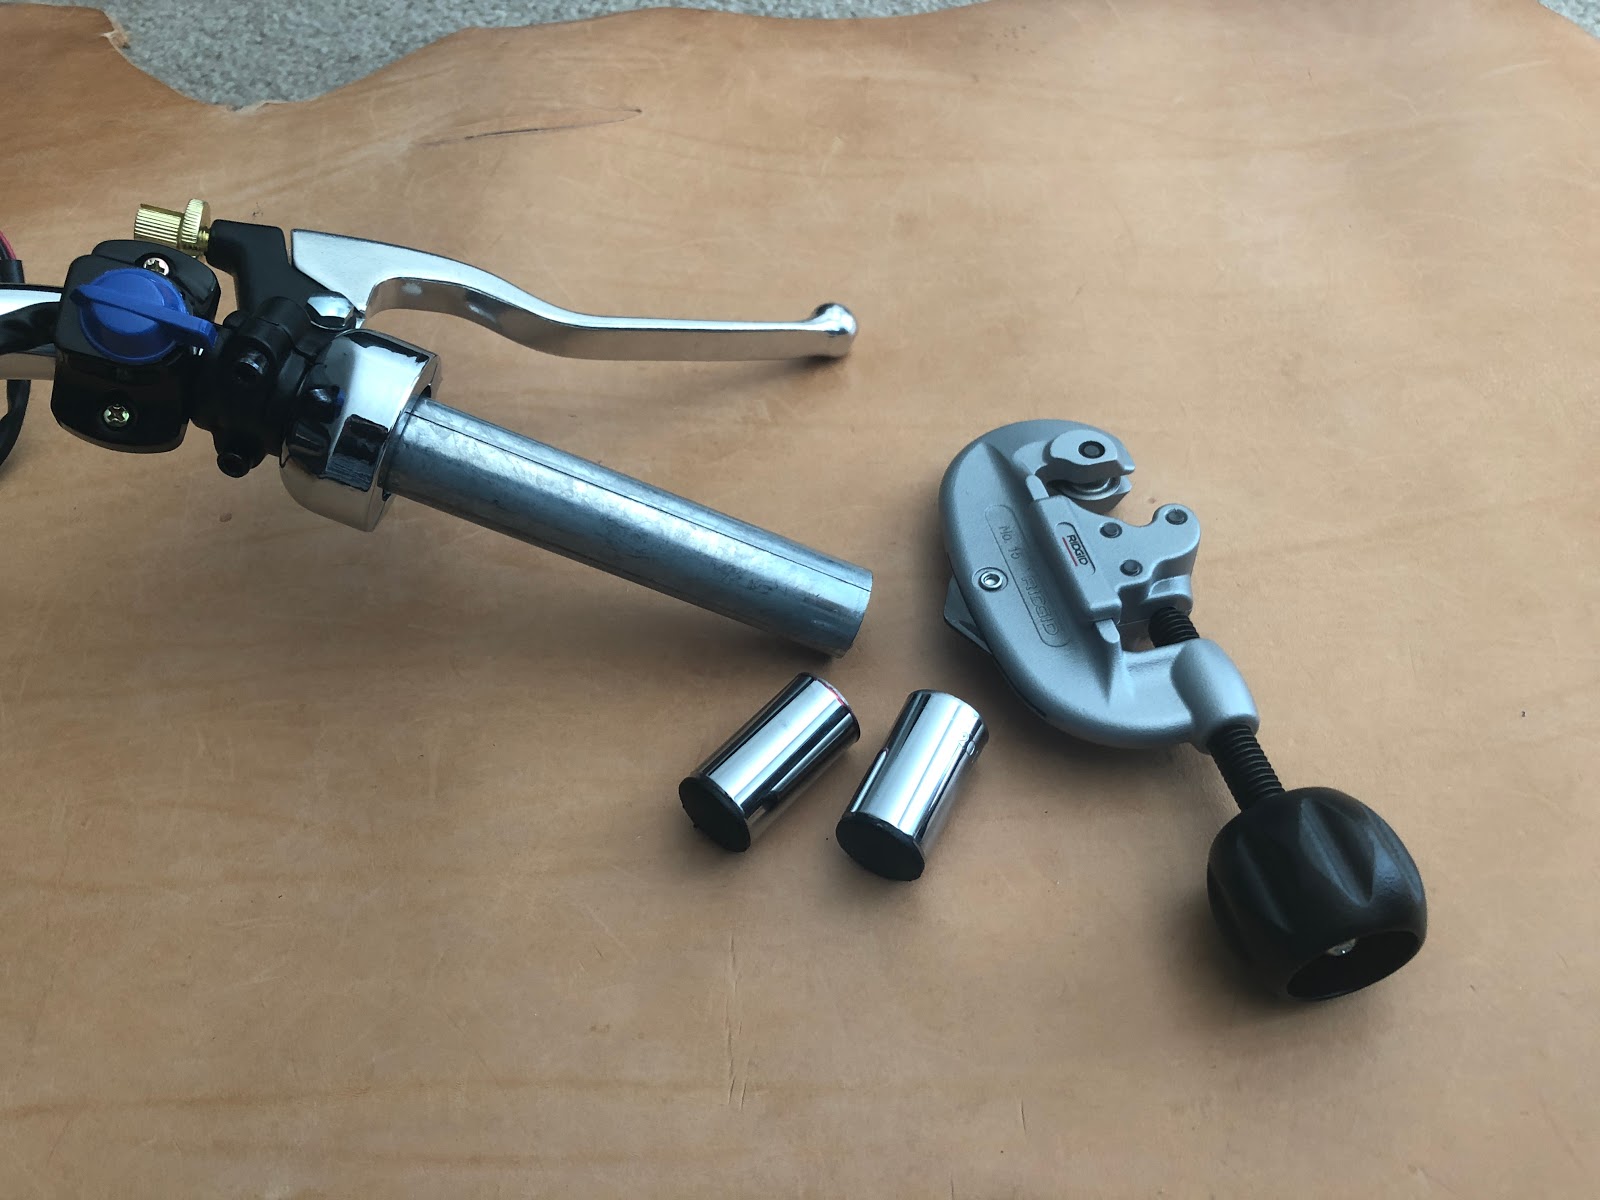
Very trick bar-end mirrors from Dime City.  Had some trouble installing them at first because the pipe cutter had left a rough edge inside the handlebar.  But after filing that down a bit, they slid right in and tightened up nicely. 

Mirrors seem especially bright and clear, for some reason.

Only downside is that they are so low down that you really can't look at them without totally taking your eyes off the road in front.


Sunday, April 26, 2020

Red: Going Big Bore

Since getting Ivy running I've been able to compare her with Red side-by-side.  Seems crazy, but Ivy just feels much torquier, especially winding up in second gear.  Then again, she does have Roxy's old jug along with brand new rings.  But Roxy's cylinder is standard size and nothing special as far as I know.  Not sure how that could translate into such a big difference in the feeling of torque.  Maybe it's the exhaust?  Either that or the carb.  (Ivy's currently running the Sheng #1)

Decided to take the leap and install the DRATV Big Bore into Red now that she's feeling "under powered".

  • Installed the 5 piece ring set before heading downstairs.  No issues getting them on.  Helps that I had some recent practice doing Ivy's new rings.
  • Also filed down an old knock pin until it fit easily into the top right hole.
  • Disassembled the top end.  The new pick set was handy getting the wrist pin circlip out.
  • The old case-to-jug gasket was looking a bit brittle so swapped it out with a new one.
  • Filed down the end of the knock pin a bit to make sure it fit flush into the case.
  • The new piston went in ok.  Followed the standard setup for placing the gaps.
  • It was VERY fiddly trying to get the jug over top of the rings.  Was constantly worried about knocking a ring out of its groove or messing up the 3-piece oil scraper somehow.  Finally just got it on after constant fiddling.  Maybe next time the strategy would be to insert the piston into the jug up to the rings before installing it to the crankshaft.  Or, get a piston ring sleeve thingy.
  • Used the thicker copper gasket provided by DRATV to help with clearance.
  • Slowly torqued the head cover nuts to 10 ft lbs.
  • For some strange reason, it was VERY hard getting the advance back onto the end of the camshaft.  Why???
  • With everything back together, she started right up.

Shakedown: ran quite a few laps from about 17th to 25th, keeping the revs varied.  No smoke!

But she suddenly cut out on 25th and Lake.  Feared the worst, but after making it back to the garage realized I'd simply run out of gas!

But... biggest disappointment was that I simply did not feel like those extra 14cc's made any difference at all.  Didn't really feel that much extra torque.  Didn't feel that "surge" in second gear that I was comparing against Ivy.  Very strange.

Thinking of swapping back to the Sheng as a test.  Maybe that old Keihin is just not breathing as well?  What could be giving Ivy that extra feeling of power???


Wednesday, April 22, 2020

Ivy: New Bars

Swapped the bars over to the new Euro setup.

Went smoothly but realized that the old mirrors looked horrible on the new bars.  Couldn't really get anything to work that looked good and showed enough of the rear view.  Finally left just the right side on so I at least have something. But ordered some bar end mirrors from Dime City right off.


Sunday, February 23, 2020

Euro Bars II

Put together a copy of the Euro bars on Red.  Testing doing the custom Venhill cable using the soldering iron instead of the pot. Seems to work but had to insert a small piece of solder into the bird's nest as the cable itself never seems to get hot enough to melt the solder on its own.


Sunday, August 30, 2015

Red: Cafe Seat

Journey of a thousand steps...

It's suddenly bugging me that I don't have the perfect seat on the cafe bike.  Time to get serious about it.  I think first decision is metal forming vs. foam/fiberglass.  As much as I'd prefer to say I hammered out my own cowl, I don't see how I could possibly find enough shop time to do a halfway decent job.  On the other hand, I can take as much time as I need figuring out the foam/fiberglass approach.

But first step is just to start building a visual reference.

Aside from getting the angle and size of the cowl right, the main goal is to preserve the minimalist flow of the rear frame.  It's almost as if you wish you could just throw a pad and seat cover directly onto the frame, add a cowl, and be done with it.


Sunday, March 9, 2014

Viola: How to Build a Cafe Racer

Taking the guidelines from the Bike EXIF post: http://www.bikeexif.com/build-cafe-racer


The Foundation: her natural lines aren't that bad, but I already see I need to drop the headlight to get it more in line with the tank.


The Cut-Off Point: her tail hangs out a bit too far.


The Height Limit: all good here.


The Bone Line: again, seems like the headlight sits too high.


Visual Weight: kind of tricky with the 90cc bikes.  Since the engine is so small, there's a lot of empty space under the tank that you can't really do much with.


The Swoop: just getting an idea of where the cowl would need to fall.


The Main Angles: definitely not parallel, but it would be a big job to change that.


Fork Distance: already very "tucked".