Showing posts with label gasket inventory. Show all posts

Tuesday, April 4, 2017

Run Ivy Run: Oil Change

Did a loop around Legion Of Honor then back for an oil change.  The filter was fairly clean, which was a big relief.  Guess it caught all the shavings last time.

Also added the exhaust filter.  Couldn't quite understand how the copper one would work since it was a larger diameter than the hole... Does it simply get crushed into place?

Figured I'd just use the asbestos version for now.


Saturday, January 14, 2017

Run Ivy Run: 2017 Kickoff


First garage of the New Year and with the rearranged garage parking.  Had to drag myself down but feel like the mojo is coming back.

  1. Tightened up the headlight bucket so it wasn't wobbly anymore.  (Why did it take me so long to do that?)
  2. Added the right clutch/CC gasket (last one in the binder)
  3. Added the intake-to-head gasket (also last one in the binder)
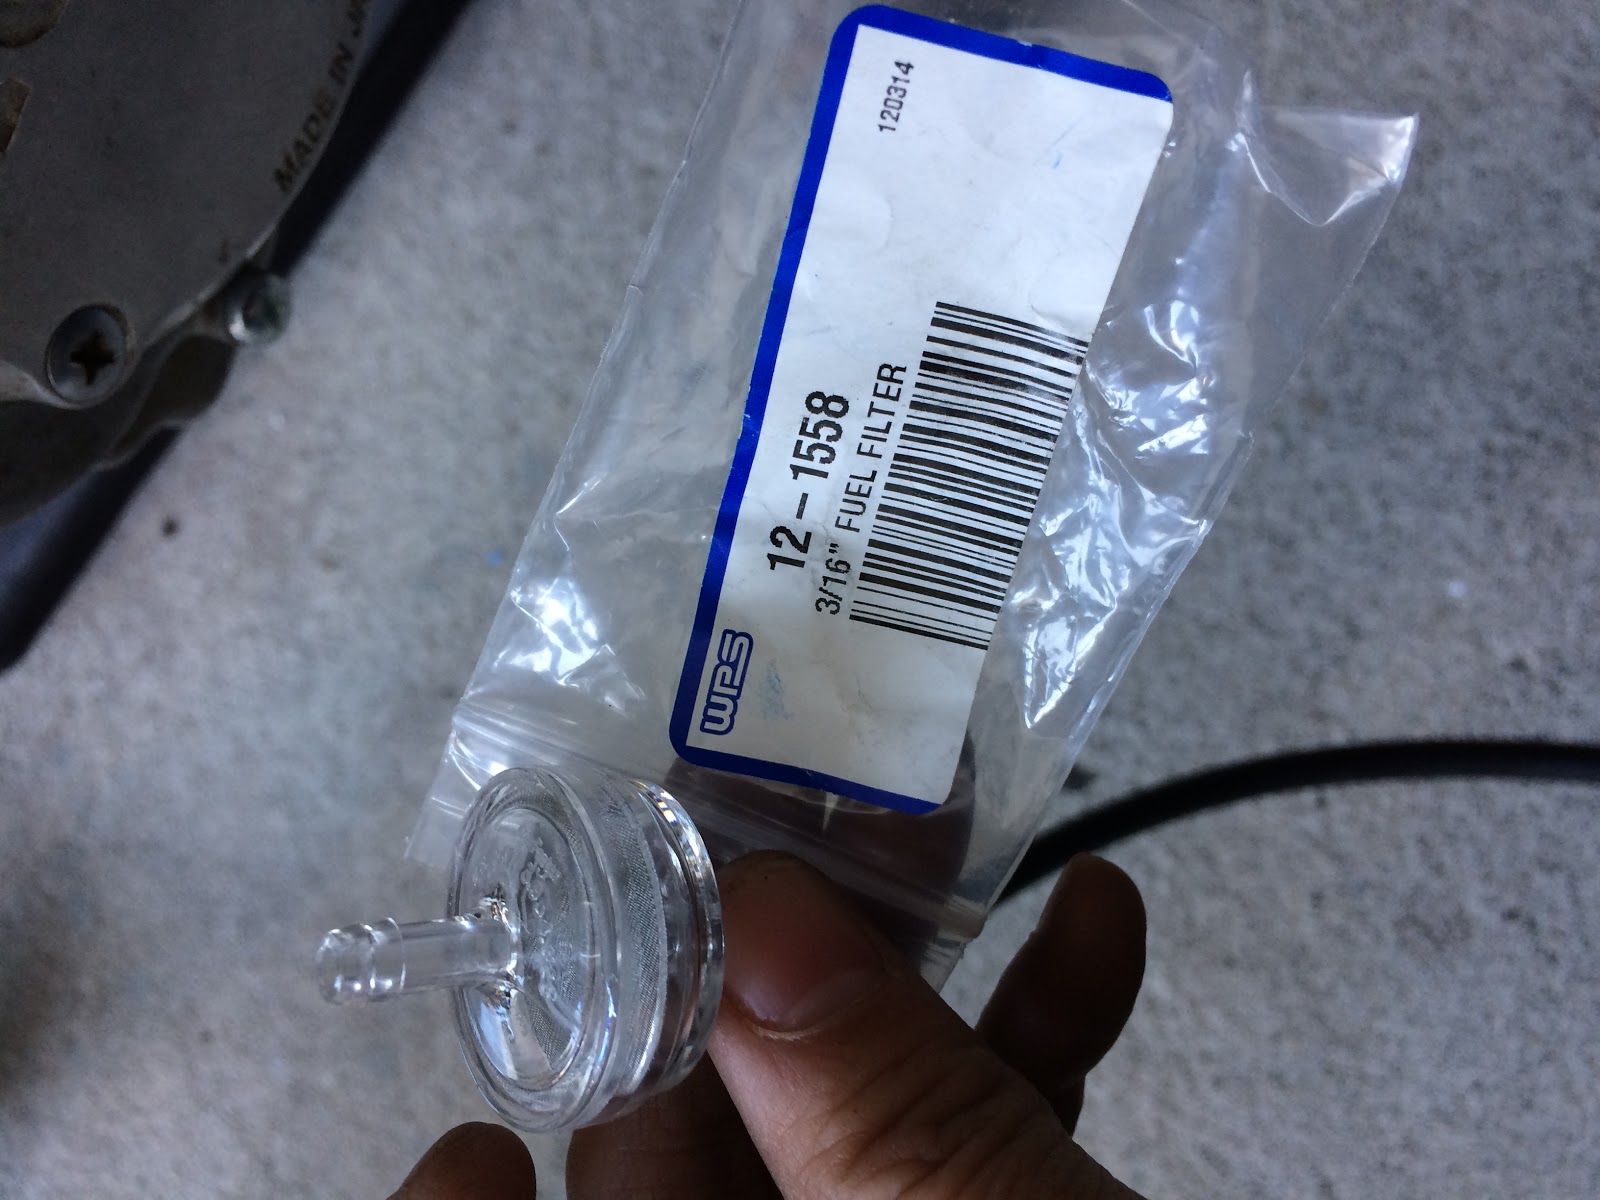
  4. Setup the fuel lines.  Used 3/16" which fit the carb, the shorty filter, and the aux gas line.

All was going well, UNTIL...

The last thing was to add the K&N to the carb and only today did I discover that it's too big!!  You could probably forcibly squeeze into into place, but it's a very, very tight fit.

Possible options:
  • Just force it into place
  • Find a different K&N filter (either offset or shorter)
  • Use the stock filter
  • Use the stock carb
  • Cut down the K&N filter 
  • Remove the heat gasket temporarily (good for the test start)


Tuesday, September 20, 2016

Ivy: Small Jobs

A few small jobs: torqued the oil bolt, added the left crankcase gasket, and pulled the top end so I could add the 2 rectangular cylinder jug gaskets.


Friday, April 29, 2016

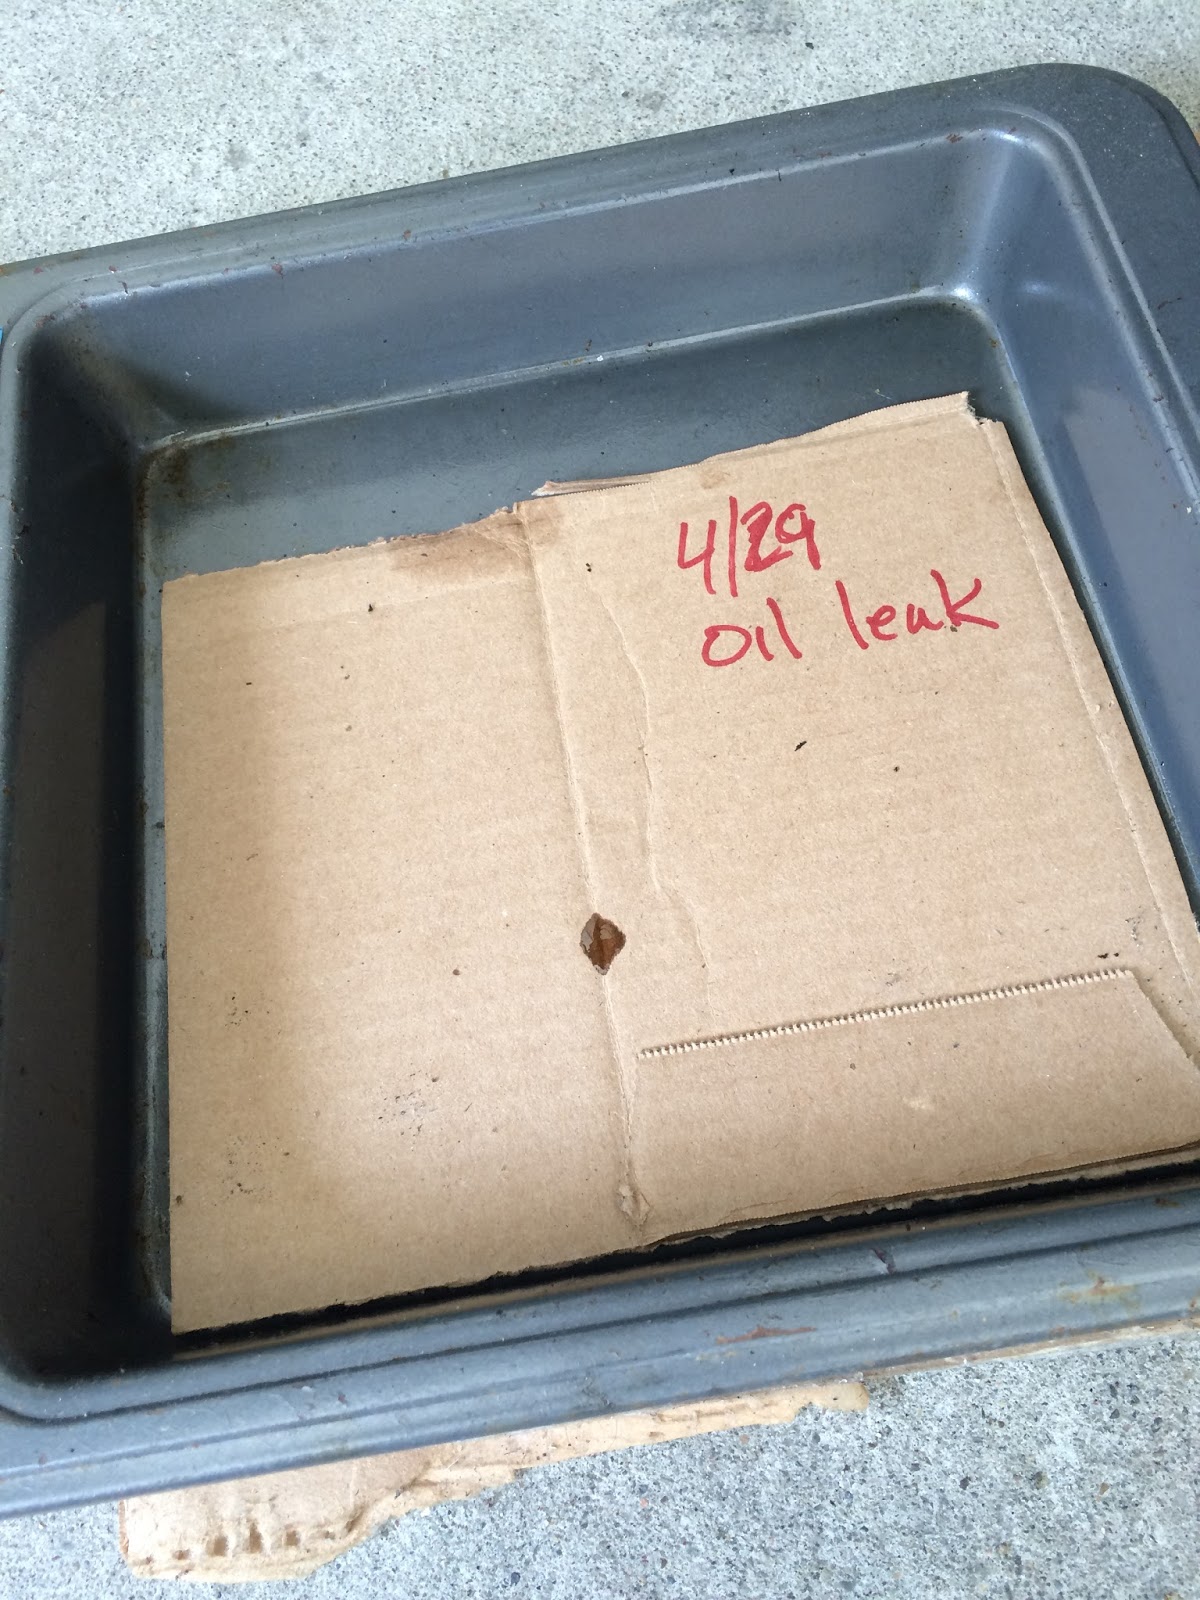
Astrid: Oil Leaks

Noticed there was some oil leaking from the rocker cover.  When I popped it off, I found that it was still the original gasket (not one I'd replaced during the rebuild).  It looked pretty tough to scrape off, so I swapped it with the one on Ivy, which had an old gasket too, but one that came off pretty easily.

Replaced it with a new one from the gasket binder.  No more leak.  Job done.

But... it's still clear that there's a leak where the head meets the cylinder jug.


Friday, June 26, 2015

Astrid: Fixed the Oil Leak!

If you're lucky, this process will work to fix an oil leak:


  1. Clean the surface thoroughly so that you can identify the true source of the leak.  
  2. Pinpoint the leak.
  3. Replace that gasket.
  4. Done and done.

After cleaning the head the first time and waiting 24 hours, I didn't see anything leaking.  Figured maybe it was only leaking while the engine was running (and pushing oil to the head), which ended up being the case.

The leak seemed to be coming from the points base gasket (at about 7 o'clock) and indeed the gasket seemed damp at that spot.  

Removed and replaced that gasket, though oddly enough, it seemed too small to fit, and I ended up tearing it getting it on.  Probably should have stopped and opened it up a bit instead of trying to force it.  But since the tear was on the right side screw hole, I don't think it's going to leak.

Ran the engine again and... no leaks!!!

It can't always be that easy, can it?


Tuesday, April 29, 2014

Spares: The Big Gasket Roundup


Clutch inspection cover


Points base plate


Rocker cover


Clutch outer cover


Points cover


Alternator cover


Cylinder to crankcase


Head cover


Exhaust to head


Combustion chamber


Late oil pump (top); early (bottom)


Early oil screen?


Pack included in the newer set.


Pack included in Roxy's spare set.


New gaskets from the new set.


Astrid's original alternator cover with a small tear.


Viola's original gaskets.