Sunday, June 3, 2018

Red: Bottom End Transplant

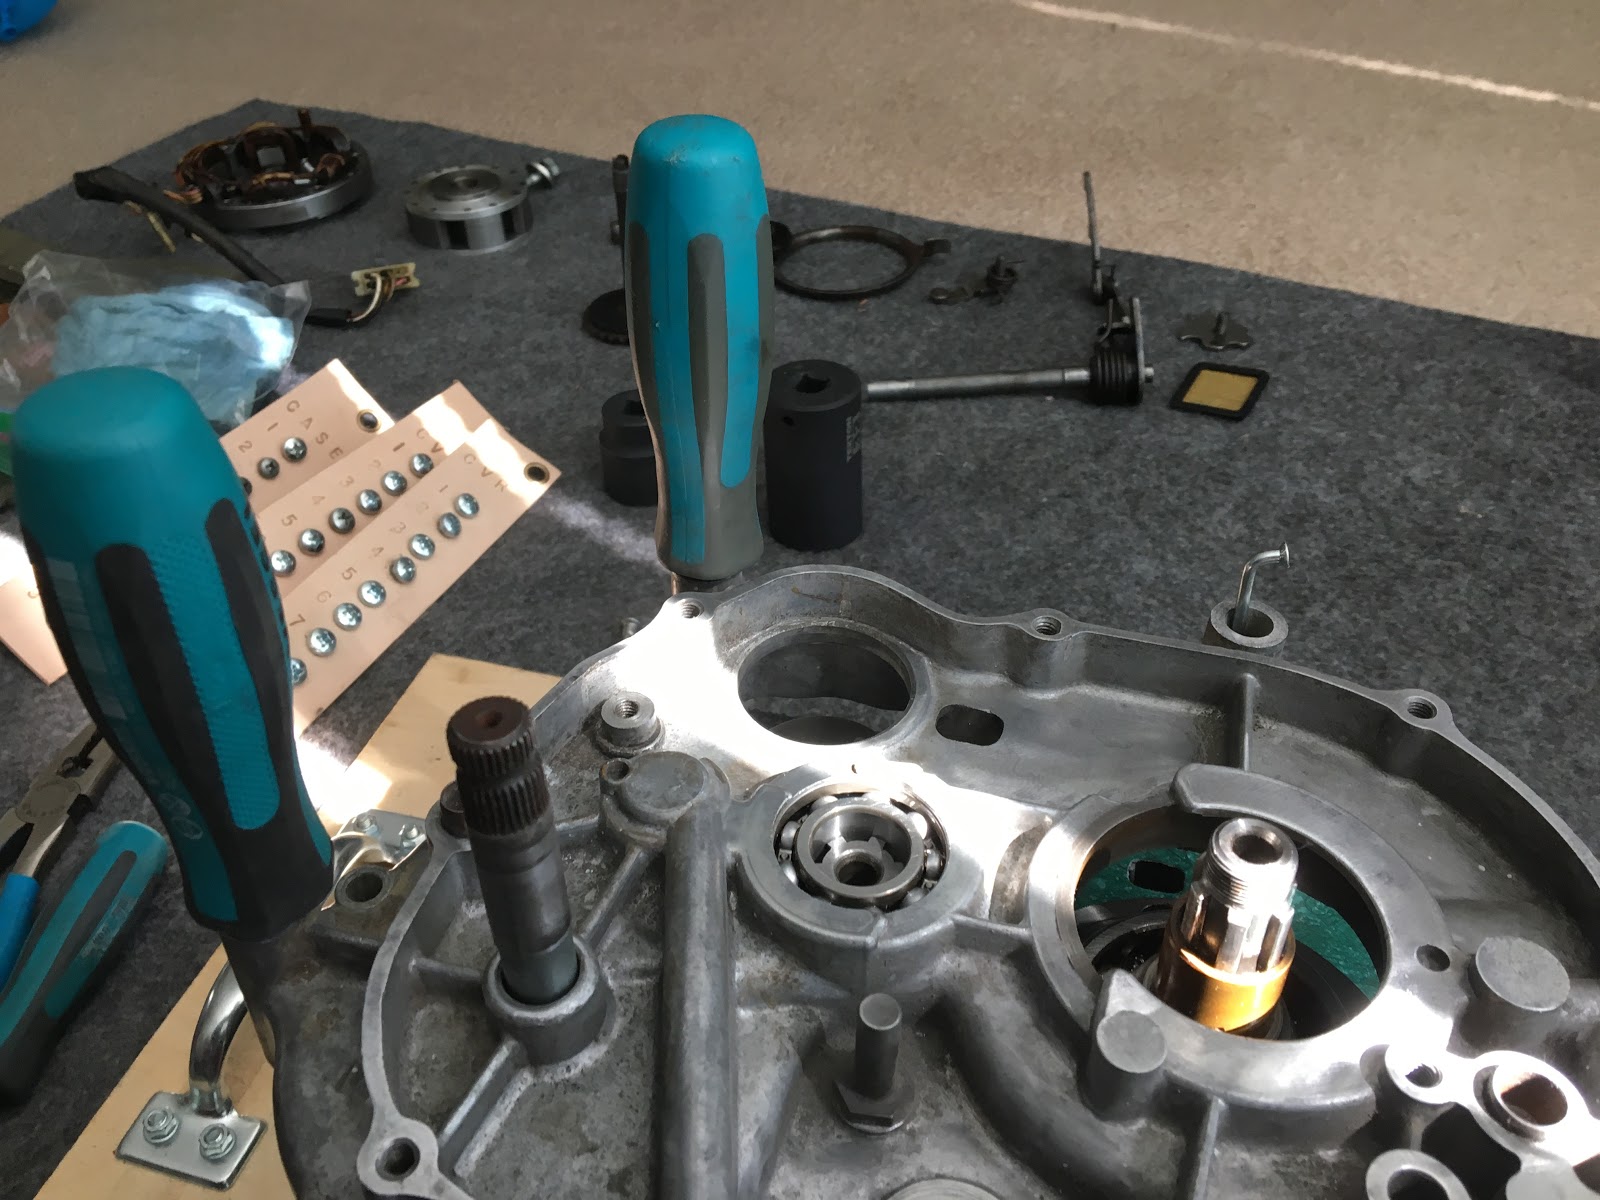
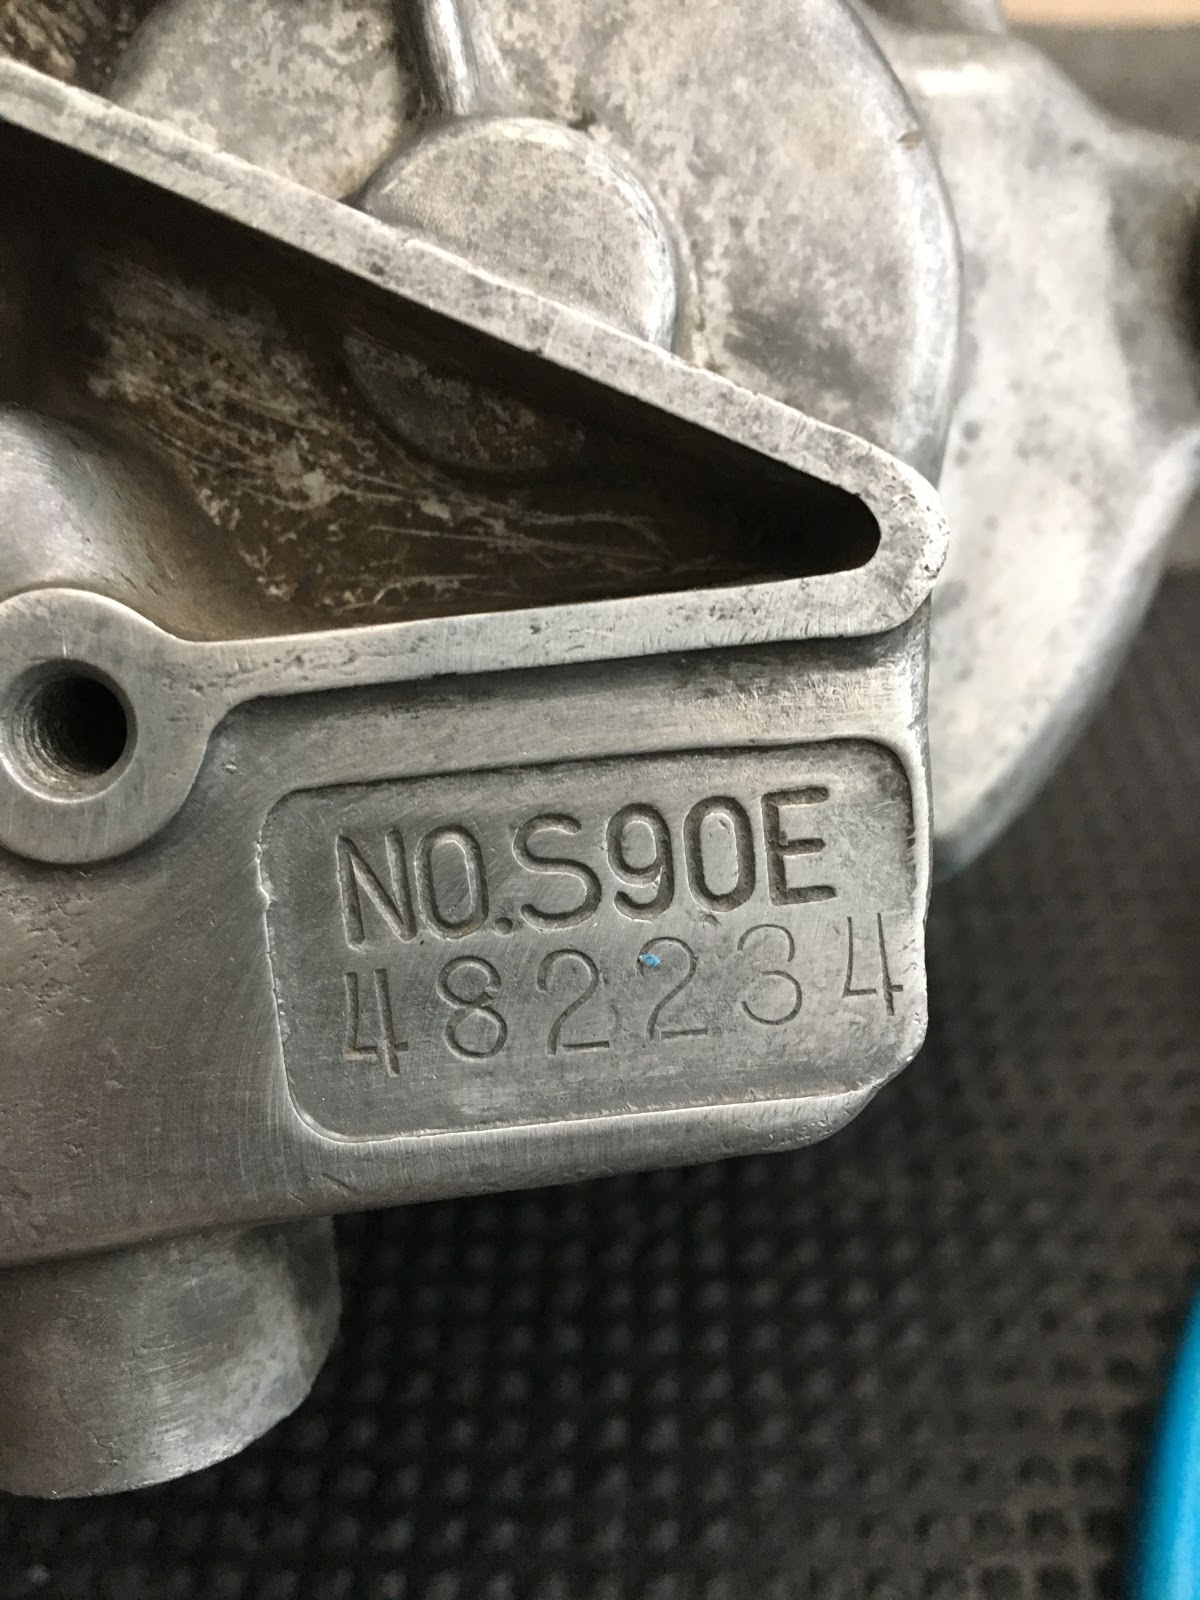
Epic day on the carpet to transplant the engine from the 495-507 Trochoid case (will no bill of sale) to the new 482-234 case from Bill (with bill of sale).

Work notes are in Volume 3, page 22.  Also captured this in procedural notes.

Just random highlights:

  • Had been especially worried about fitment of the crankshaft, but it went it pretty easily just using a gentle "rocking" motion.
  • Testing the oil pump and found the gears were very gravelly and would barely turn.  Then realized that it was missing its gasket.  With that installed, it turned perfectly.
  • Used the heat gun to install new Nachi bearings on both sides of the case.  Although later during re-assembly, realized that the small bearing could be installed just by hand and would fall out pretty easily.  
  • Added in a "Nippo" brand crankcase gasket (made in Vietnam).  Had a couple unopened Honda NOS gasket sets, but was wondering how much the material degrades over time.
  • Had an issue once the cases were together where tightening the bottom or left side screws caused the mainshaft to lock up.  Took the whole thing apart and with these two things fixed, was able to get it closed and working.
    • Make sure to turn the shift drum fully counterclockwise before closing the case
    • Also make sure the kicker is in the "unlocked" position 
  • Had to remove one knock pin from the Right Cover where the case already had one.  Ideally, I think you want both the knock pins on the case so that you can hang the gasket off it, but having one pin on each seemed to work fine.






Saturday, June 2, 2018

Red: Tank Priming

Gave the tank an overall gentle sanding with 600 and went at the bad rust spots with 80.  Decided to just prime and not even attempt any paint.

Unfortunately, once the primer was on, it was obvious how much the bondo still stood out.  Not sure if it just needs more thorough sanding, or if it will always stick out given it's such a large area and a gently curved surface.

There's another tank available on eBay for about $50 and I'm sorely tempted to grab it just as a backup if this Bondo thing doesn't pan out.

Pictures of the dual petcock in case we need to get a replacement.


Ivy Bike Stand, Round 2

Realized that it would be ideal to be able to slide the stool further over to the right, but that means it needs a groove for the oil bolt to slide into.

Used the Dremel attachment to set the right height and then just start cutting.

Theory worked out, but it's slow work.  Ended up doing about 4-5 cm's worth.  It's enough to get the stool solidly underneath the engine, but not enough to be able to bolt in the right side peg bolts.

Not sure if it's worth it to do that, though.

Maybe will just cut the holes for the two left-side bolts and then do a test to see if the other two are really needed.

Also did a test on the neutral wire.  Oddly, found that when in neutral, testing from the wire to battery positive resulted in a very slight voltage, but definitely not enough to power the bulb.  Not sure why there was some voltage but not a full 6v. 


Sunday, May 27, 2018

Ivy: Bike Stand, Round 1

After a few different (discarded) designs, decide to try to build a bike stand using the Clement Street wooden stool along with 90-degree steel braces from Ace.

For step one, just used a coping saw to cut down each leg until I could just barely squeeze the stool in under Ivy's engine.

Then added the four 90-degree brackets to give it a more stable stance.


Friday, May 25, 2018

Ivy: Street Legal (Finally)

Big day.  After three hours at the DMV, $747 in back fees, and a few nervous moments where it seemed like it may all go south, Ivy gets her title and plates!

Top tip: appointments at the DMV are almost pointless.  Don't even bother going until you can get an appointment as soon as they open.


Tuesday, May 22, 2018

Ivy: VIN Verification

VIN verification for Ivy with Officer Wong at the CHP station on 8th. 

Nice conversation with Dave on the way over.


Saturday, May 19, 2018

Roxy: Epic Rear Flat

Following the sudden and overwhelming paranoia of riding Ivy without a title, I was looking forward to getting back on Roxy for the first time in ages.  Especially wanted to feel the acceleration again to see if she really was that much faster, or if it was only my imagination.

Started to pull her out of the parking spot only to discover a totally flat rear tire.  I knew this wasn't the normal deflation since the front was still good.  Decided to try to put air in it anyway and could clearly feel the air escaping out through the hole in the rim (missing spoke).

So that ride cancelled...

Luckily had the perfect session time later that afternoon. 

Fender
First things first, had to get the rear fender off.  But the left side bolt was covered by the chain guard.  And the bolts to the chain guard were hidden by the front sprocket cover.  So both of those had to come off in order.

Then, while disconnecting the taillight wires, I popped off one of the bullet connectors.  The top bolts underneath the seat were fiddly to reach (probably would have been worth my time to remove the seat entirely) but once those were out, the fender came out easily.

Rear Axle
The rear axle popped out with no problem.  But the sleeve itself was completely stuck inside its notch in the frame.  Really jammed in there.  Luckily, that doesn't stop you from removing the wheel, but the sleeve and rear flange have to stay put.  That's a fix for the future, although I'm not sure it'll come out without significant damage.

Tire Tube
The tire popped off with no problem.  I checked both the rim and the tire for any sharp points but couldn't find anything.  Couldn't even find the puncture in the tube until I pumped it full of air and then I only found it from the low whistle.  It was a tiny puncture.  Could have just been age that led to that?

Re-install
Everything went back together pretty easily.  Fortunately had a spare tube in the bin that was the right size.  Because the sleeve was stuck, though, I couldn't easily move the wheel forward in order to give the chain some slack during reinstall.  Not quite sure how I managed to muscle the links close enough to put the master back on, but somehow got it together. 

With everything back on, found the chain was still too slack, but also discovered that the sleeve did move if you use the chain adjuster nuts.  In retrospect, I realized that I could have also used the chain adjusters to push the sleeve forward to get the chain back on.

Added a new bullet connector to the taillight wire only to discover that the taillight is not lighting up anymore.  Brake light works fine.