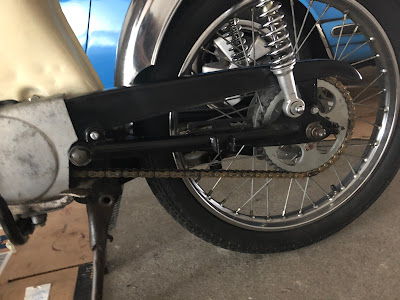
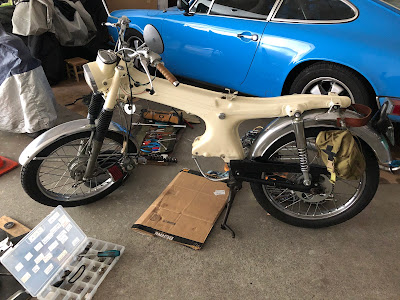
Four hour epic battle, though the tasks were relatively simple.
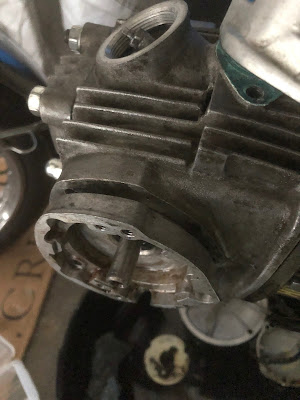
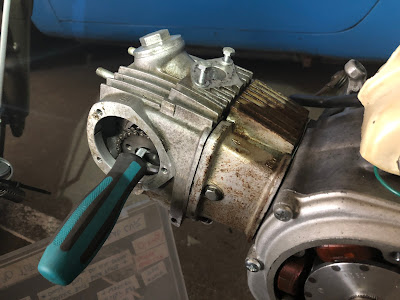
Needed to test the theory that maybe it was the cylinder head (valves) that were at fault. So swapped over Ivy's head to Red. Also swapped back to the red cylinder jug to "reset" everything.
Fired her up and now she was absolutely blasting smoke. Filled the garage in seconds.
Then left with no choice but to do the full swap from Ivy: head, jug, and piston.
No big issues doing the swap. Fired her up and finally, only a trace amount of smoke (probably from the oil inside the muffler).
A few things to note:
- Ivy's head had the solid head gasket as opposed to the cut out. Left the solid one as it had seemed to work fine up to this point.
- Finally realized that there are 2 sizes of base plate, which line up to 2 different sized cylinder heads. The smaller 62mm base plate can fit in either. But the bigger 69mm can only ever fit in a 69mm head. Go figure...
Ran around the block and confirmed smoke issue "fixed". But seems to confirm that it was always a case of bad cylinder walls. The Ivy cylinder was very, very clean.
Friday, December 27, 2019
Tuesday, December 24, 2019
Red: Process of Elimination
Swapped in the "Flexhone Practice Jug #2" cylinder hoping that it would resolve the smoking issue, despite the fact that the walls were only marginally better than the original.
At first, there seemed like much less smoke (though it was still definitely smoking). But then taking it around the block a few times showed that there was literally no change. If anything, it was even a bit worse.
At first, there seemed like much less smoke (though it was still definitely smoking). But then taking it around the block a few times showed that there was literally no change. If anything, it was even a bit worse.
Labels:
cylinder jug
Saturday, December 21, 2019
Red: Hard Hone
Figured that if changing the rings made absolutely no difference, then it must be the cylinder itself that was at fault. I remembered seeing score marks (running straight down the length of the cylinder) last time it was out.
So pulled the jug off again today. Checked the piston gap on the top ring and it was well within spec at .254mm to .305mm.
But definitely saw the same straight line score marks.
Tried going at it with the 48mm Flexhone to try to smooth it out, but that didn't seem to do much. Switched to the bigger 51mm which was tricky to keep moving at a constant speed (it kept getting stuck) but eventually got to a rhythm once the balls had worn down a bit.
Couldn't really smooth out the scoring, though, so they must be in there pretty deep.
On start up, there was no smoke, but I only let it idle for a minute as I want to seat the rings before anything. The lack of smoke may just be because the oil hasn't had a chance to work its way up into the chamber yet.
We'll have to see after we do a few runs.
Labels:
Flexhone
Thursday, December 19, 2019
Red: New ART Piston
Had considered just replacing the top 2 rings on the existing piston, but realized I had a brand new ART piston in the right size (+0.25) so just swapped the piston out instead.
The ART piston doesn't have 2 cutouts for the wrist pin clip and getting the clip installed was harder than on the Honda piston. Didn't even end up using the "G" clips that came with the ART as they seemed even harder to install than the simple "C" type.
Did a very quick and light honing with the 48mm Flex-Hone.
Unfortunately, still had a lot of white smoke on the restart. Did some good runs past Baker Beach to try to seat them, but it was smoking the whole time and never got any better.
Compression was up to 90 though (warm).
Labels:
piston,
piston rings
Monday, December 16, 2019
Red: Maintenance
Red now spewing white smoke under throttle. Compression at 70 (warm engine).
Removed the seat to better secure the left side wiring.
Removed the seat to better secure the left side wiring.
Friday, December 13, 2019
Red: Seat Toolbox
Mounted Red's toolbox. Not sure why I'd always thought it didn't fit the aftermarket seat. It fit just fine.
Sunday, December 8, 2019
Ivy II: Shift Test
Torqued front sprocket to 15.
Chain installed and chain slack set.
Installed the new 100db horn.
Tensioner bolt was NOT TIGHTENED down. Once tightened, no leaks, go figure.
SHIFT TEST: Ran a couple laps around the block. She shifts! Shifts are a bit "tight" and vague but no problems.
Labels:
Ivy II,
transmission
Sunday, December 1, 2019
Ivy II: The Good Kind of Leak?
Lucky, lucky. All things being relative, it seems that the cold-engine oil leak may only be coming from the tensioner bolt. Going to add in the washer and see if that makes a difference.
Also installed the front sprocket but didn't torque it yet.
Also installed the front sprocket but didn't torque it yet.
Thursday, November 28, 2019
Ivy II: Oil Leaks
On closer inspection, realized that I'd never installed the left cover gasket in the first place.
Drained the oild and added the last one no-extra-hole gasket from the green binder. Ran her again but was now getting a localized leak from the middle right.
Drained the oil again and on even closer inspection, found that there was some damage (probably a gouge from a broken chain?) that had caused an irregular surface on the crankcase.
Popped out the alternator and carefully filed the protrusion down until it seemed flush and level.
Refilled with fresh oil (650 mL) because the old stuff was already looking pretty dirty. Ran her again and no big leaks!
But... came down a couple days later to find a pool of oil in the pan. Looks like a slow leak coming from somewhere in the left cover even with a cold engine.
Tuesday, November 26, 2019
Ivy II: Fire Test Go!
Playing with the new soldering iron. Made the static timer a lot more bulletproof.
Downstairs, added the alternator gasket, tighten the camshaft and advance bolt.
Torqued head cover bolts to 10 ft.lb. Too gun shy to go higher but maybe will go up even slower to 14.
Added 850 mL of fresh oil.
But initially, was getting nothing trying to kick it over. Wasn't even coughing. Was cold, too, in the mid fifties.
Then reset the air screw to 1 1/4 turns out (from 1 1/2) and suddenly she fired.
Let her run for a few minutes until noticed a giant leak from the left cover. But left that for another day.
Saturday, November 23, 2019
Friday, November 22, 2019
Ivy II: Top End Install
Piston back in with a little moly-B. Replaced a few gaskets that looked perished.
Torqued the rotor bolt to full 20 ft-lbs. But a little gunshy on the head covers - only torqued to 5 ft-lbs. Will slowly increase torque bit by bit before running.
Torqued the rotor bolt to full 20 ft-lbs. But a little gunshy on the head covers - only torqued to 5 ft-lbs. Will slowly increase torque bit by bit before running.
Saturday, November 2, 2019
Ivy: Motor Swap Day
Had a clear Sat afternoon to work on swapping the motor from the old original Viola to the new Monkey Motor.
Surprisingly painless. After removing exhaust, pegs and kicker pedal, simply dropped the old one out.
Noticed that the rear screw on the ignition coil was almost all the way out!! Note to self: use lock washer and/or loctite on those screws.
Removed the tank and laid her down and mounted the new motor after running the coil wire through the frame. No problem with fitment.
Next, test for spark and then for oil leaks.
Labels:
bottom end,
Ivy II
Saturday, October 26, 2019
Red: Roadside Repair
Proving that one should always carry zipties!
Going down along Anza on the way home and heard a weird "clinking" noise. After a few blocks, realized it was the headlight rattling because it had lost the right side bolt on the mounting ear.
I thought I'd actually lost the mounting plate itself, so I rode back all the way to where I'd turned but didn't see it. Only after getting off the bike and making a closer inspection did I see that it was still there on the bike, stuck to the rubber. Lucky...
Zip tied the mount back into place. Realized that maybe the zip ties were actually a better way to go than the very fiddly nut and bolt.
Labels:
Roadside repair,
shakedown
Subscribe to:
Comments (Atom)


