As before, I removed all the old spokes on what is to be Ivy's "good" front, then opened up the holes in the hub to accept the thicker new spokes. All good.
But then I went to start lacing it up and found that the holes in the rim are a little too small for the new nipples. Ok, that's not uncommon.
So I tried just using the same aluminum oxide Dremel bit I use for the hub and that was slow work. I switched to using a drill bit in the cordless, but for some reason, that just spun around and never actually cut into the metal.
Then I switched back to the Dremel and actually broke the bit. It's only a fraction of a mm of extra space I need, but I think the steel of the rim is pretty hard.
Maybe next I'll see how well the silicon carbide tip works instead.
Sunday, September 27, 2015
Friday, September 25, 2015
Ivy: Front Wheel Relacing
Got the new rear brake to replace the cracked one (and after the first one I ordered didn't fit), but decided there was no rush to install it. Saved that for another day.
Tested out the new engine bench while removing the front wheel and it worked like a charm. The bike basically didn't budge an inch while removing or installing the front wheel. Magic.
Once the wheel was off, though, I realized that the new spare had both a better rim and a better hub, so that was the one to relace. The only problem is the bearings that can't be removed, but I can relace them and worry about that another day.
Only 1 inner spoke nipple was frozen on, so that one got cut.
One interesting thing I found on Ivy's current wheel (the "bad" one) is that it had a little extra spacer on the non-brake side.
Labels:
front wheel,
lacing,
unboxing
Monday, September 21, 2015
Ivy: New Rear Brake Doesn't Fit!
Thought I got a good deal when I picked up this new rear brake for just $25. But not much of a steal if it doesn't fit.
It actually appeared to fit just fine but then I couldn't get the spacer in place trying to remount the wheel. I thought I just had everything out of alignment like I did before but this time I didn't try to pound it in with a hammer.
Instead I set a level across the hub and then dropped a ruler to the ground to measure the distance. In the end, I found that with the old brake the total width from side to side was about 135 mm. With the new hub, that was pushed out to 140, and clearly too wide to fit.
The two brakes did have a slight difference - different versions? I haven't bothered to check the parts guide. Either way, one works and one doesn't. Maybe I'll compare it to Red's brake and see if it's really the odd man out. Or maybe Red's brake will work for Ivy and the new brake will work for Red...?
Also continued working on the engine support stool. Just got it to barely fit underneath now. I'll have to try dropping the wheel to make the final adjustments.
Labels:
rear brake,
stymied,
used parts
Wednesday, September 16, 2015
Ivy: Rear Wheel Prep
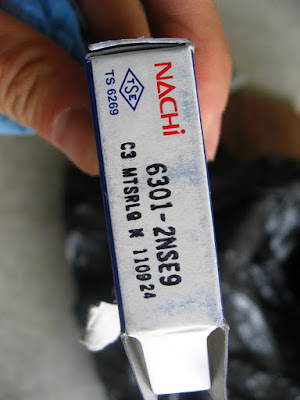
Getting the "good" rear wheel ready to mount. Added two fresh Nachi sealed bearings, a new rim strip, the good IRC tube and the IRC tire.
Labels:
bearings,
rear wheel
Friday, September 11, 2015
Ivy: Wheel Swap
Did this...
- Removed Ivy's rear wheel
- Removed all the spokes
- Put the bearings back into the "bad" hub (did not install the distance collar)
- Swapped the dampers to see if they'd be a little thinner (and thus make for a better fit).
- Re-laced the bad hub and the bad rusty rim with old spokes. Tightened them but did not bother truing.
- Put anti-seize on all the spoke threads.
- Replaced the rim strip which was all covered with rim rust.
- Used an old tube and the "safety" tire.
- Re-installed the new bad "temp" wheel. Had the wheel cocked at an angle trying to install the spacer and think I cracked the rear brake when trying to hammer it in.
So now I can lace and true the good "silver" hub with the nice clean rim with the brand new spokes.
Labels:
rear wheel
Tuesday, September 8, 2015
Spares: D'oh! Wrong Hub...
Long story short, went down to work on trying to get the concrete anchor to fit into the hub. Filed the main bolt down by hand and got it to fit. Started in on the spreader casing and switched to the Dremel. While messing around with the bolt, I realized it worked well to catch the inside edge of the bearing to hammer it out.
Thought I'd caught a lucky break. Knocked out both bearings and thought it was job done.
Just now... writing this... I realized I'd knocked out the WRONG bearings. I was aiming to do the ones in the new front wheel, but had knocked out the ones in the eBay rear hub.
But maybe the theory is sound. Going to try the bolt on the new front hub, maybe even file it down to give it an even sharper "edge".
Also, my wheel bearings for Turkey arrived today.
Subscribe to:
Comments (Atom)


