Pumped as much gunk out of the forks as I could. Old fork oil is fantastic at staining the concrete, by the way.
Painted the other half of the tank.
Sunday, May 31, 2015
Tuesday, May 26, 2015
Viola: Man vs Forks II
Now that I had the technique mastered, the second fork came out in 15 minutes flat, and I didn't even break a sweat.
Labels:
forks,
restoration
Thursday, May 21, 2015
Viola: Man vs Forks
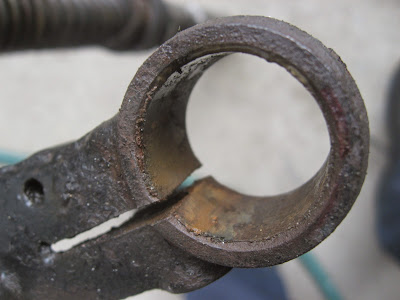
Waged an epic battle against Viola's original rusted out, completely frozen forks, They were fused with the steering head as if they were welded into place.
The torch (fresh from the victory over the flange bearing) comes back for another round. I heated the steering head and then used the rubber mallet to try to whack the fork out. But this is where I didn't have the technique quite right yet.
I tried just holding the entire assembly with one hand while whacking the fork with the other. But it was heavy, and I couldn't get very strong whacks that way.
Then I tried laying it down and whacking it on its side. That just led to scratches in the concrete and didn't seem to be that effective.
I could see that the fork was moving, but it was only going a millimeter at a time. I'd reheat very often, do a few hammer blows, heat again and repeat.
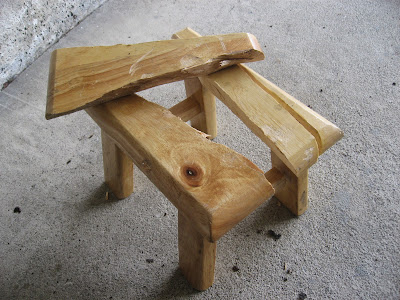
Finally, I started closing in on the better way. I turned it upside down and started hammering the fork on my little wooden stool. But then I planted one shot right in the middle of the stool and it exploded.
I then switched to a big square firewood log. With the steering head properly heated, I whacked it out in just a few shots. Magic.
(And the stool went back together with just some duct tape)
In the meantime, I was also painting half the tank in Ivory. Think I got 4 coats, 15-20 mins between each.
Labels:
forks,
restoration,
stymied
Friday, May 15, 2015
Viola: Triumph of Fire
Step 1: Buy butane torch.
Step 2: Heat flange.
Step 3: Knock bearing out.
It was pretty much that simple.
Then I tack clothed the gas tank and did 3 coats of primer, waiting 15-20 minutes between each.
Friday, May 8, 2015
Viola: Vomit
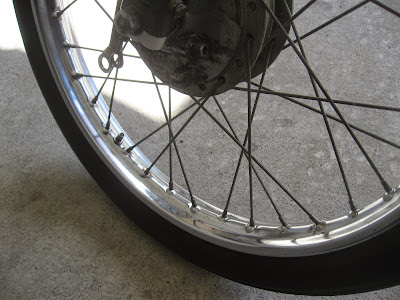
Started out by cleaning Viola's front rim, knowing it's a good wheel. Though I guess there's no reason to let the rear rim go to rot, even if the hub is bad. I could always just get a new hub, clean up the spokes, and re-lace the whole thing. Good to do it once, anyway...
Then decided to clean out the interior of Viola's frame, knowing there was still some of that old mouse's nest hidden inside. Didn't know what to expect... I just aimed a jet of water in through the battery door and she ended up projectile vomiting all the crap out. Some of it was even being forced out through the rear light wiring hole. I also shot water into that hole to flush it out the other way.
Most of the debris came out of the battery side, though. Nasty stuff.
Labels:
metal polishing
Friday, May 1, 2015
Spares: Clean and Inspect New Rear Hub
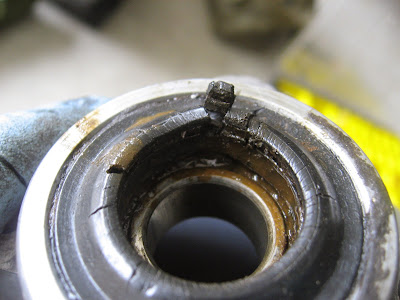
Disassembled and cleaned the new rear flange and hub. Everything was in good shape, but the bearing was jammed into the flange and wouldn't budge a mm, even with repeated hammer blows.
I can see the very deteriorated bearing behind the rubber seal (which has a metal lip), but it just won't move at all.
I can see the very deteriorated bearing behind the rubber seal (which has a metal lip), but it just won't move at all.
Labels:
rear wheel,
stymied
Subscribe to:
Comments (Atom)


