Monday, June 30, 2014

Red: First Step

The fork bridge seemed like as good a place as any to start.  I sanded down what I could on the top side, which was pretty straight forward.  But the underside is full of narrow nooks and crannies.  I gave the Dremel a shot, but there were still too many hard-to-reach places.  So finally, I just gave it an Evapo-Rust bath for 24 hours.  As usual, that worked wonders.


The Before...


After day one of sanding the top.


Day two, looking to attack the underside with the Dremel.  (7/1)


Couldn't quite reach those nooks and crannies with the Dremel brush.


So she goes in for a dip.


And the After...


Day three, priming (7/2)


Friday, June 27, 2014

Red: New Sanding Disc

Testing out the new 3M Paint and Rust Stripper Brush attached to the Makita.  It was nice because you could come in at a nice 45 degree angle (the sweet spot) to handle flat and easily accessible areas.  But then you could also run it on the edge for tighter spots.  Worked about as well as I had expected.


And just some reference shots of hardware I removed.


Friday, June 20, 2014

Red: Forks Apart

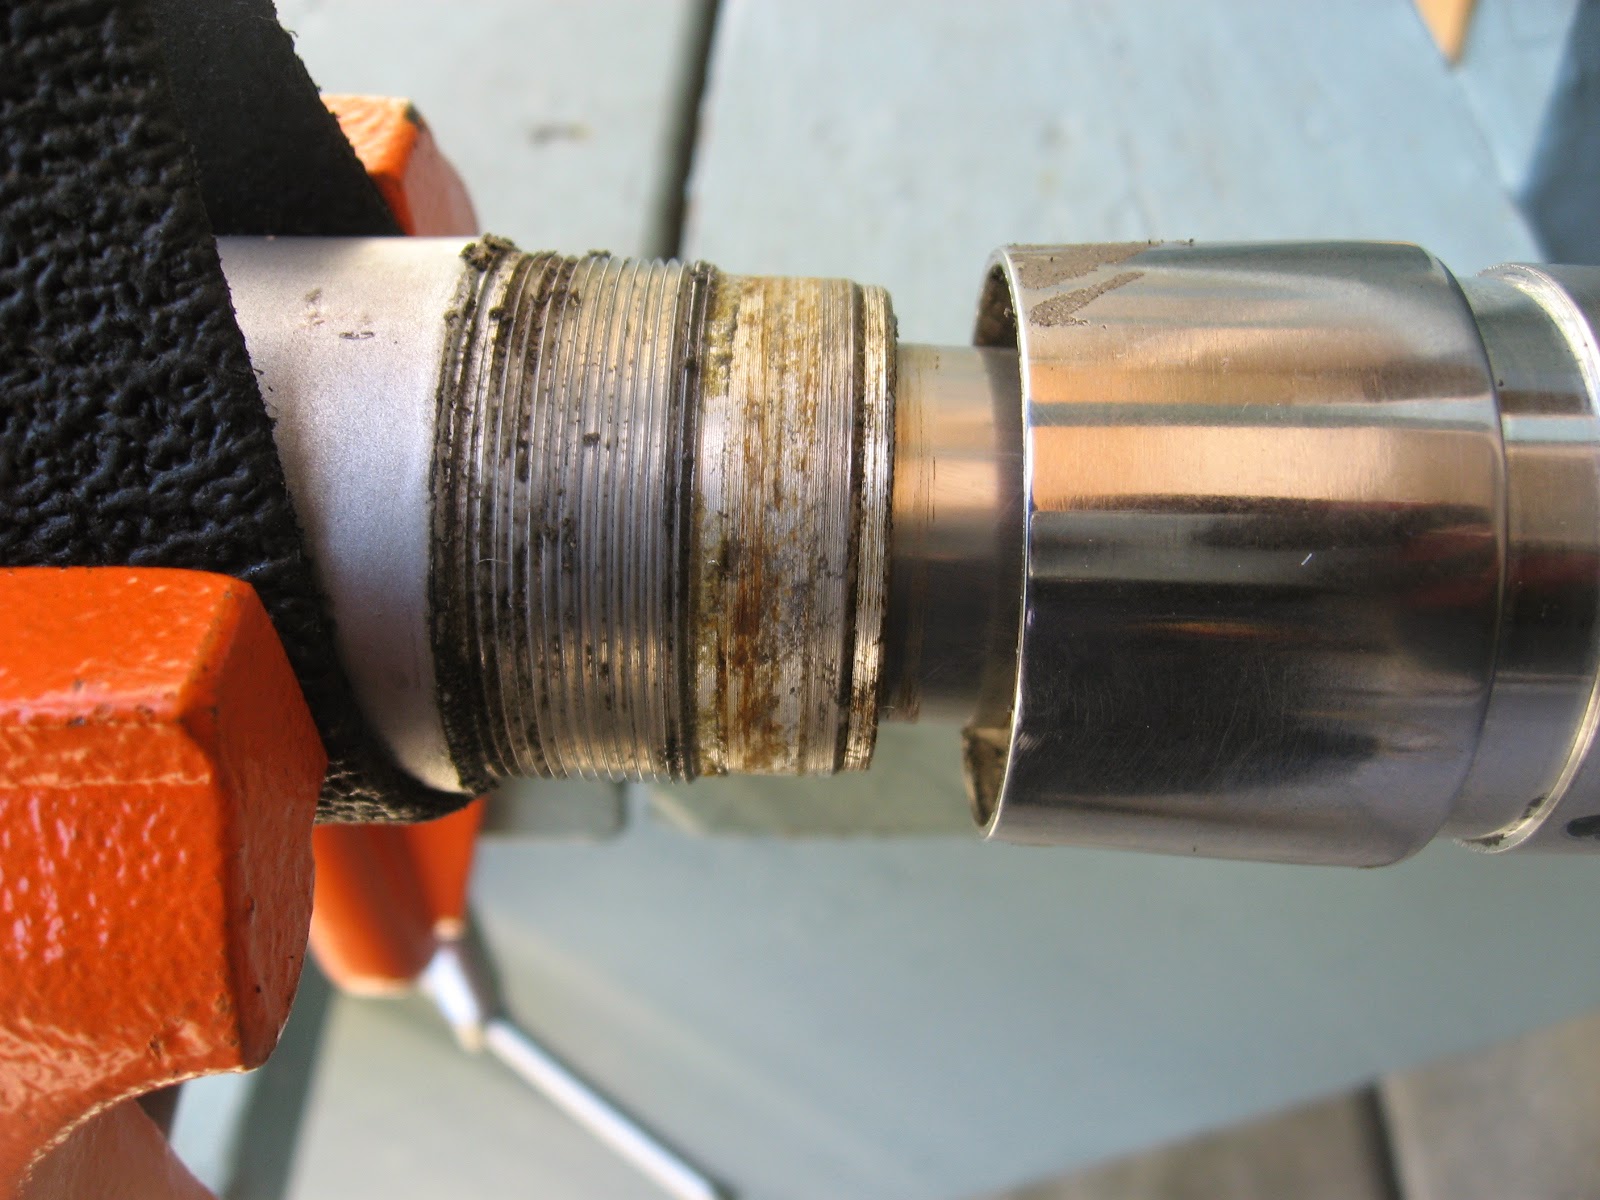
Given that these are the early style forks with the screw off chrome cap, I figured I'd just get a nice pin wrench to make life easier.  With the fork in the vice, the pin wrench did its thing and they came apart quite easily.

These early style forks seem much simpler and with fewer parts than the other models shown in Clymer's.  Though perhaps I just didn't get everything apart that could come apart.  There was a circlip on the bottom of the tube that I took off, but then I couldn't figure out what it was holding on.  It appeared to be the large cylinder with the grooves in it, but if so, that thing was on pretty tight.  More research required...

Also seems pretty tough to clean out the inside of the tube thoroughly.  Yahoo Groups didn't seem to have any brilliant tricks, either.  Seems like just a long screwdriver, some kind of degreaser, and patience.

Oh, and also... the horn works!


Sunday, June 15, 2014

Red: First Time Forks

Partially disassembled the front forks, but quickly realized that these early style require a pin wrench (or just a strap wrench if you're lucky) to get them apart completely.  Spent the rest of the time cleaning the mud off with the pointy popsicle stick.


No circlip below, which was the first clue that it was a different model than anything in Clymer's.


The 2-piece bottom is also a tip that these are the early style.


Holes for the pin wrench.  The diameter is about 1-3/4".  The hole itself is about 1/8".


Caked on gunk.  No surprise.


Discarded these...


And these...


And these...


Wednesday, June 11, 2014

Red: Rolling Chassis, Here We Come!

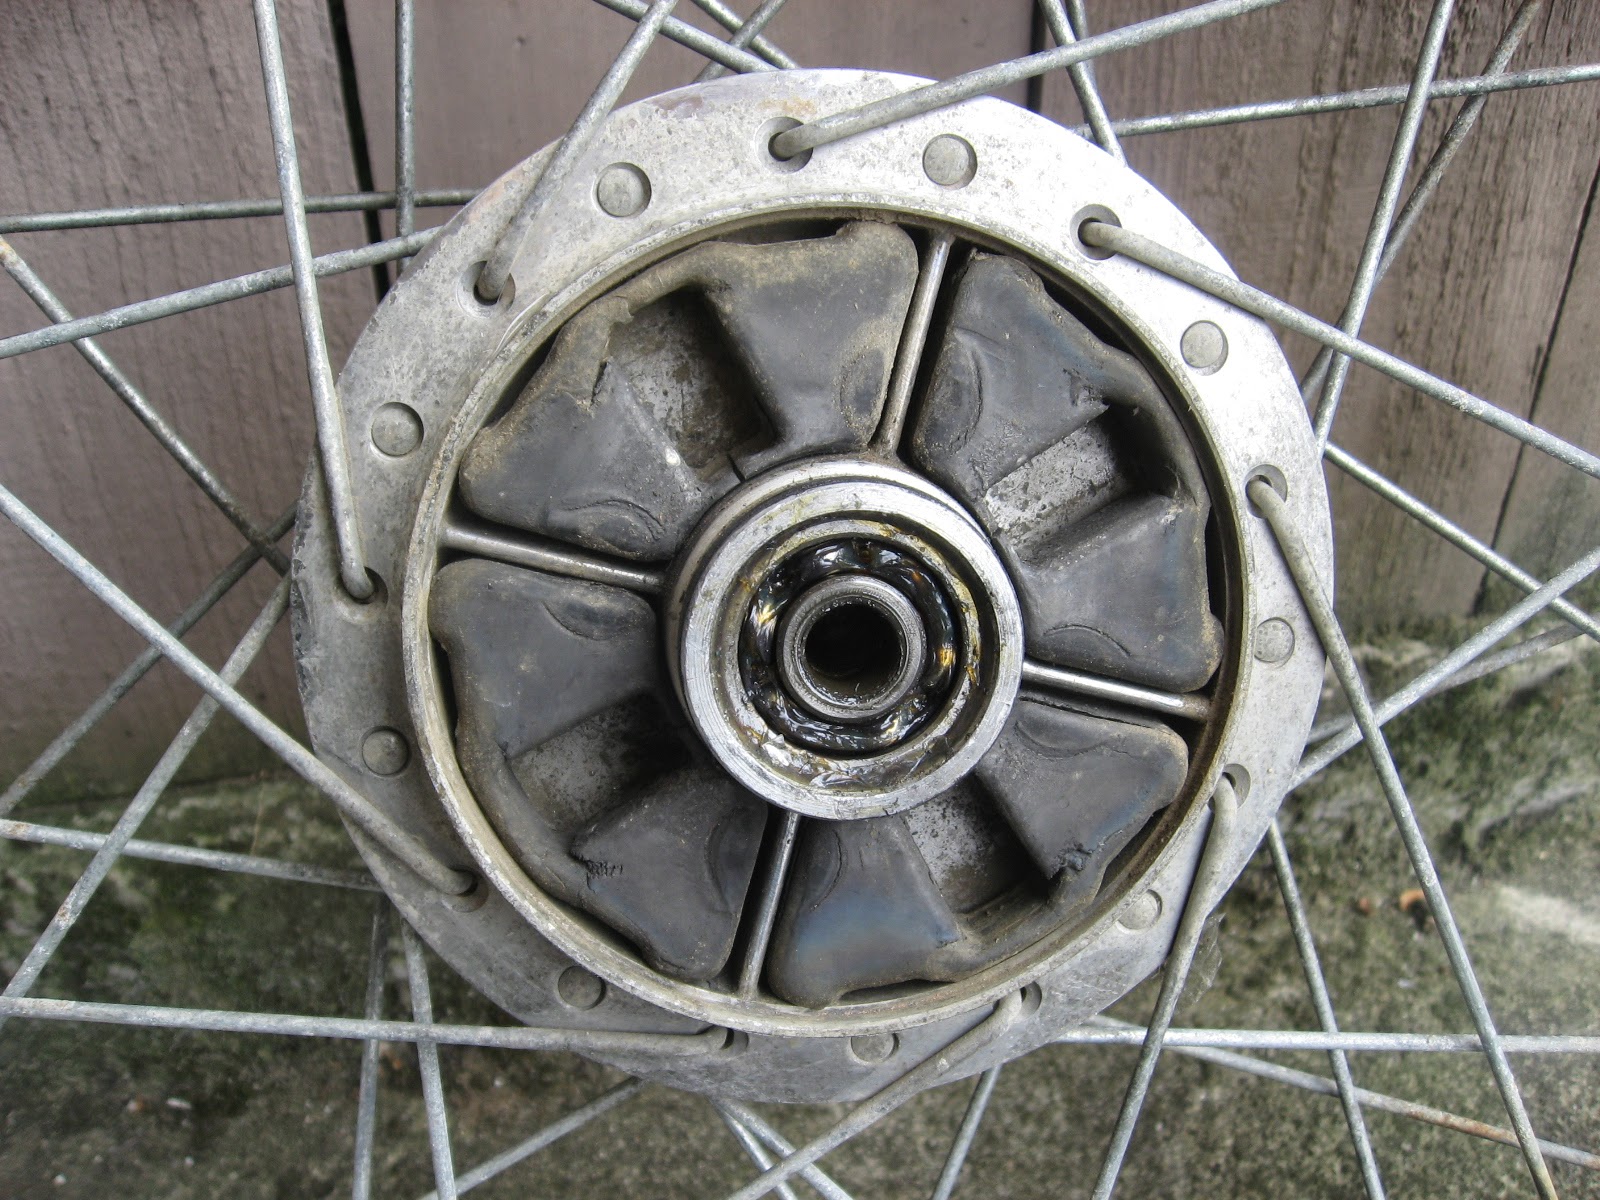
More parts from Thomas Earsley: forks complete with upper bridge and handlebar mounts, rear wheel with tire, and swingarm.