

Friday, August 30, 2019


Thursday, August 29, 2019
Summer Garage Day Four: Catastrophe
Session started off brilliantly. Got the new momentary horn switch ($15 Amazon) which worked a whole lot better than the Dime City one I'd been using. Swapped those over and did another round of cleaning up and zip tying the wires.
Had earlier taken apart the valves on Ivy's head and simply cleaned the edges up. Did the leak test again and presto! All fixed, no leaks. Started reassembling her top end and it was all going swimmingly.
Then it all went south.
I was tightening the head bolts in order to line everything up so I could insert the camshaft. I did get a sense that they seemed to be just going and going and even with the torque set so low at 16 ft-lb, it never stopped.
Really should have listened to my inner voice screaming, "STOP!"
Then the loud (and familiar) snap as the stud bolt snapped. Second time. Unbelievable. Totally blame myself, though.
Just can't understand why it never stopped on the torque wrench. I immediately tested the wrench on Red's head bolts and it was working fine.


Had earlier taken apart the valves on Ivy's head and simply cleaned the edges up. Did the leak test again and presto! All fixed, no leaks. Started reassembling her top end and it was all going swimmingly.
Then it all went south.
I was tightening the head bolts in order to line everything up so I could insert the camshaft. I did get a sense that they seemed to be just going and going and even with the torque set so low at 16 ft-lb, it never stopped.
Really should have listened to my inner voice screaming, "STOP!"
Then the loud (and familiar) snap as the stud bolt snapped. Second time. Unbelievable. Totally blame myself, though.
Just can't understand why it never stopped on the torque wrench. I immediately tested the wrench on Red's head bolts and it was working fine.


Wednesday, August 28, 2019
Summer Garage Day Three
Installed the new headlight switch (just $13 from Amazon and looks trick!). Surprisingly took 3 hours to do it all and then clean up all the wiring.


Tuesday, August 27, 2019
Summer Garage Day Two
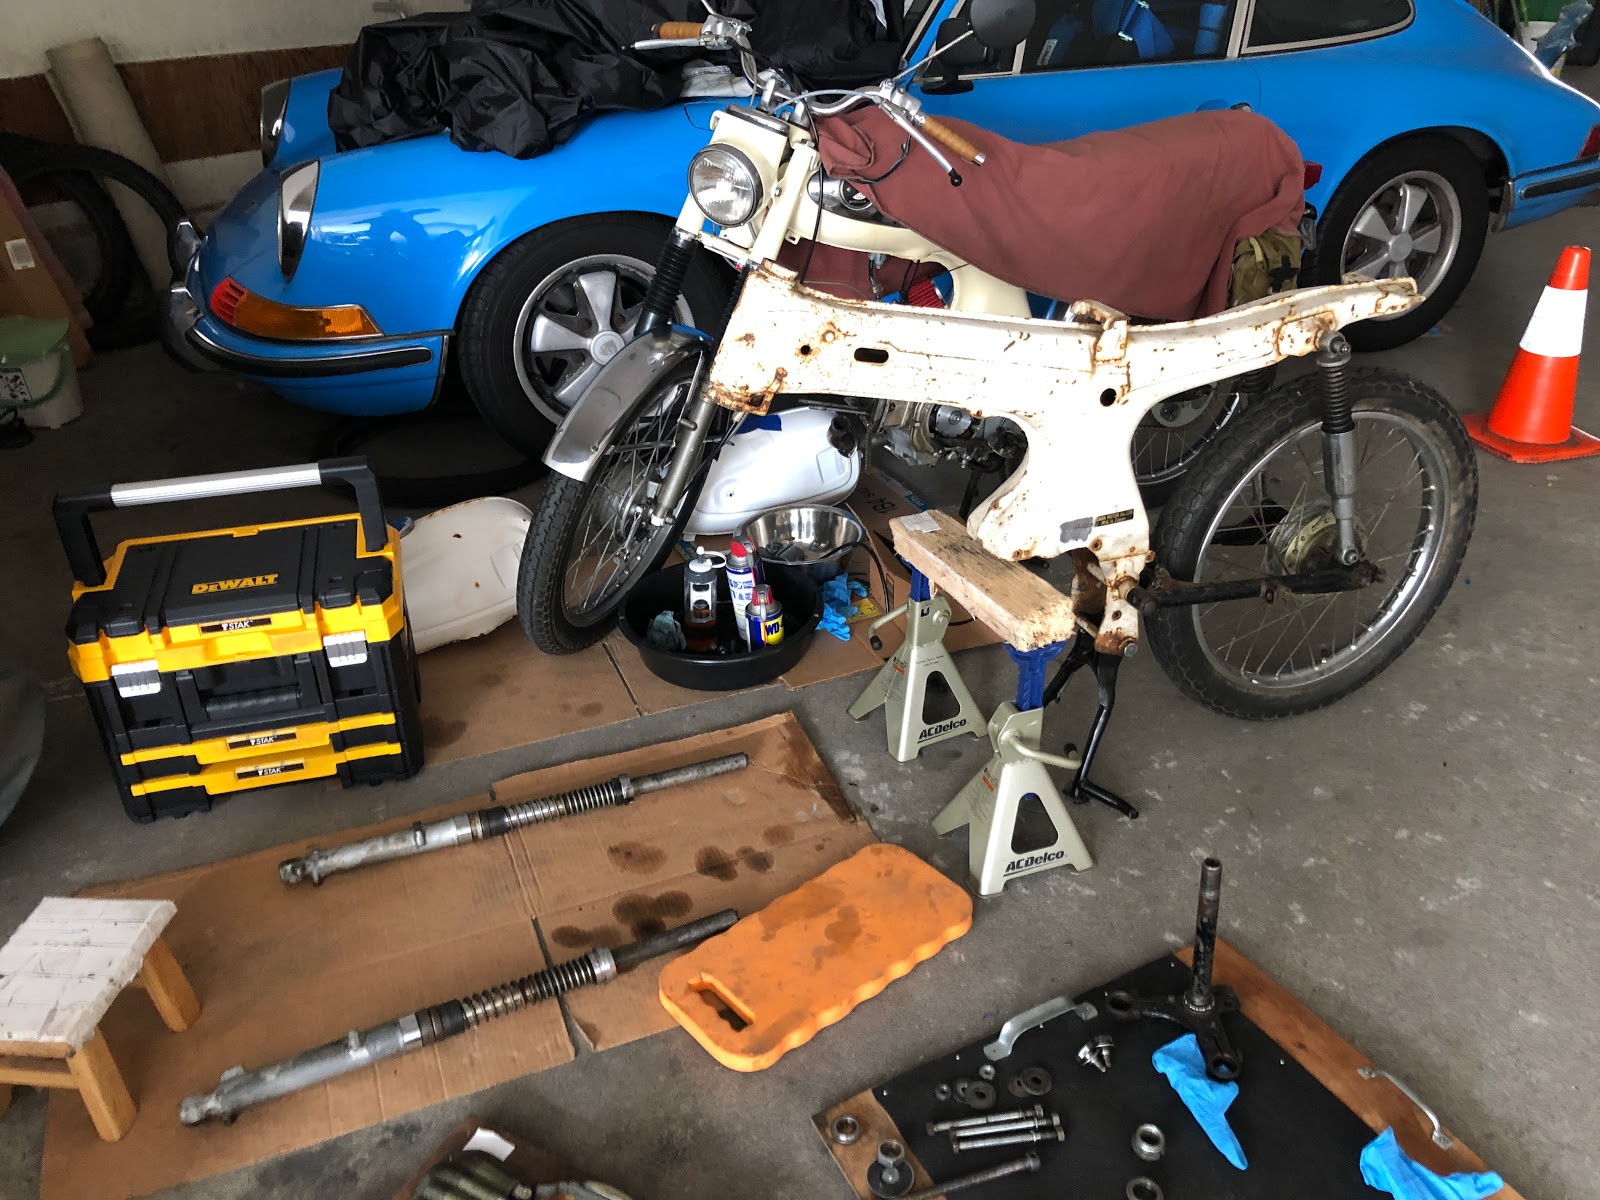
Switched from Evie to the black frame (needs a name) as the rolling chassis.
Went pretty smoothly. Had to file down the inside of the swingarm bushings to get it to fit but other than that it was an easy swap.
Took the opportunity to apply grease to every part and anti-seize to every fastener. Want to make sure she's easily disassembled and reassembled as needed.
Few items to fix for the future:
- Need a narrow spacer on the left cushion
- The left side chain adjuster seems the wrong type (has the long pointy end)
- Need stem washer
- Still need to figure out the deal with the Late style front axle spacer. I thought I had the right part but it seemed way too long to fit.
- The battery screw hole is plugged!



Monday, August 26, 2019
Summer Garage Day One
First day of Summer Garage Week.
First things first, pulled Ivy's top end after she lost all compression a few days back after running for a few seconds.
Leak test (with gas) was pretty conclusive. Definitely a valve stuck slightly open. Left it all disassembled for now.
Switched to testing Red's LED light when hooked up straight to the battery. Confirmed that while it still flickers slightly at idle, it's almost unnoticeable under throttle. So definitely could work but now just need a handlebar switch.
Messed with moving Red's needle position to address the stumble/running rich issue, but didn't make much difference and realized it wouldn't matter much under throttle.
So did the full swap to the brand new carb (same model) and voila! Stumble completely gone and feels like there's much more power.
But wonder why the old carb gunked up so quickly? Going to order an ultrasonic cleaner and give it a thorough cleanse.


First things first, pulled Ivy's top end after she lost all compression a few days back after running for a few seconds.
Leak test (with gas) was pretty conclusive. Definitely a valve stuck slightly open. Left it all disassembled for now.
Switched to testing Red's LED light when hooked up straight to the battery. Confirmed that while it still flickers slightly at idle, it's almost unnoticeable under throttle. So definitely could work but now just need a handlebar switch.
Messed with moving Red's needle position to address the stumble/running rich issue, but didn't make much difference and realized it wouldn't matter much under throttle.
So did the full swap to the brand new carb (same model) and voila! Stumble completely gone and feels like there's much more power.
But wonder why the old carb gunked up so quickly? Going to order an ultrasonic cleaner and give it a thorough cleanse.


Wednesday, August 14, 2019
Red: LED Tease
Nothing's ever easy...
First up, the new Dime City mirrors were great because of the almost limitless adjustability, but the included 10mm allen bolt was too long for the handlebar mount. I had to shim it with 3 washers to get the length correct.
They seemed to do the job, though. Almost giving me a full view of what was directly behind.
I was more excited to hook up the new 5.5" side-mount headlight with the new LED bulb I'd swapped out for the included halogen.
I swapped the buckets over and rerouted all the wiring, which was a lot simpler with the Wago connectors. Turned it on with the kill switch and it looked fantastic.
It was all going swimmingly until I actually started the motor. Got a very, very noticeable flickering, pretty much in rhythm with the pulse of the motor.
So... left everything as it was but disconnected the bulb.
Back to the drawing board...


First up, the new Dime City mirrors were great because of the almost limitless adjustability, but the included 10mm allen bolt was too long for the handlebar mount. I had to shim it with 3 washers to get the length correct.
They seemed to do the job, though. Almost giving me a full view of what was directly behind.
I was more excited to hook up the new 5.5" side-mount headlight with the new LED bulb I'd swapped out for the included halogen.
I swapped the buckets over and rerouted all the wiring, which was a lot simpler with the Wago connectors. Turned it on with the kill switch and it looked fantastic.
It was all going swimmingly until I actually started the motor. Got a very, very noticeable flickering, pretty much in rhythm with the pulse of the motor.
So... left everything as it was but disconnected the bulb.
Back to the drawing board...


Monday, August 12, 2019
Red: Clutch Cable Lube
Love it when the easiest fix works. Lubed the clutch cable old-school style using fork oil and now it's buttery smooth.
Also unboxed the new H4 headlight from Dime City.


Subscribe to:
Posts (Atom)