Sunday, April 8, 2018

Ivy: Odo Yes, Speedo No


Right out of the gate, saw the speedo was clearly not working.  At that point, I pretty much figured the entire gauge was dead.

It was only when I'd gotten home (from the usual ride to the Farmer's Market) that I realized the odometer had actually been clicking off.  But I'd thought the last digit was in tenths of a mile, but it's actually just the mile itself.  So it had just been going much slower than I'd expected.

Once home, I flipped on the GPS app on the phone and then went for another sip up to Cabrillo and back.  App read 1.44 mi and the odo was reading about the same (close enough anyway).

Would have been nice if the speedo had worked, too, but then again maybe it's not so bad that it doesn't, otherwise I feel like I'd always be trying to break personal top speed records.


Saturday, April 7, 2018

Run Red Run: More Paint Testing

Painted the old cushions white for a color test.  Also painted the metal chain guard since it would be good to have a coat of paint on it anyway.

Had to remind myself what was under the seat cover of the "chocolate" brown seat and realized it was those hand-cut foam pads.

Did some scrubbing on the new case while waiting for paint to dry.

Hooked up Ivy's speedo cable which was simply screwing one end into the hub and the other into the gauge.  Really thought there was more to it than that.


Saturday, March 31, 2018

Red: White Paint Test

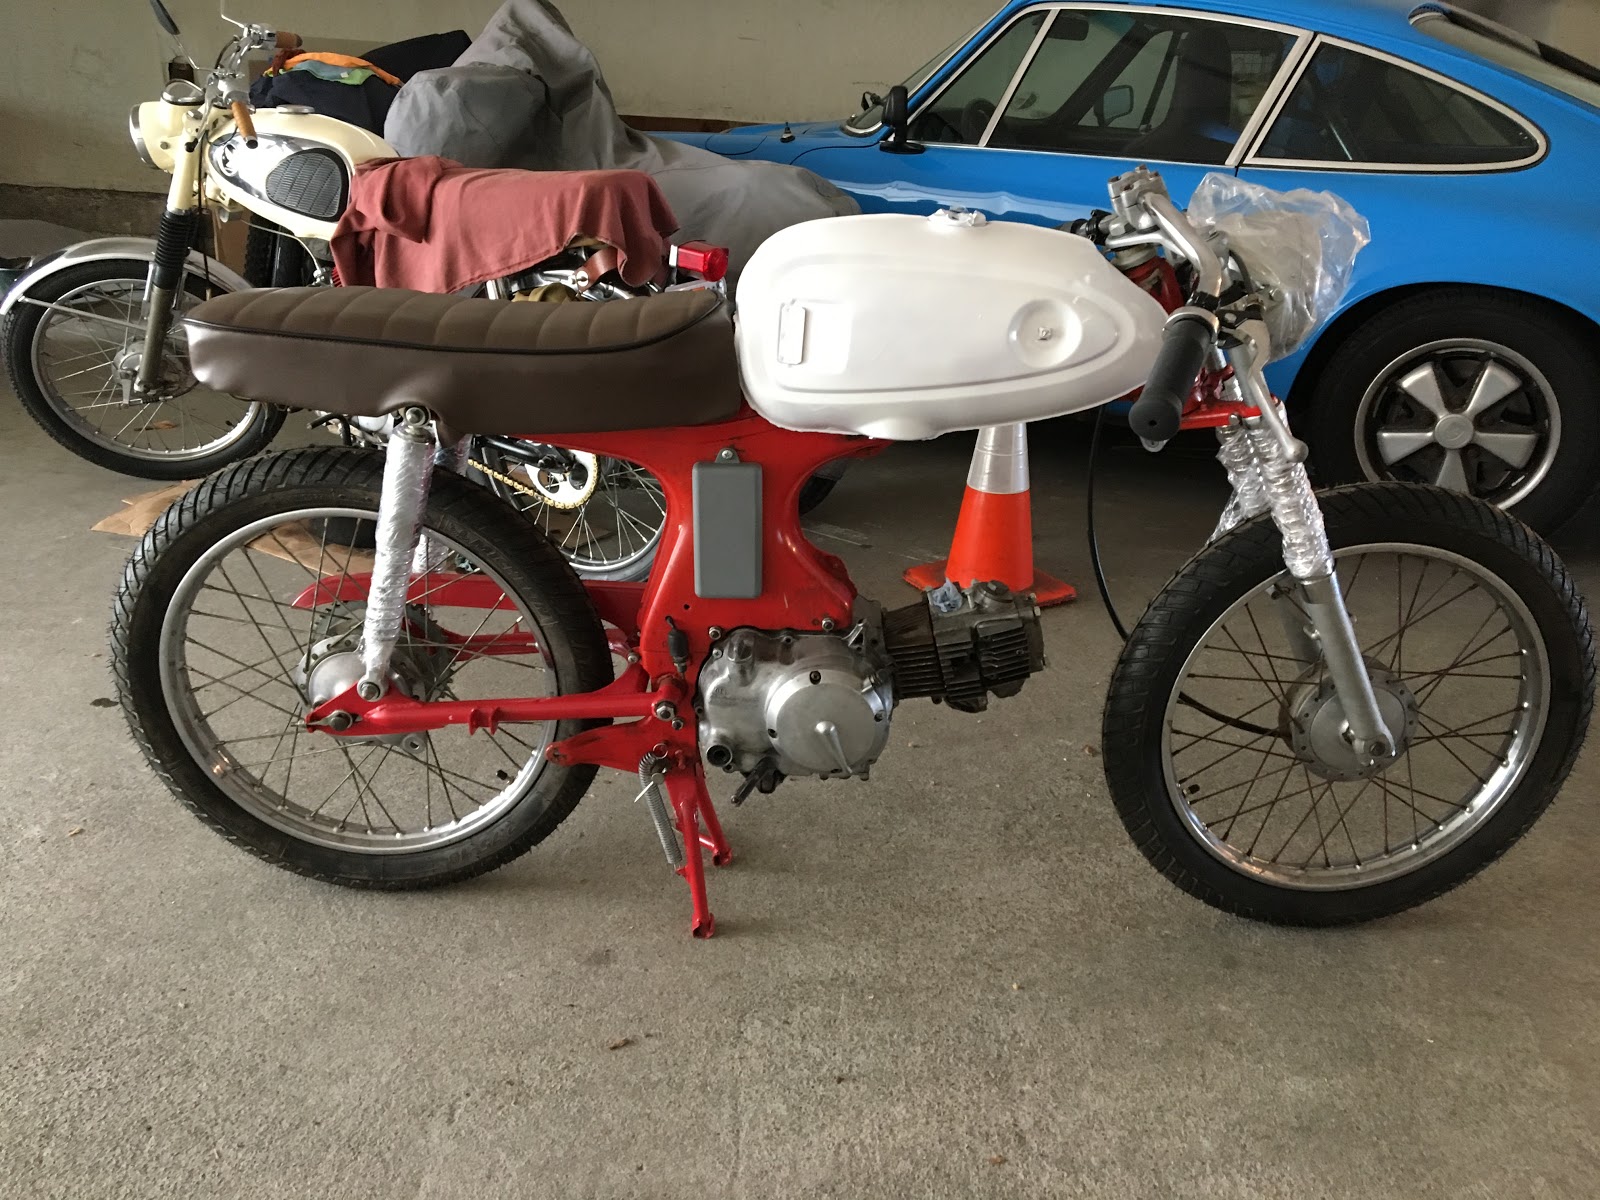
Didn't get the warm weather I was hoping for, but it was just barely 60 degrees so decided to paint the tank to test the new Dupli-Color Engine White.

Setup the paint shop in front of the old trash door along with the two lamps.

The paint went on smoothly despite the cool weather.  It's a nice bright white.  Though after putting the tank back on the bike, there's something about the red/white contrast that could work.  Just need to play with what should be white and what should stay red.  Or do we still go with an all white bike?

Between coats, was examining the clutch parts in stock.  Realized that the drive gear and the plates from the automatic clutch are actually different than stock S90.  But in the old "X1" junk box, I actually found a good S90 drive gear and a few other knick-knacks.

Did steal the good friction plates, clutch cover, big springs, and small springs from the auto clutch.

Also unboxed the new eBay crankcase that I only bought because I thought I wouldn't be able to get the other case to work with the trochoid because of that knock pin problem.


Friday, March 23, 2018

Bottom End Build: Day Off Crankshaft Work

With a day off, decided to attack the crankshaft swap.  Needed to take the "good" one out of the display engine to use in the real bottom end.  I'd put the "bad" one into the display.

Here's why that crankshaft is a no-go:
  • It has holes drilled into the flywheels which means it would throw off a stock motor.
  • A standard piston pin doesn't fit through the connecting rod!!

The swap went relatively smoothly...
  • Added the new woodruff key to the bad crank so I could fit the rotor.
  • At first couldn't get the cases to close on the new case but just did it again (and a couple times more).  Just need to get the "feel".
  • Installed both thrust washers on the good bottom end.
  • Be conscious of the 2 thrust washers on the two sides of the kickstarter gear.
  • Ran into a weird problem where I couldn't get the tranny to fit.  Need to make sure to turn the shift drum to full counter-clockwise before installing to set the gears in an optimal position.

Saturday, March 17, 2018

Bottom End Build: Knocked Out

After doing a little research on removing knock pins, decided to give it a shot since with the knock pin in there, both case and pump were essentially useless.

YouTube videos suggest putting in a socket that fits inside the pin exactly, then using locking pliers to clamp down and twist it out.  Unfortunately, I didn't have a socket small enough to fit.  Decided to try it with a bolt instead, which didn't quite fit flush.

So the pin deformed quite a bit when I used the pliers, but I knew I was going to discard it anyway, so I had the luxury.

Lo and behold, just by continuing to twist it left and right, back and forth, it just slowly worked its way out.  Knock pin out, oil pump in, job done...


Thursday, March 1, 2018

Bottom End Build: Trochoid Blues

Realized today that the trochoid pump I have won't work with the crankcase because the case seems to have a knock pin in the hole where the pump is supposed to fit - essentially making them both "male".


Sunday, February 25, 2018

Bottom End Build: Busy Sunday

Lot of good work today on the carpet (and in the kitchen).

New toy is an infrared thermometer.  Combine that with the heat gun and use it to heat up the case to install the bearing.  All sounded good in theory, but wasn't sure it would work in reality.  But actually everything went perfectly to plan.

Heated the case with one hand while taking the temperature with the other.  Heated it up to about 215 and it didn't take very long at all.  Did this on top of the stove (on a baking sheet covered with tin foil).  Meanwhile had the 6004 bearing in the freezer.

As soon as it hit 215, I moved the case down to the floor (on top of plywood) and knocked the bearing into place with a 29mm socket with just a couple taps of the dead blow hammer.

Almost too easy, but job done.

Thought about removing the old bearing on the other side and installing the new one, but realized that I didn't have a socket big enough to safely knock the bigger 6204 bearing into place.  Need to get about a 32mm socket or maybe a dowel of equivalent size.


Brought up the crankcase for inspection.  This is the one with holes in it.  Don't know why it never occurred to me before, but now I assume that the holes are a custom mod, not a different type of stock crank.  Did the inspection as per Clymer's and it was all well within the wear limits. 

Broke out the Tusk tools and installed the crank easily.  Actually got the entire case all the way back together but then had second thoughts.  Not really sure what the effect of the drilled flywheels will be on a stock setup and may not be worth the risk.

Thought about pulling the crank from the model engine and swapping it with the custom one, but honestly just too much work!


Ended by swapping our the rusted cable arm on the clutch cover with the one from the model engine.  Learned something new: there's a little clip on the arm that holds it in place.  Easy to miss if you don't know it's supposed to be there.