Sunday, November 16, 2014

Red: Seat

Trying to get a mock up of a seat.  I first cut a couple cardboard pieces just to give a suggestion of foam, and then wrapped it all with the black faux leather.  That was a good learning exercise in wrapping.  But it didn't look all that great once it was on the bike.  It sort of just looked like, well... a seat pan wrapped in faux black leather.  Just didn't have any hint of cafe racer to it.

Decided I couldn't wrap the entire pan anymore, so instead I just wrapped some cardboard and put that "pad" onto the seat pan, which I painted in Cast Coat Aluminum.

This is closer to the minimal "padded pan" that I'm aiming for, except the pan is still too wide and busy.  So I think the plan is to just cut, bend, and shape a narrow length of aluminum, topped with foam wrapped in leather.

I'll continue to use the mocked up version for now, just need to find a way to securely glue the pad down to the pan.


Red: Rearset Mounting

Took some preliminary measurements of the pillion mount, which is theoretically where I thought I could mount the rearsets.

The hole is the right size for a 6mm bolt.

The inner width varies a bit.  It's 20mm on the inside, nearest to the bike.  But flares out to 21mm away from the bike.

Depth is 20mm.

Height is 23mm.


Red: Rectifier Exorcism

Took the evil out.


Friday, November 14, 2014

Red: Flange Bearing Install, Second Try

Now that I knew what I was doing, I had the old bearing out and the new one installed in about 15 minutes.

This new bearing is the 6203-2NSE Nachi with the orange rubber seal.

Used the wood with the dip in it to get the bearing out.


Wednesday, November 12, 2014

Spares: Stymied by Gear Shift Pin

Got the most powerful magnet at the hardware store.  It does move the pin, but just can't pull it out all the way.  Stymied!!


Spares: Big Cleaning on Early Case

Took a first pass with the heavy bristle and parts brush.  Engine foam, scrub, rinse, repeat.


Little better, but still a long way to go...


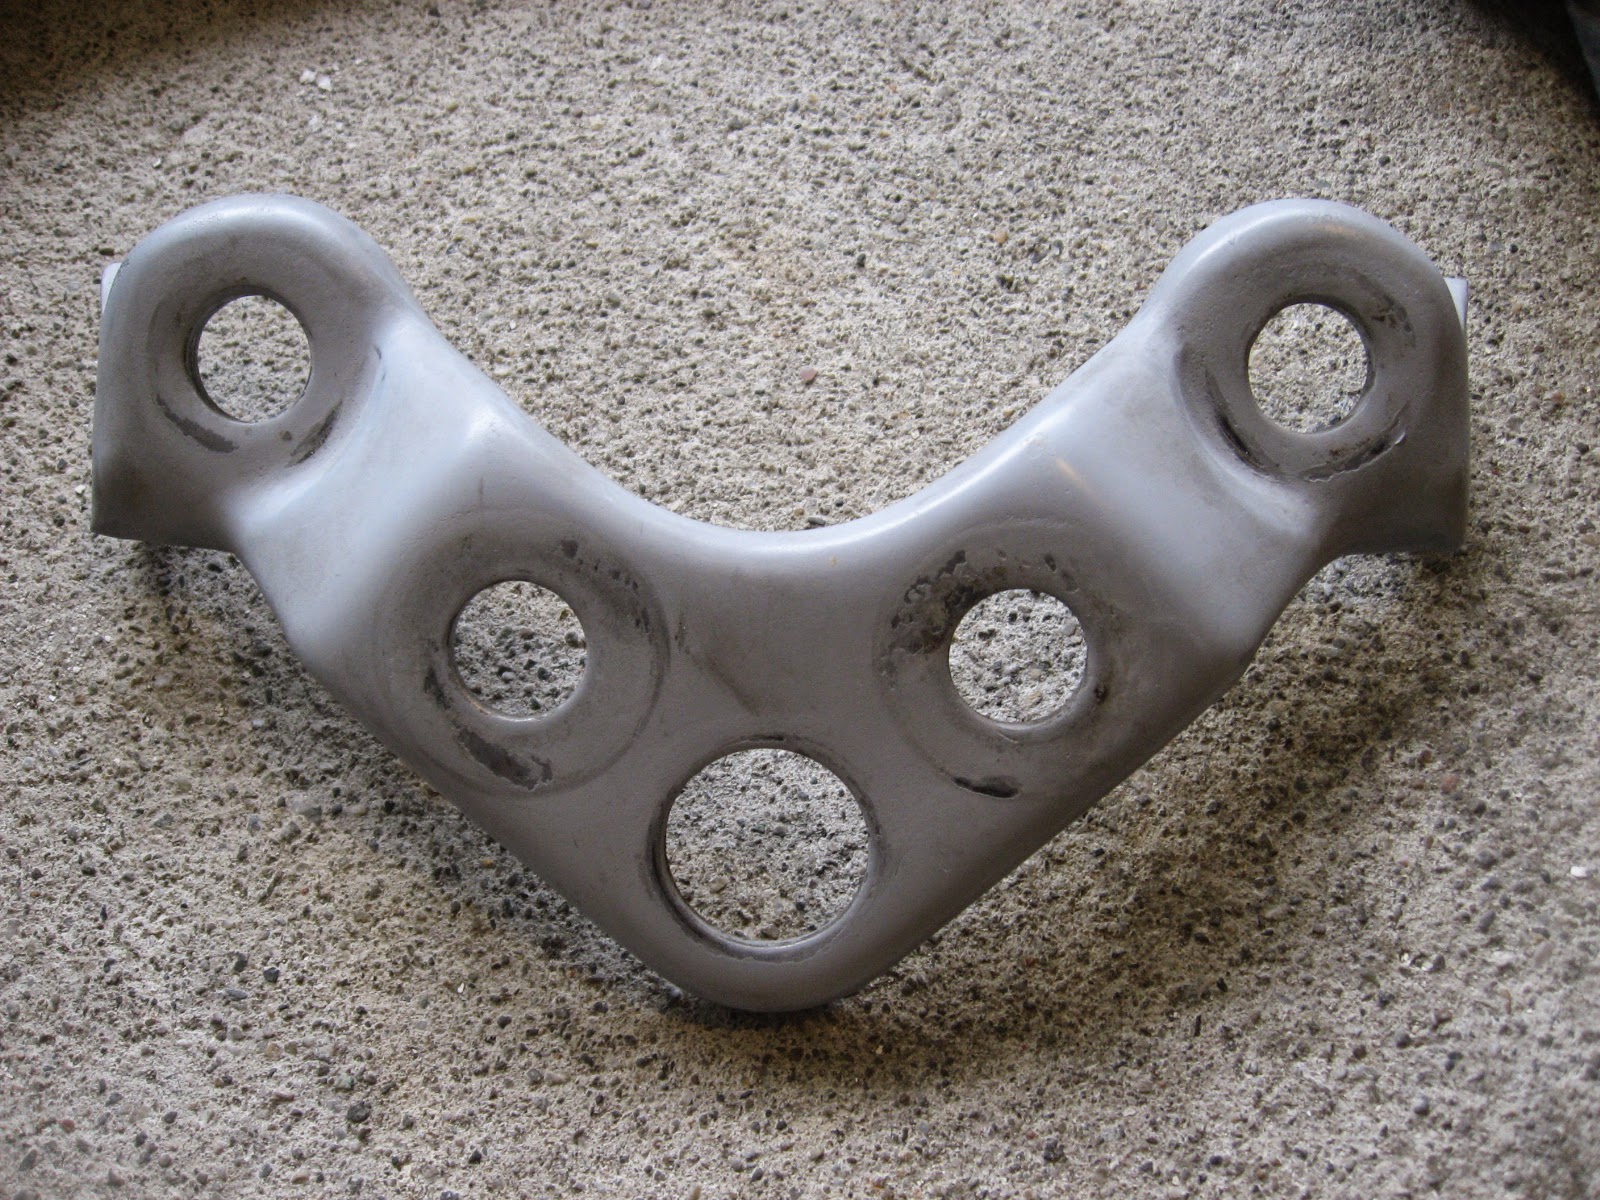
Red: Fork Bridge Repaint

Wasn't planning to do this, but on a whim I decided to paint the fork bridge in Cast Coat Aluminum.

Turned out well, I think, but the sun was already setting by the time it dried, so I'll get a better look tomorrow.


Next day, daylight pictures...