Sunday, June 24, 2012

S90: A Little Bling

Chrome shocks... a pretty pointless addition to a bike that won't see the street for a year, but I couldn't resist.


Saturday, June 2, 2012

S90: Poor Man's Paint Shop

It was probably the worst day to paint: cold, humid, and gusting winds.  But it was my first free Saturday in a long time and I just couldn't wait any longer to get the old tank painted.

This is really the equivalent of a motorcycle swatch.  This tank may get painted a few times as I feel out different colors and let them sit on the bike for awhile.  Flat black was first up.

The paint shop...


And the finished product...  This was about 8 coats of flat black primer followed by 3 clearcoat.  Preparation was stripping paint down with 80 grit, then 400 grit to smooth it over, followed by a good wiping with tack cloth.


Shown with the tank on the bike, but without the chrome covers in place yet...


Saturday, May 19, 2012

S90: Cafe Bars

I've come to admire the spirit of a cafe racer bike: light, lean, and good-looking.  The stock ergonomics on the S90 screams "commuter", so it would be nice to get things a little more aggressive.  Handlebars are an easy mod.  A lowered cafe-style seat will be pricey, but should also be an easy one.  Rearsets seem to be the trickiest of the basic mods, only because there's nothing out there that will just bolt on.  At some point, holes would have to be drilled for mounting plates.  So we'll see how things progress...

Handlebars first, though.  These are some cheap ones from BikeMaster called the "European".  Specs are as follows:

Center width = 4.8"
Pullback = 4.8"
Rise = 2.4"
Width = 30"

These were just $24 from Bike Bandit (free shipping since I'm a premium member).  I figured I had to get one set just to put a stake in the ground and give me a starting point to begin judging what I like for dimensions and geometry.

I have to say, these handlebars were a good start.  Turned "right way up", they keep the commuter ergonomics of the current riding position, just dropping your hands down slightly.  Turned upside-down, cafe style, they put you in a nicely forward position that is still comfortable.

The only thing is that they look and feel much too wide for the bike.  But I think some of that comes from the fact that they're still naked.  I'll need to add the grips, controls, and mirrors before I can get an accurate feel for the right width.


Here they are "cafe style"...


And here they are traditional...


Sunday, May 13, 2012

S90: Buyer Beware...

So I was having a lot of trouble finding the rubber pads for the handlebar mounts.  I thought I'd lucked out when I found some mounts on eBay that had the rubber included and in good condition.

But of course, these mounts turned out to be different than the ones I have, and only the bottom rubber washer fit.  The top one was too narrow.

At first I thought maybe I should just swap the mounts I have for the new ones, but they have a little peg at the bottom, which I assume helps to hold a handlebar in place.  Obviously that wouldn't work in my case.


S90: Bare Metal

Continued with sanding the tank down to bare metal.  Tried out the 3M "Sandblaster" sanding pad and sponge, both 80 grit.  I found myself switching back and forth between the sponge, the pad, and regular sandpaper, simply depending on what kind of surface I was working on.  The sponge and pad were definitely good for some of the tight, curved areas.  But there were also areas where nothing could beat plain old sandpaper.  It was good to have all three to choose from as I went along.

The plan is to paint it flat black, just to see how it looks on the bike.  But the bare steel looks interesting, too.  I may hold off on painting it for awhile...


Saturday, May 5, 2012

S90: Tank Strip

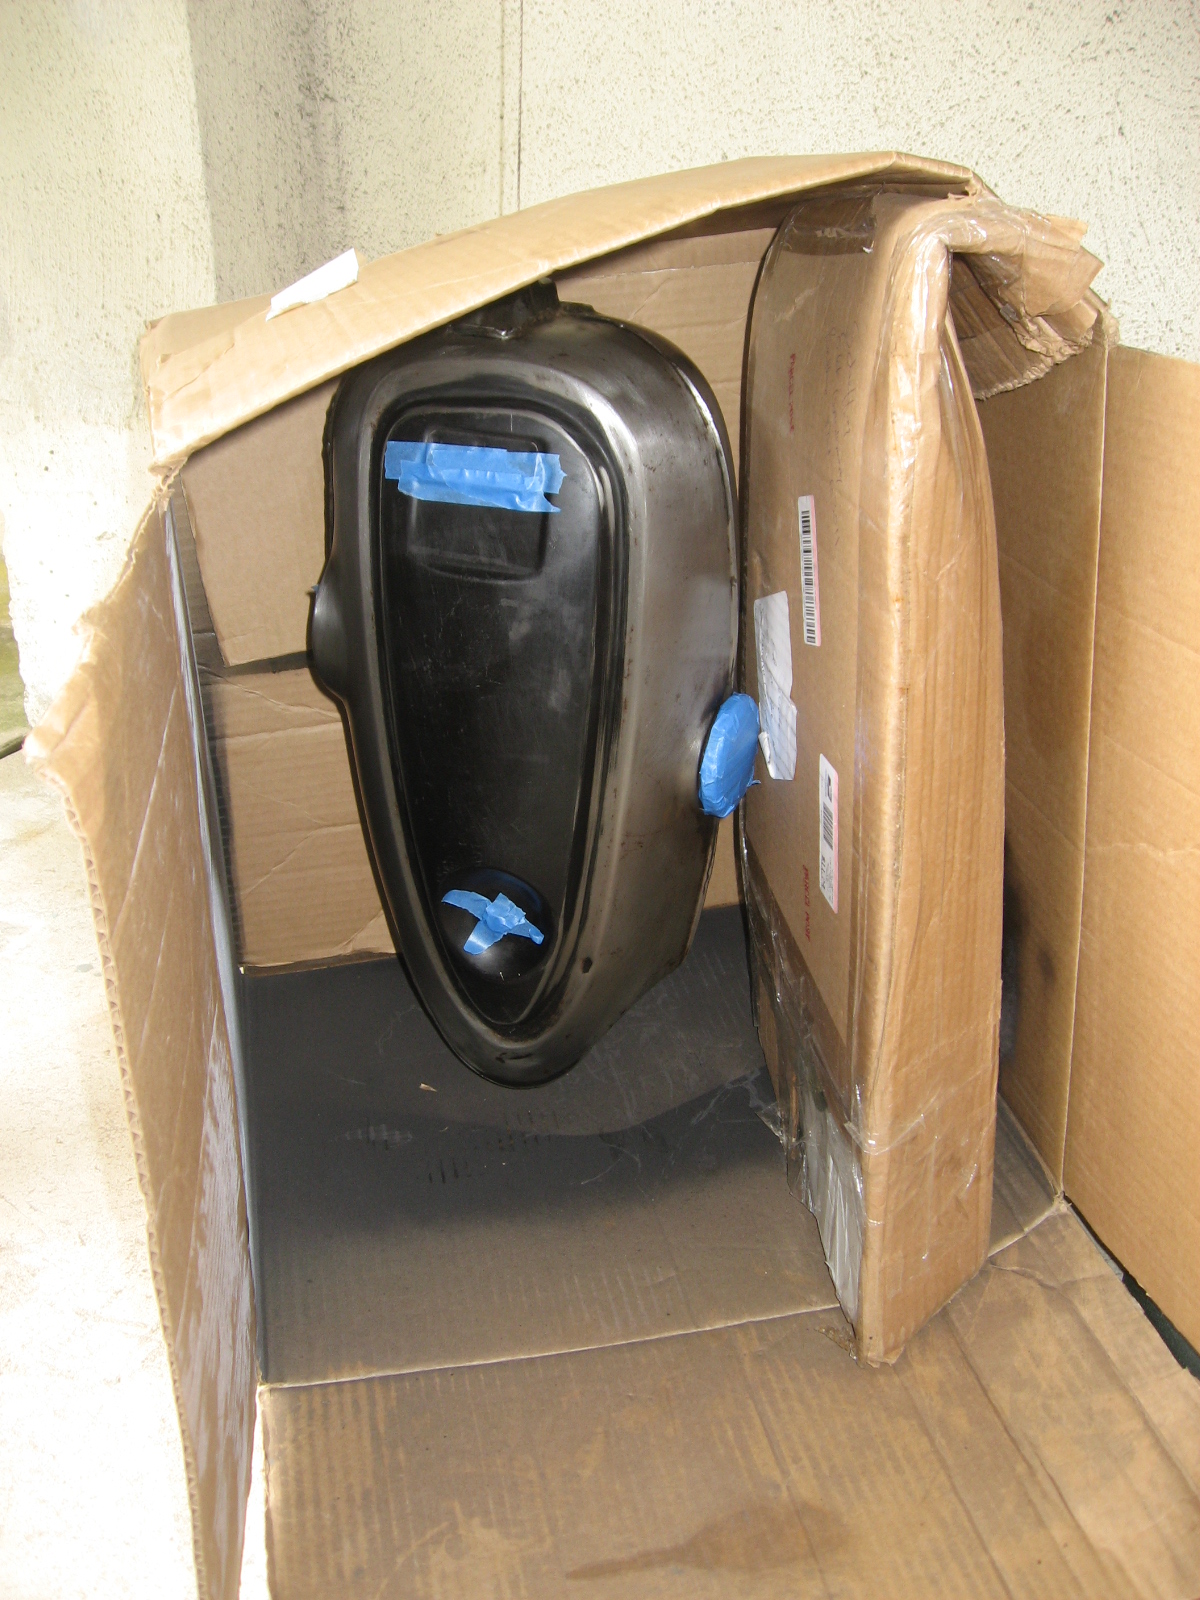
Starting to strip down the original tank.  For now just using some 80 grit sandpaper and doing it by hand.  This is more of a practice run, just to see how involved it is, and to get a feel for the contours. 


Sunday, April 29, 2012

S90: Handlebars Resto Cont (Almost there!)

Decided to just paint the fork plate black figuring that that would let the knew shiny bits pop out a bit more.  Went with a flat black just to gauge the effect.  Worked rather well, I think.

I first hit the plate with some 80 grit sandpaper, followed by 400 once everything was smoothed over.  Then I did about 5 coats of flat black followed by just one of clear coat.  Would have liked to have done a few more rounds of clear coat but simply ran out of time.

Also went over the handlebar mounts with the steel brush again, but this time using a lower speed than yesterday (about 40% versus 90%).  I think the lower speed actually prevents some of the discoloration and patchiness I was seeing before.  Followed all that with some Autosol polish. 


First, a reminder of where we originally started back in June of 2011...


And as of today...


Start to finish on the fork plate.