Had put off these bigger jobs for a long time...
Started by draining the oil to take another look at the left cover oil leak.
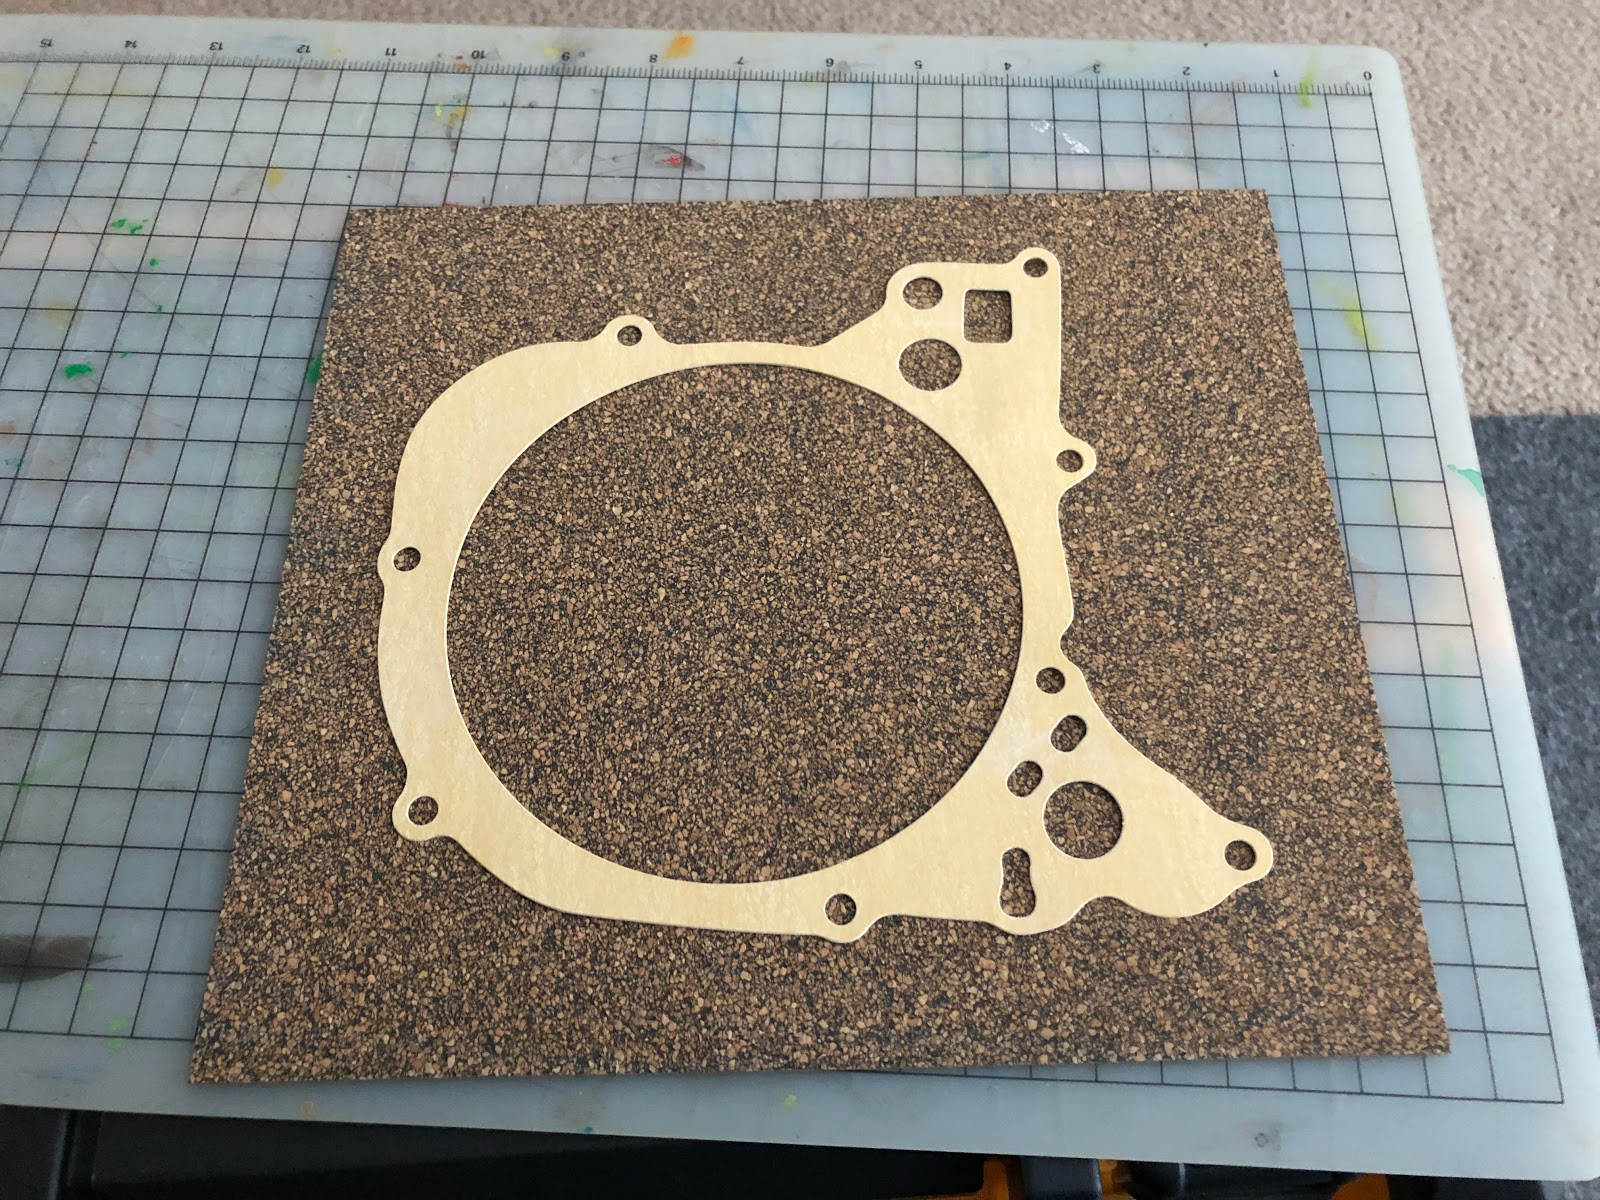
Saw that there was definitely old gasket on the cover, so scraped some off and then also used 2000 grit and with cover flat on plexiglass tried to smooth it down evenly.
Went back to the regular paper gasket to get a "default" setting. The cork-rubber gasket seemed to be holding up fine, though.
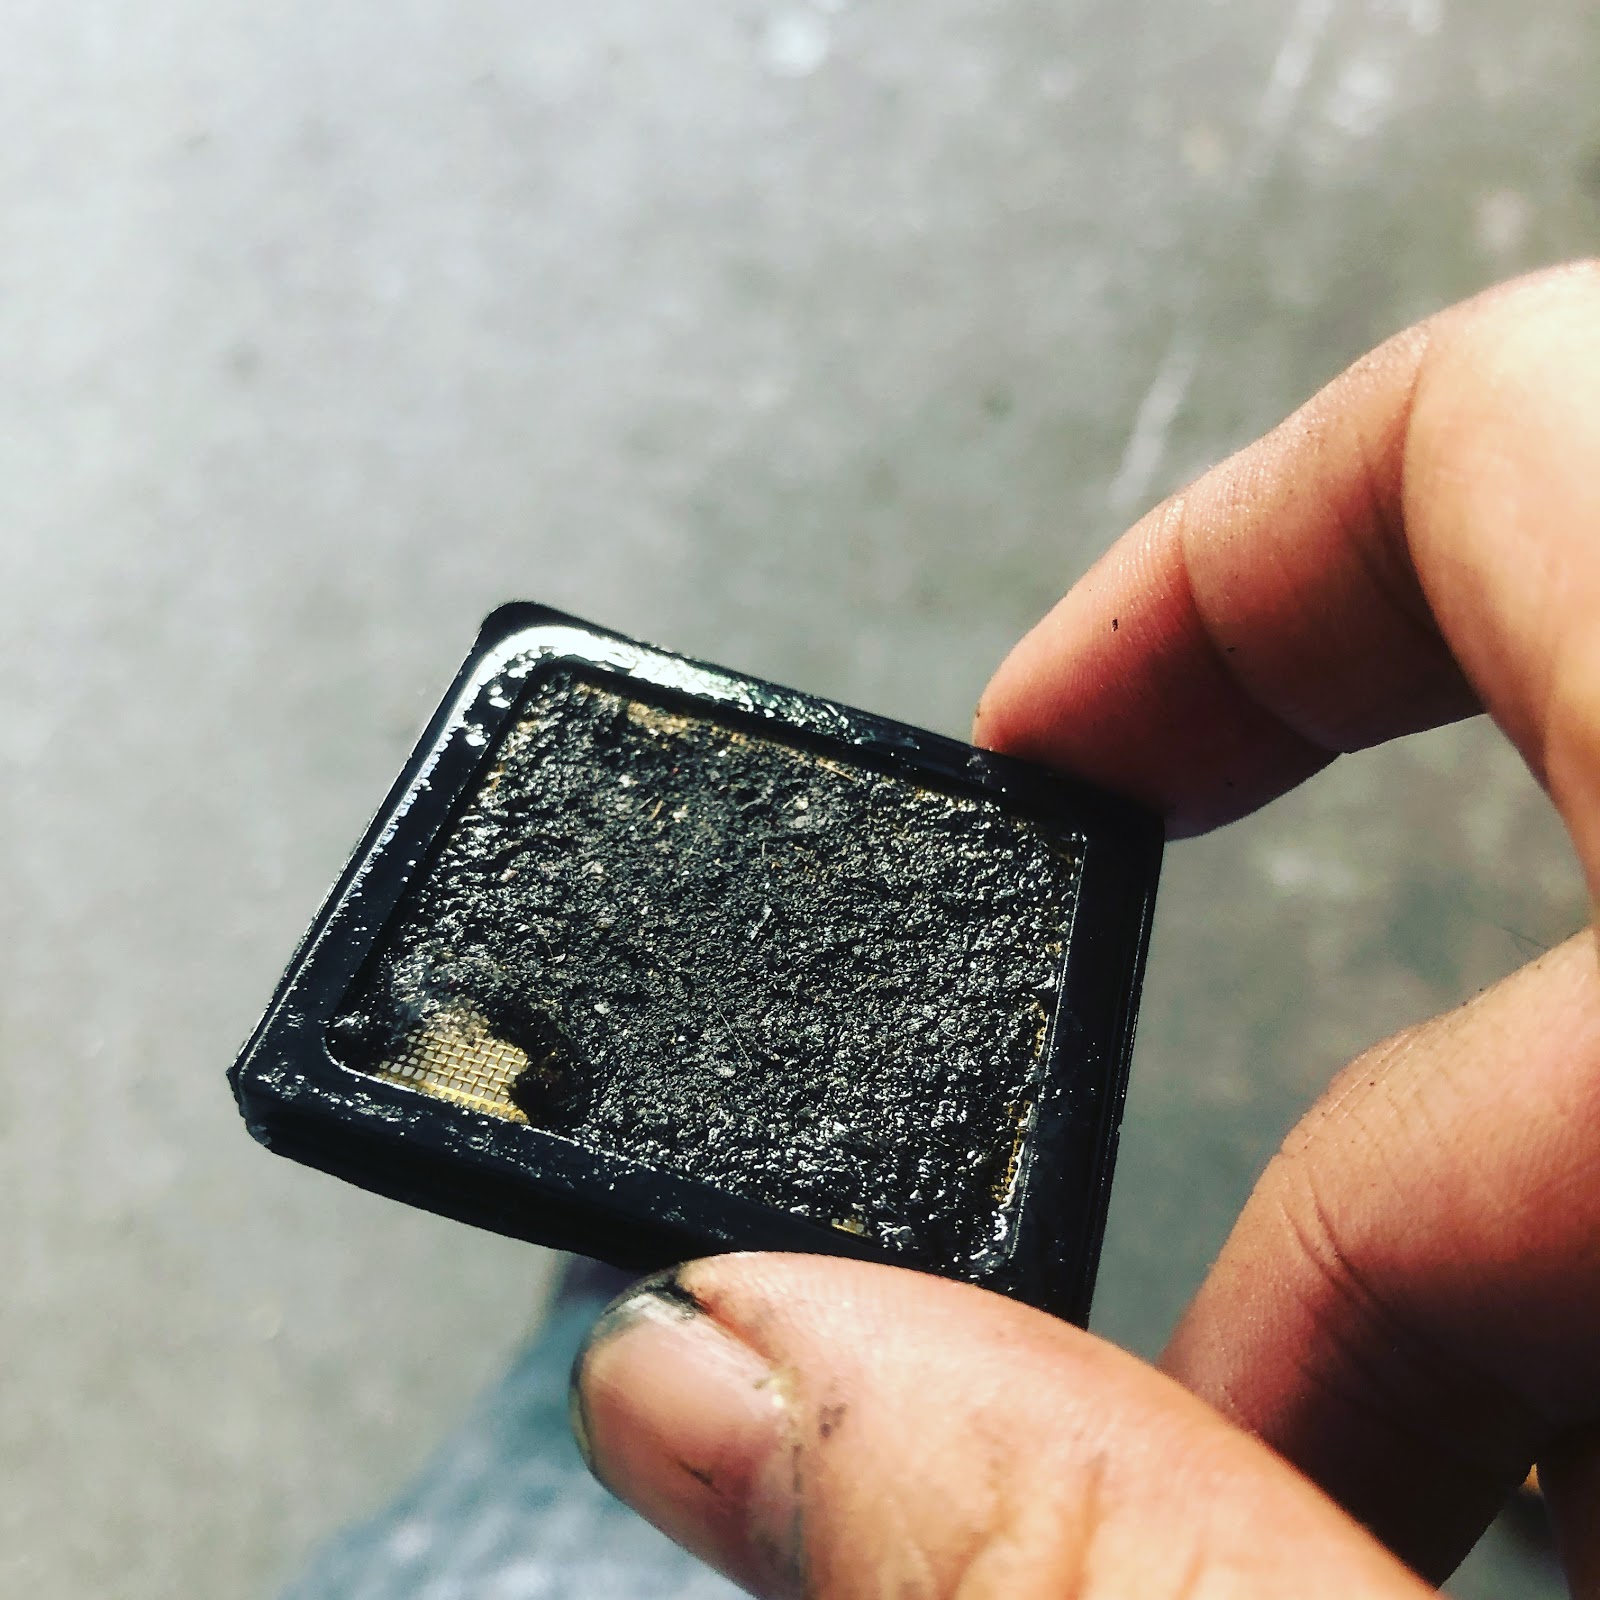
After that, swapped out the clutch. Screen filter was VERY dirty. Pretty much blocked solid. Some sludge in the clutch basket trap (clutch got swapped anyway).
All that took three hours.
Then on to the forks. Pulled just the right one and removed both of the ACE o-rings. With wheel back on, the fork was spurting oil on every compression.
Put the ACE o-rings back but put some grease around them to try to prevent the forks from sticking.
EDIT (next day test ride results): Unfortunately, still getting a small leak from under the left cover, but now a BIG leak coming out the top. Did sanding the bottom introduce a warp at the top?!
Right fork still leaking but they don't stick anymore!
Clutch much better now. No more "heavy" third kick. Seems to start much easier, too. Also ended up dialing the throttle screw way down.