Saturday, March 23, 2019

Red: Milestone #3, Steady Idle


Big Day!  Day before my birthday and I wasn't sure if I wanted to wait until the actual day to see if I could get the bike to run.  But in the end, decided that I didn't want the potential disappointment to cloud the day so thought maybe better to do it ahead of time instead.

Had a few little jobs before I could try firing the engine...

Added the lower intake gasket, but found that while I had what ought to have been the upper intake gasket (the one between intake and carb), it simply did not fit correctly.  Not 100% sure what's going on there, but hoped it wouldn't affect the carb function.

Almost forgot to put in the exhaust gasket.  Had hoped I could use the copper crush ring instead of the asbestos fabric one, but the copper ring sat in between the head and the muffler, not inside the port.  Wasn't sure if that was really the way it was supposed to be, so ended up opting for the asbestos one so that I could safely stuff it into the port for a good seal.

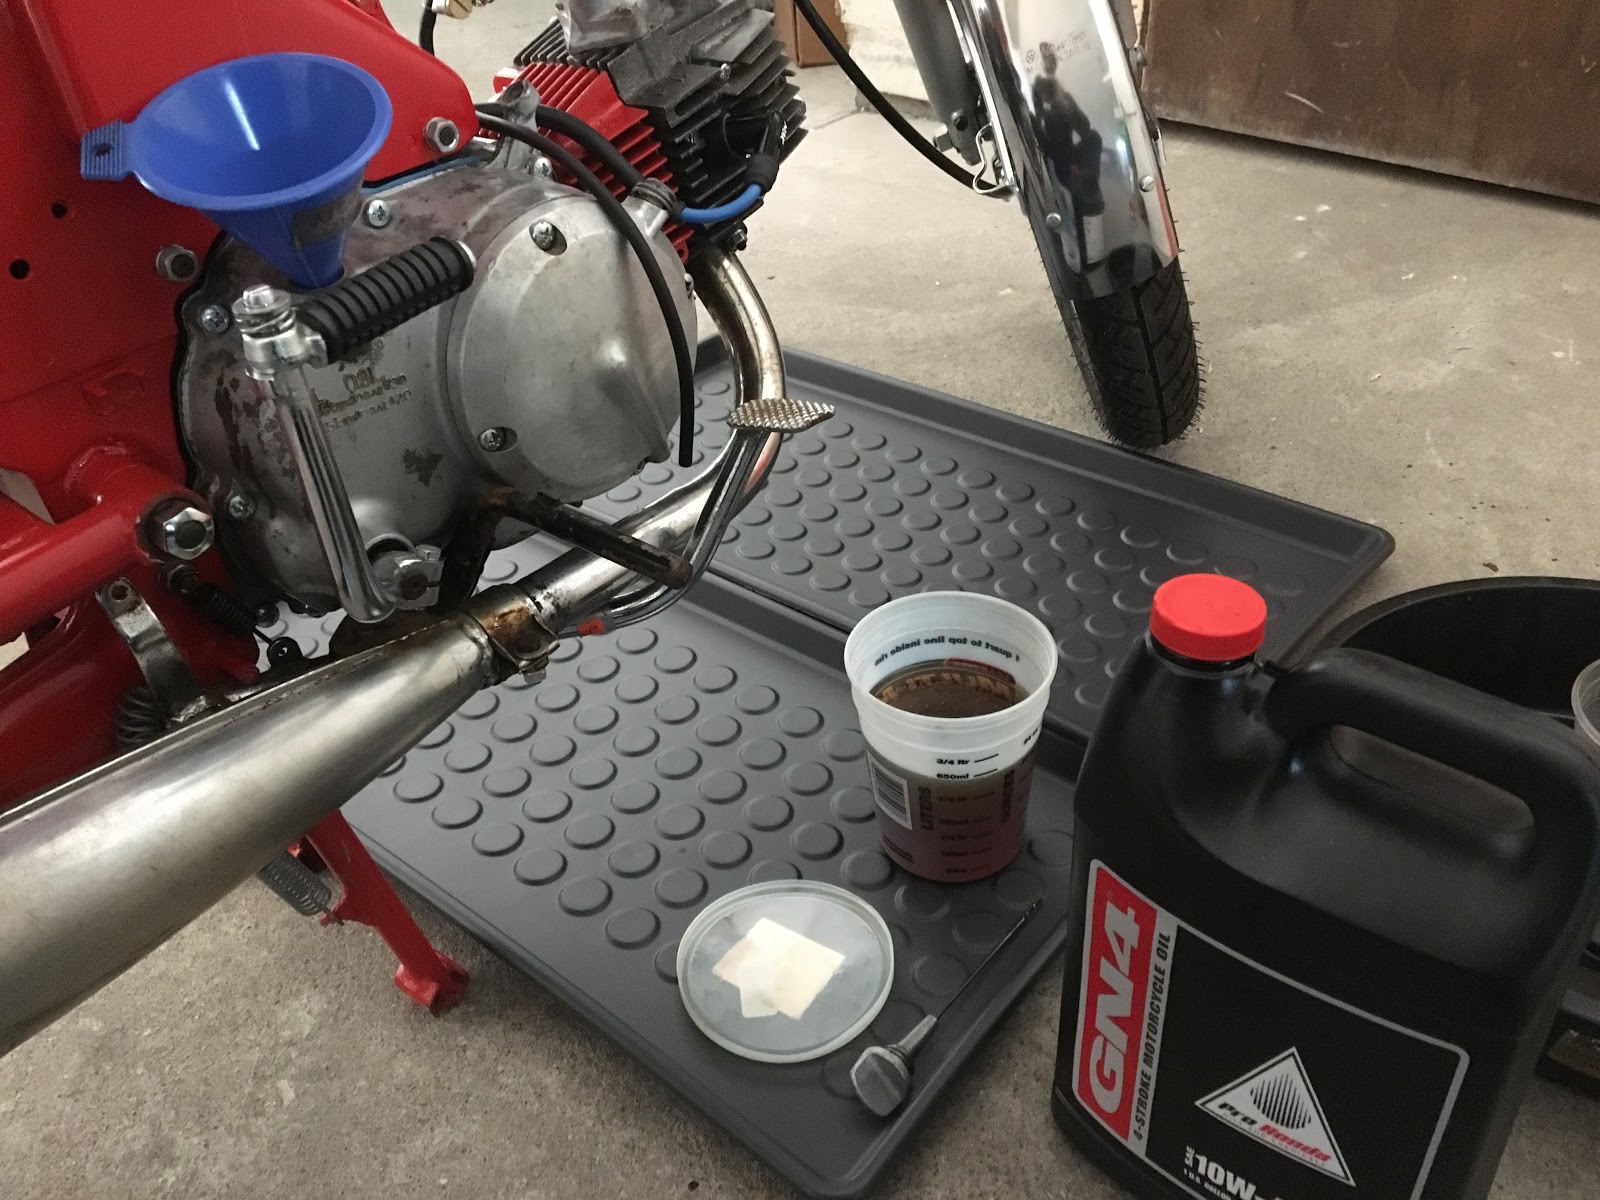
Added engine oil next.  Went with 800 mL to start and figure I can add in a bit more as we go.

With that done, it was just the wiring that was left and I hooked up the ignition switch box according to the labeled wires (ground everything to the fins).

Got the fire extinguisher ready and then went for it... and nothing.  Nothing and more nothing.  Though eventually I heard just the slightest cough which seemed encouraging.

Did a compression check, adjusting for the fact that the engine was cold and oil certainly hadn't circulated very well, and got up to 90 which I thought was good enough for those conditions.

Continued with more kicks, remembering how Ivy had taken a dozen kicks the first time around, but still nothing.  Then out of nowhere, the boom of a gigantic backfire, which scared the crap out of me.

But at least that was something.  It meant we had fuel/air and a spark, but something else was wrong.

Quick search on the Yahoo Groups and saw someone suggest it was valve clearance and I instantly regretted not having done a light tune-up after installing the top end and torquing everything down.

Popped off the valve covers and did find that the intake valve had zero clearance but exhaust seemed fine.  So I set them both to .002 and tried again (only a few kicks) but still nothing.

At that point, figured I'd check the timing.  Found something weird, where the timing light wouldn't come on "cleanly" at the F mark.  If I jiggled the alternator back and forth, the light would come on/go off whenever I moved, instead of right at the mark.  Just didn't seem right.  Rechecked that I was at TDC and I was.

So then I spun around and found that the light did go on cleanly near the F mark, but not at TDC.  It was almost as if the camshaft sprocket was off and yet I was so sure I'd set it right.  But nothing else to do but check it, so I went in as far as the sprocket and indeed it was set right.

But then how could the timing be 180 degrees off if the camshaft was right?  Then I realized it was the lobe on the advance itself!!  The lobe, which had popped off a half dozen times, was simply in backwards.  I had put it back on at some point, not thinking that there was a correct orientation to it.

So I flipped it around and then reinstalled everything.

And damn if she didn't start up with a single kick!

Amazing.  Fifty plus years old and she just comes to life.  She's a gentle start, too.  Like I remember Astrid was, where it almost seems like she starts before you're even at the bottom of the kick cycle.

And with carb set to default (1-1/4 out on air screw) she idled just fine with no tweaks. 

Exhaust was loud, though.  Really loud.  Not sure why when Ivy doesn't have a baffle, either but nowhere near as loud.  Maybe I like it, though...?

Once she got warm, she started to smoke pretty well.  Sort of expected given the situation with the bad cylinder and un-seated rings.  There's maybe a chance that it's just old oil that needs to burn off from inside the muffler.  Not sure, we'll have to see.

Landmark day, though.  The motor I built from the empty case up actually runs!


Thursday, March 21, 2019

Red: Venhill Custom Throttle Cable, Part 2

Redoing the cable went pretty smoothly.  As planned, I cut off both ends of the sleeve and replaced both ferrules with the smaller 5.5mm size.

I added the cable and cut it to the same 110mm of difference as before.

On the soldering pot, I did try to end up with less solder on the nipple so that I wouldn't have to file it down quite so much.  (Still had some filing to do, though)

Throttle cable went into the grip, grip went onto the bike, carb side went into the carb.  And job done!  She turns smoothly and with a nice spring back to closed position.

Was nice weather so ended up adding the front fender, which was a bit fiddly as usual.

Also replaced the tarnished handlebar mount bolts with new ones (had to use longer ones up top and shorter ones on the bottom).


Sunday, March 10, 2019

Red: Venhill Custom Throttle Cable

Had really been dreading this job so decided to say to hell with it and just go for broke.

Took me awhile to get my head around the old notes, but luckily I'd done all the heavy lifting on the measurements.  The stock throttle cable has 87mm of cable coming out of the sleeve.  I calculated I'd need 110mm for the custom job.  (But needed to leave some excess in order to do the solder)

Laid the cable out on the yardstick and clipped it in place to do the final measurement.

Then cut the cable, made the "bird's nest" on the nipple, heated up the soldering pot.  From old notes, I knew you can't let the flux creep too far up the cable, so was cautious about that.  Once the solder hit full temp I gave it a couple dips. 

Went down to test it on the throttle and realized that the nipple is a pretty tight fit in the first place and there can't really be very much excess solder on it otherwise it's just way too big.

So filed down the solder until it fit.  Thought, "That wasn't so hard..."

Went to install the carb-side end and only then did I realize that the ferrule on that end was too big for the carb!!

I'd totally forgotten that there were two sizes of ferrule and I'd use the large instead of the small.  Luckily, the cable's overall length was probably a bit too long, so I can chop the whole thing down and redo the ferrule.

Next time:
  • Make the bird's nest smaller and tighter so there's not so much excess solder
  • Since you can't thread the cable and have it come out of a set ferrule, and since the throttle end nipple is already set, may need to cut off the pre-done ferrule and replace that side with the small ferrule instead.
    • Cut off the ferrule that comes pre-installed.
    • Install the small ferrule on one end.
    • Thread the cable through that so that the carb-side nipple is on the same side as the small ferrule.
    • Install the larger throttle-side ferrule on the other end.
    • Cut to correct length and solder.
  • Need to check how the cable is going to be routed to set the final length.  But better to have it a little too long so that it's possible to adjust if needed.


Sunday, December 23, 2018

Run Red Run: We Got Spark!


I think the four big milestones (for me personally) on any restoration are these:
  1. Getting through the whole title and registration process.
  2. Getting spark.
  3. Getting to idle.
  4. Shifting through all gears.
Two down, two to go on Red since today she threw a big fat clean spark on the very first try.

First went through and finished off installing the clutch and other bits left over from mounting the engine.  Also checked static timing and it was still spot on from before.

Wiring was straight-forward (why did it seem so much more complicated before).  Coil wire went to battery positive, battery negative got grounded to a cooling fin.  Tied the spark plug up against the head and turned it over and got nice fat sparks.  This was on a used plug.

Also installed both pedals, foot pegs and exhaust, so she's got all her big parts now.


Saturday, December 15, 2018

Run Red Run: Engine Install

After all the back and forth around possibly installing the motor to Astrid or Evie first as a test, decided to just cut to the chase and mounted the motor straight to Red.

First things first, swapped out the smaller bullet on the coil for the bigger red one.

Install itself was relatively painless, though the trick is that you have to set the rear in place before the front.  Had the coil wired up through the battery box and just made sure to pull up the slack as I slowly pushed the engine into place.

Added the top end and the exhaust.  Added the step bar so I could ride the sidewalk a few times, but really need to add the pedals to get a good feel for the ergonomics.


Tuesday, December 4, 2018

Run Red Run: Exhaust Test on Ivy

Tested the new muffler on Ivy.  Works and sounds great!


Sunday, December 2, 2018

Evie: Rolling Chassis!

Big day for Evie as she gets built out to a rolling chassis.  Except for the main stand pipe and the rear axle, all the other parts came right out of the bin!  That must be some kind of milestone for the shop...

Had been making a checklist for the past couple weeks and supposedly had everything we needed.

Swingarm went on with no issues.

Hit the very first problem with the main stand.  Looks like the bracket had been bent (impact?) and so the holes were not completely aligned.  Took about 3 whacks with the dead blow to straighten it and then the pipe dropped right into place.

The bigger challenge came with the steering head.  Neither top nor bottom race was in the frame so they both had to get installed.  Ended up using the new ones that came with the set of new caged metal bearings.

But with everything in place, the tube would not come up far enough for the top nut to grab it.  Realized that the top race was only sitting flush to the top of the frame but needed to drop inside a few more millimeters.  Luckily, the 30mm socket was a perfect fit to whack it down into place.

Cranking down on the top thread also seemed to force both races to seat properly (though I cringe to think of what was happening to the bearings).

Next problem was the right side threads at the top of the cushion, which were almost completely perished.  Really thought there was no chance of getting the bolt to thread, but going very slowly and applying pressure, finally got it on.

Caught another lucky break with the rear wheel as I realized that the drive flange didn't have a bearing in it.  But had one in the batch I was meaning to actually throw away (never throw stuff away!!)  Knocked it in and we were back in business.

Rear wheel went on without any more problems.  Then mounted the Bridgestone Battleax to the front rim.  Skipped the rim strip and also just used an old 2.50 tube that appeared to have been patched?

Was disappointed to see the Bridgestone "crack" as it went on... like little hairline cracks.  Maybe the tire was no good in the first place?  Can't remember if that seller said it had been sitting for a long time...

But at least it went on rather easily.

Front wheel also mounted without too much drama, except I was missing the proper axle spacer.  But ended up using the bottom race that I didn't need for the steering head!

And she rolls!