Wednesday, May 16, 2018

Unboxing: Front Hub and Clutch Lever

Unboxed the new front hub and brake.  Using this to remember how the speedo gear works.  This will serve as spare parts in case there's something missing or broken when I check Ivy.

Also got an original clutch lever to make the low bar complete.  Tested the NOS clutch cable and it was the perfect fit.

Tested the cable with the cafe bars and it worked there, too.


Sunday, May 13, 2018

Bottom End Build

Added the tensioner setting A, which actually came from one of the new cases (where I'd had to Dremel/reslot the screws).


Friday, May 11, 2018

Red: Day Off Jobs

Day Off garage time.

Added the new foot pegs, which at first I thought were another non-S90 version, but I think maybe they're ok.  Will need to test with pedals in place to be 100% sure, though.

Then the first attempt at bondo on the tank.  Found it very hard to apply in a smooth manner.  As you tried to smooth it out with the plastic applicator, you end up moving more of the bondo around then you really want to.  Definitely takes practice and patience.

Let it dry then did the first sand down.  This went pretty well, though I soon realized that I'd left some of the bondo too thin in some parts, which resulted in some deep grooves that I will need to add another layer to eventually.

But with 80 grit, it was just a matter of shaping it until it matched the contour.  Pretty straight-forward.

Also mounted the red badges to the white temp tank using the 3d printed mounts.

Added the original speedo back, too, now that it's fixed.


Thursday, May 10, 2018

Ivy: Speedometer Fix

Brought Ivy's original speedo upstairs to see if I could figure out why the speedo needle wasn't moving.

It was a good thing that I had left the chrome ring "loose" when I had taken it apart last time to paint the face, so it was a breeze to pop off the top.  Three screws on the bottom released the speedo itself from the housing.

Played with it for quite awhile, testing it with the drill and just observing.  Finally realized that there's a little nub at the base of the needle that is supposed to hit a metal arm that acts as a stopper.  But the metal arm must have moved over time because instead of stopping it, the nub was actually locking itself up against it.  That was why the needle wouldn't move on its own.

Just had to bend the little arm back enough so that they didn't run together and then the needle worked a treat.

Also glued the green neutral light back to the underneath of the face where it's supposed to be.


Saturday, May 5, 2018

Ivy: Speedo Troubleshooting

Taking a closer look at the speedo situation and realized that it's the front hub that's the issue, not the speedo.  The speedo works because I tested it with the drill.  The cable works because you can turn it at one end and see it move on the other end.

Disconnected the cable from the speedo and taped it to the bars, then ran the bike down the garage and could clearly see the cable wasn't turning. 

So the problem must be somewhere in the hub.


Thursday, May 3, 2018

Unboxing: Speedometer

Unboxing the new spare speedometer to help with troubleshooting Ivy's.


Tuesday, May 1, 2018

Run Red Run: Solder Pot

Really had zero idea of what I was doing with this new solder pot.

First started just trying to figure out how high I had to go with the heat to melt the silver solder.  Started at low settings and just worked my way up.  At first I thought the metal would "liquify" but eventually realized that unless you fill up the pot completely, the solder will just pool into a little blob.  Realized that the best thing is just to max out the dial to get the solder nice and melted.

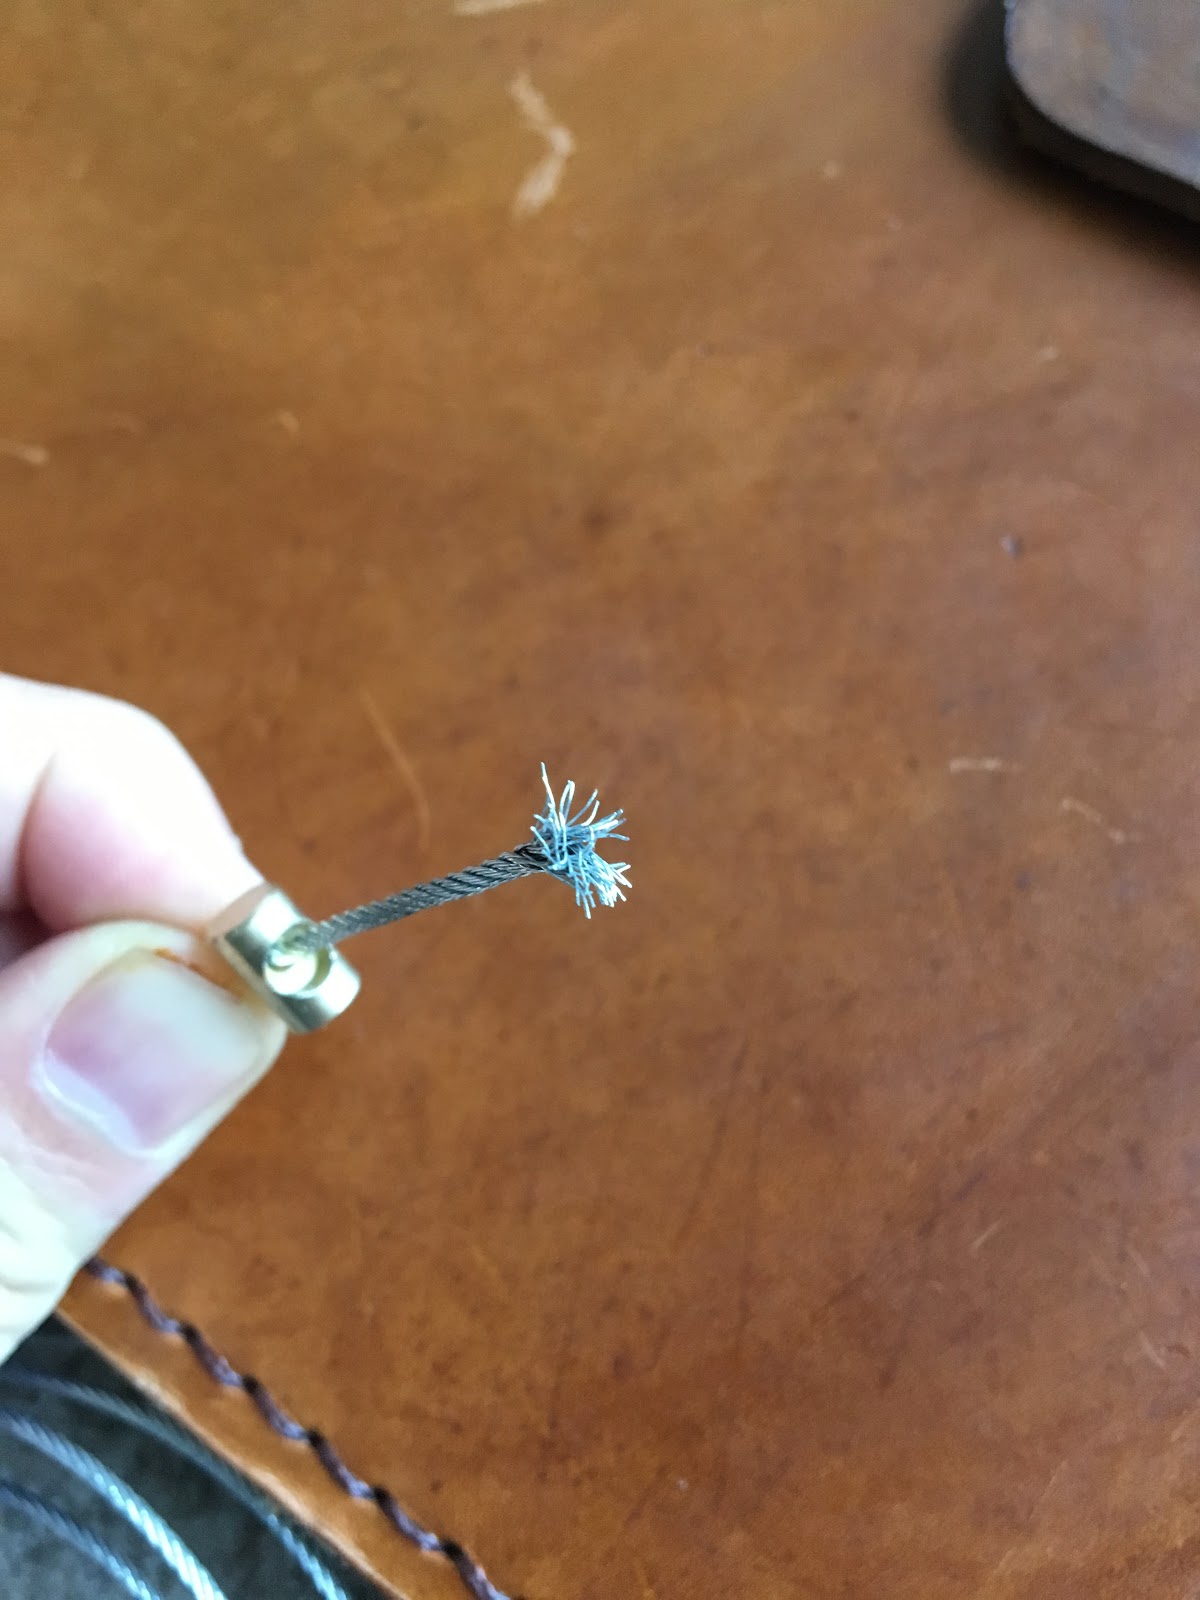
First had to figure out the "bird nesting" technique, which ended up being simply tweezing it with pliers.  Seemed to work just fine.

Then I dripped flux on the nipple, but didn't realize that the flux worked its way down the cable when I inverted it.  So when I dipped it into the solder, the silver actually "crept" up the cable, making it very brittle.  First lesson learned: gotta be careful with the flux.

Second time around, I only heated the solder enough to make it soft.  Did a better job with the flux this time, but when I dipped it, a whole glob of solder stuck to the end instead of "flowing".  Second lesson learned: max heat.

Third time was the charm.  Did a good bird's nest, was careful with the flux, and heated the solder to max before dipping.   Ended up with what seemed to be a very strong joint.