Wednesday, October 29, 2014
Red: Dime City Headlight Brackets
Got the brackets, now just need the light. 6" distance between the 2 mounts. Had to double up on the rubber shims to make them fit.
Labels:
1965 S90,
Cafe build,
custom parts,
dime city,
headlight
Tuesday, October 28, 2014
Spares: Early Bottom End for $20
Got an early crankcase for $20 and $18 shipping. Got a deal from the same seller for the transmission and fork drum at $10 each. Good bargain. And now I have a bona fide early style engine to either rebuild (if you could find the gaskets) or just for reference.
Seller even included a few other bits and bobs that weren't listed. The packaging... no other word for it than "professional". He glued strips of cardboard to hold everything tight and in place. Impressive.
Seller even included a few other bits and bobs that weren't listed. The packaging... no other word for it than "professional". He glued strips of cardboard to hold everything tight and in place. Impressive.
Labels:
bottom end,
early
Red: Get your Bearings
Sealed bearings would definitely be more convenient, but there was something nice about doing it old school with 21 3/16" bearings glued into place with grease.
Getting them in was pretty easy, but seeing how many I lose taking them out may be interesting.
Getting them in was pretty easy, but seeing how many I lose taking them out may be interesting.
Also ended up adjusting the brake arm a few degrees counter-clockwise.
Sunday, October 26, 2014
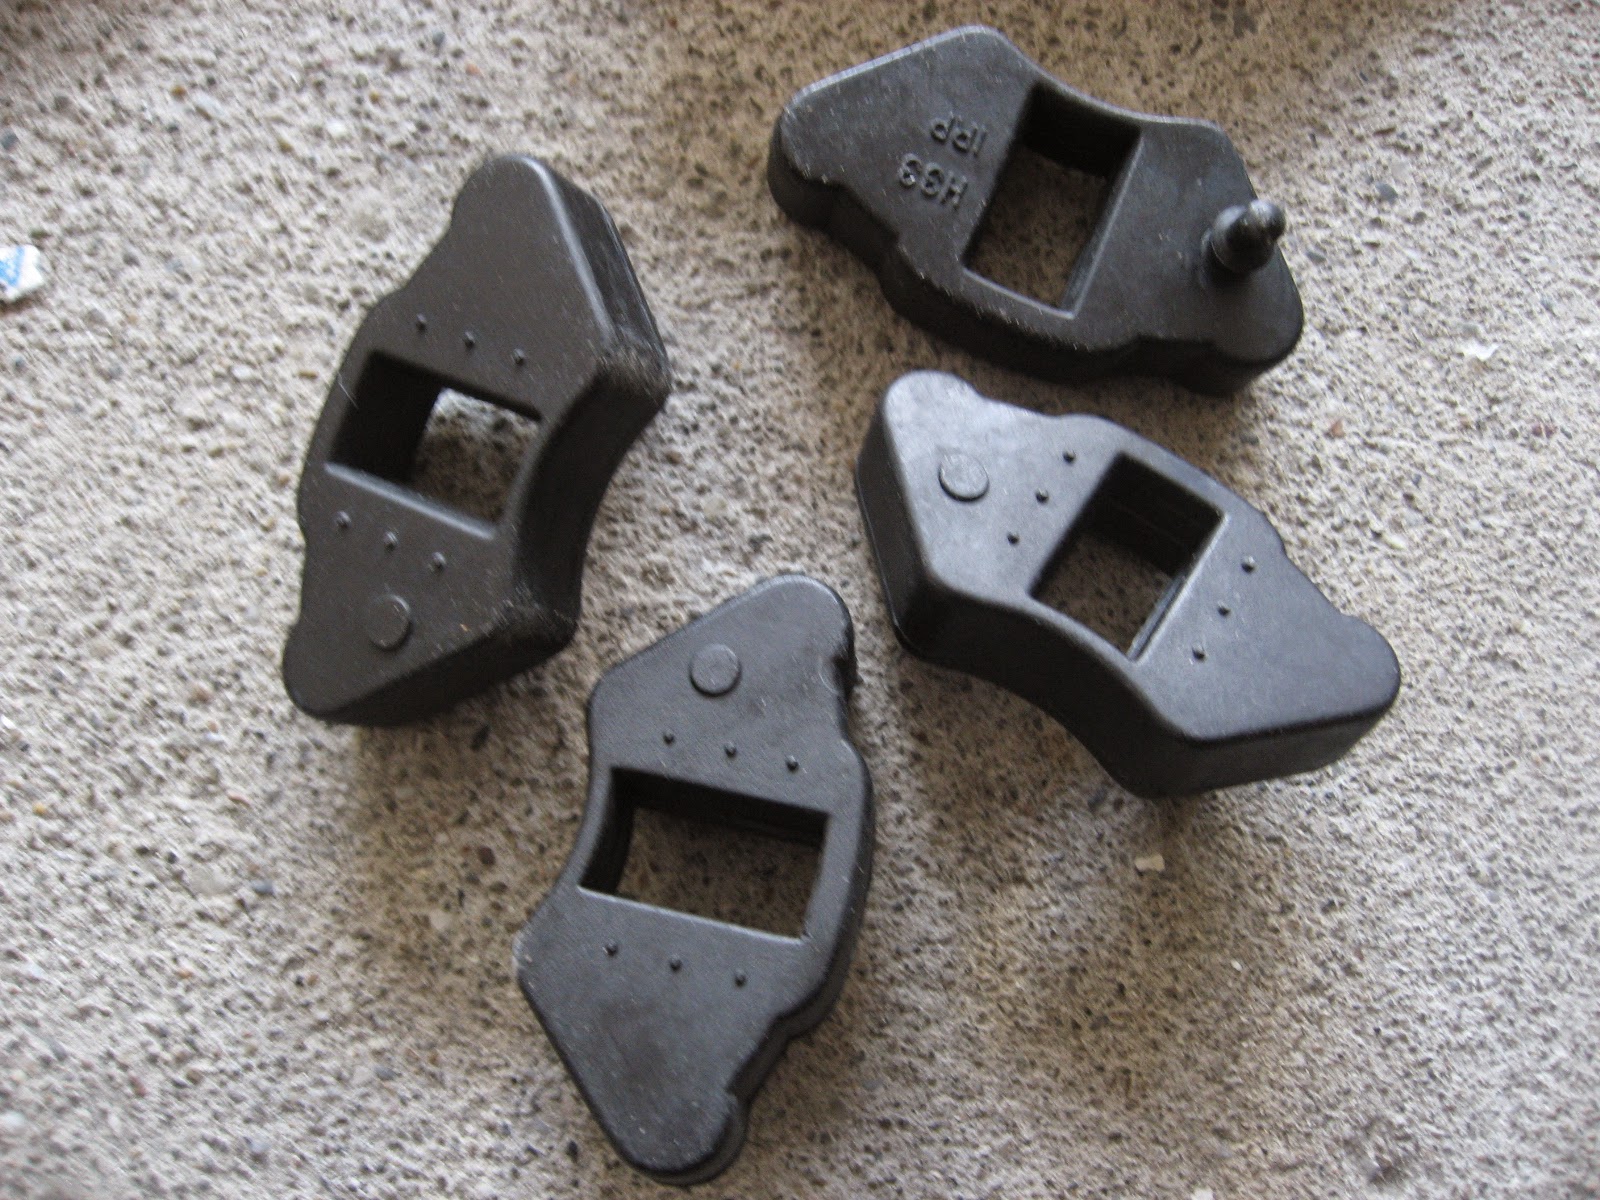
Red: Cushion Bling
Swapped in the new chrome cushions (second pair I've bought).
Also switched over to the European handlebars, which I think feel better.
Installed the new (used) brake stay bolt, which did indeed fit the brake properly.
The new Nachi bearing is the right size, but I didn't go as far as installing it into the hub. Question:how in the world would you remove it once it's installed? (edit 7/21/15: with a blind bearing puller!)
This bearing is the 6203Z metal sealed version.
Removed the old rubber dampers and added the new ones, which went smoothly except they're much thicker and the flange doesn't sit flush against the hub.
Painted the stem bolt in stainless steel. Not sure if I like it...
Labels:
bearings,
bling,
Cafe build,
cushions,
handlebars,
painting
Wednesday, October 22, 2014
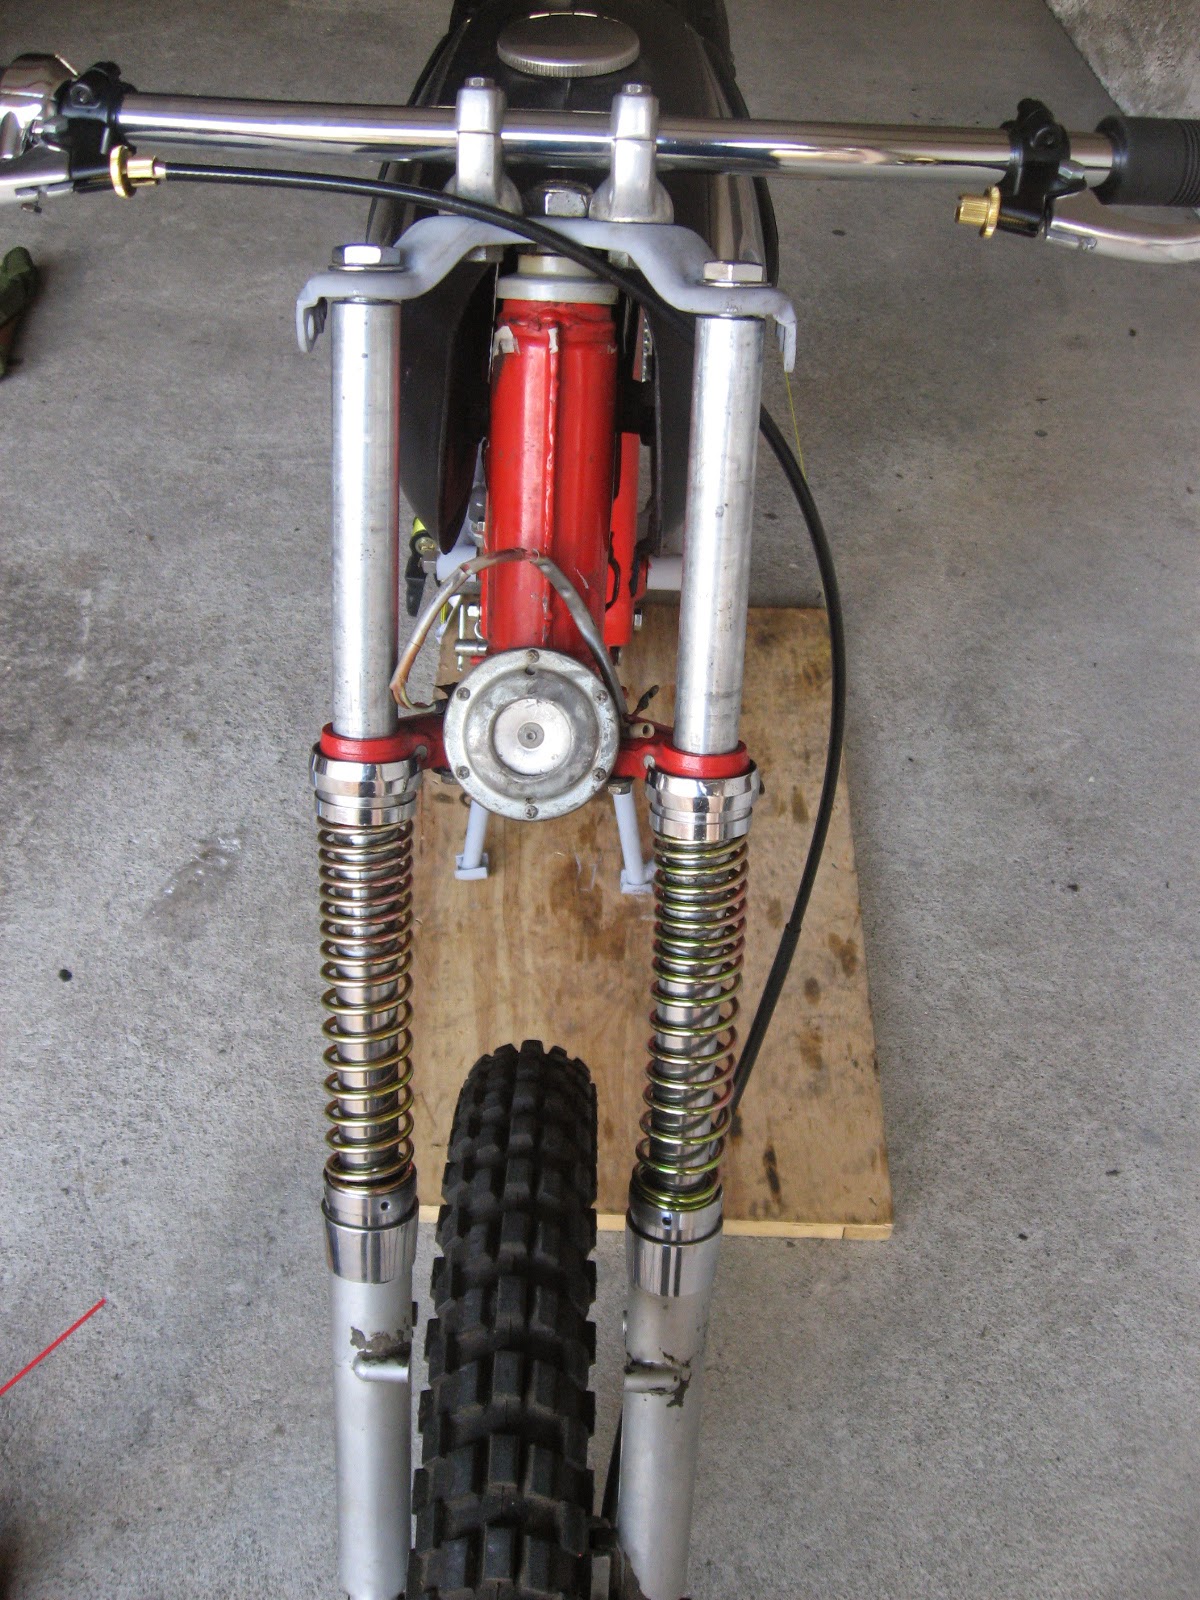
Red: Spring Swap
Swapped out the old springs for shiny new ones. Though didn't quite have the eye-popping bling that I'd expected. The new ones are also quite a bit stiffer.
Installation note: the narrower coils go toward the top.
Installation note: the narrower coils go toward the top.
Labels:
Cafe build,
forks
Red: Bottoms Up
Who would have thought when I got this spare bottom end way back when, it would find it's way onto a complete new build? Funny how things work...
Engine bolts came and the two top ones are different lengths but it's impossible to confuse them. The bottom "support bolt" has a notched end, so you can't mistake that one, either.
It was a bit fiddly to get it in the first time, but it just takes a little persuasion to get all the holes lined up.
Engine bolts came and the two top ones are different lengths but it's impossible to confuse them. The bottom "support bolt" has a notched end, so you can't mistake that one, either.
It was a bit fiddly to get it in the first time, but it just takes a little persuasion to get all the holes lined up.
Labels:
bottom end,
Cafe build
Tuesday, October 21, 2014
Red: Irony
Realized that even if I found a clever way to stretch the center stand spring and get it attached, it probably wouldn't be easy, and it probably wouldn't be something I'd want to do more than once.
But given how much I'll have to be disassembling and reassembling the bike, it didn't make sense to try to get the stiff spring on there.
So I sent to the hardware store and picked up a #175 spring (4-3/8 x 23/32 x .072) that was a tad longer than the stock spring, but nowhere near as tight.
But when I went to mount it, I realized it was too long to actually pull the stand back and up. Then I saw that I could just hook it to the frame tab instead of using the connector - exactly how Roxy's is now. I wonder if her PPO went through the same thing.
I may still try to get another spring so I can at least use the connector. But this works well enough for now.
Labels:
1965 S90,
Cafe build
Monday, October 20, 2014
Red: Stealing Viola's case cover
Couldn't use Viola's right crankcase cover because there was a locating dowel in the same spot as one in the bottom end. But never underestimate a pair of locking pliers.
Once I got the dowel out, did a quick cleaning with engine foam, followed by some 220 sanding, then Autosol. Didn't spend much time on it, just enough to get it decent.
Once I got the dowel out, did a quick cleaning with engine foam, followed by some 220 sanding, then Autosol. Didn't spend much time on it, just enough to get it decent.
Subscribe to:
Comments (Atom)

.JPG)
.JPG)

.JPG)


